
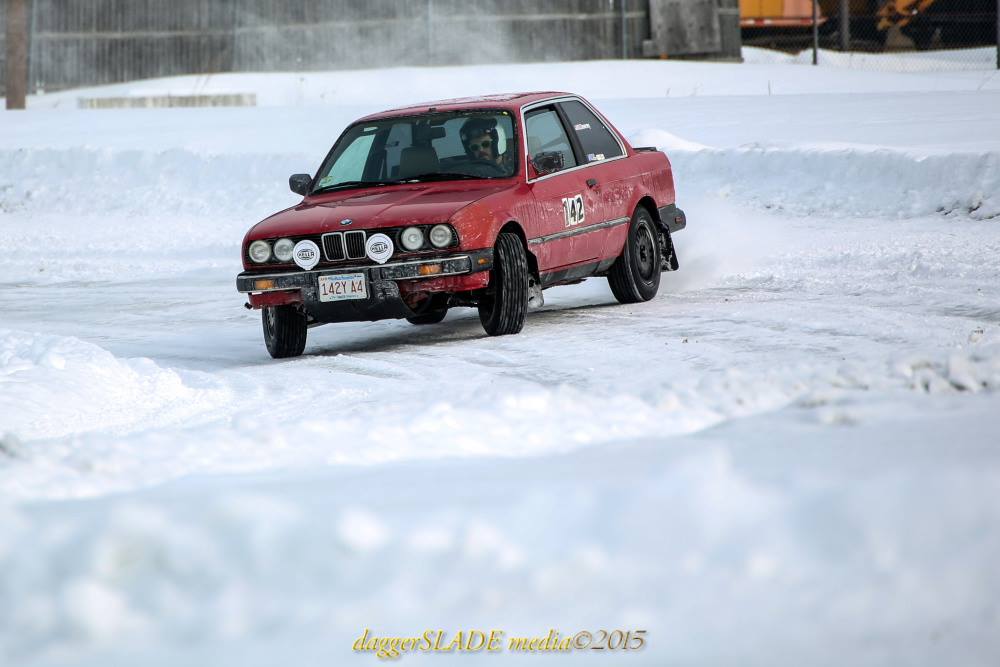
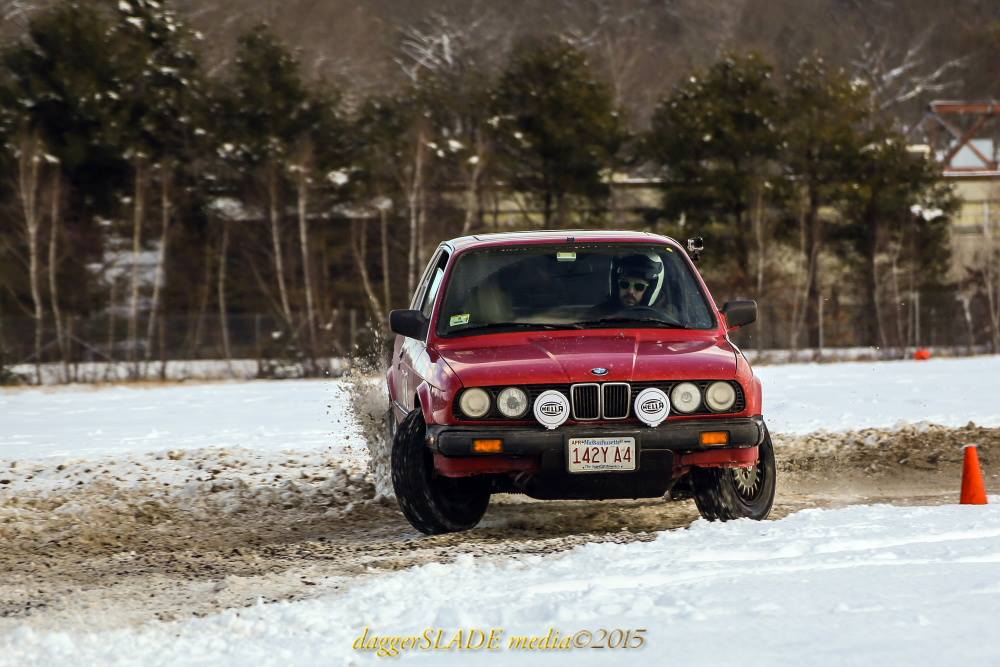
My name is Dan. I race a 1987 BMW 325is in rallyx, hillclimbs, and other random events. But mostly Rallyx and hopefully stage rally in time. Past few events I had some people telling me that one of my drive wheels was doing nothing while I was trying to keep moving in serious mud and ice surfaces at the rallyx’es. So now that its a little warmer out I decided it was time to address the 230K clutch packs that where still working but most likely not well enough.
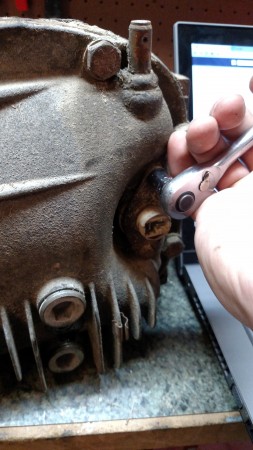
This can be tested on your car by breaking out you torque wrench. Jack up the right rear wheel take off parking break and have car in neutral. the axle nut is 30mm set your torque wrench to about 25lbsFT and turn in clockwise direction. If the torque wrench clicks, keep turning up the lbFt until the torque over comes the locking of the diff and spins the wheel you are trying to turn. The spec e30 guys have class rules that if torque is above 65ftlb then it is obviously not stock and they mention anything above 50ftlbs is in good condition. It’s guesstimate check but obviously if yours is very low, it may be time to rebuild. Also make sure you have an LSD – on the diff there is a small tag attached to one of the bolts(BMW only). Its probably rusty but if you can read the lettering the tag should start with S if you have an LSD(mine reads S373657, 373 standing for the ratio).
This will be a rebuild of a BMW LSD but may apply to other LSD Clutch type differentials. Some of the info is BMW of this era specific but can be useful for most LSD’s. As always do your research. full disclosure I am no expert I am just like you, DIY style, researching stuff like crazy then just taking it apart to see if i can actually do it. but nothing I have built has exploded yet so you can trust me, I’m from the internet.
First I will quickly try to explain what is going on in an clutch type LSD and lay out some vocab for you(boring crap) so those who dont know whats going on might have some idea. Using my diff as example there are two small disks or friction plates locking the two wheels together. There is a set pressure on these that keeps them together unless the difference in the traction of the two wheels is great enough to overcome the friction plates. Like when one wheel is totally on ice and the other has traction, or when turning. Here is a video for a visual on how a LSD works.
Upgrade options(for e30 BMW’s only and possibly other bmw diffs):
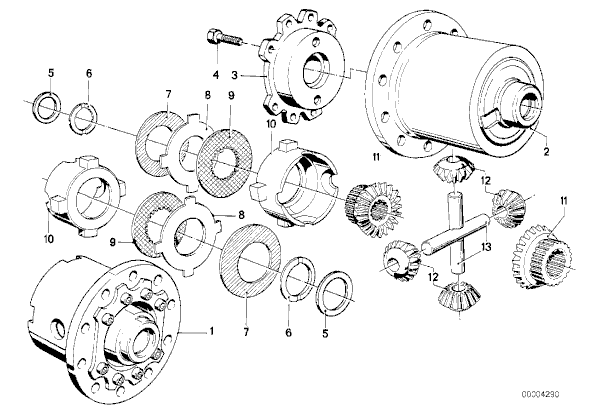
An easy upgrade for e30 BMW diffs is to add a 3rd clutch pack for more lock up (It is said to take it from 25% lock to ~40%) This is done by buying a 3rd friction plate(#9) and a dog ear plate(number 8 in diagram). This can be added by simply removing a metal spacer within the assembly that is 4mm thick exact thickness of a friction plate and dog ear. No further thought needed. For a 4th friction plate and dog ear the case cover(#3) must be machined the 4mm to fit it in. This can be done at a machine shop or be purchased, pre-machined, strait from Thayer Mortorsports. Yields ~60% lock.
Another upgrade option is to increase ramp angle on the spider gear casing will increase responsiveness of LSD lock up and lock %. Machining required. complicated option.
I do not have tons of the green stuff and I drive my car to the events so I just wanted something reliable in my car. Also for stage rally I will most likely upgrade to a 4.10 diff(stock is 3.73) so I will sink money into that instead. This build and pictures will represent that of stock refresh.
Things you will need:(thayermotorsports.com or bimmerworld.com or pelicanparts.com) I used thayer because it was easy to find and free shipping.
-An LSD
-Some LSD (optional, but not advised)
-LSD additive gear oil. 2 quarts everyone recommends Redline. do what you like its all similar. LSD additive is important!
-2 new friction plates(FYI small case e30’s like 318’s are “168mm” and medium case e30’s like 325’s are 188mm)
-2 new dog ears(optional-good to replace as new parts better than old. But to save cash you can flip old dog ears around as long as the are in good condition)
-8 new case cover bolts(these will strip get new ones they are cheap)
-Seals Seals Seal. Do the seals while you are in there. Carrier o-rings and output output seal are easy and cheap
-Beer (required)
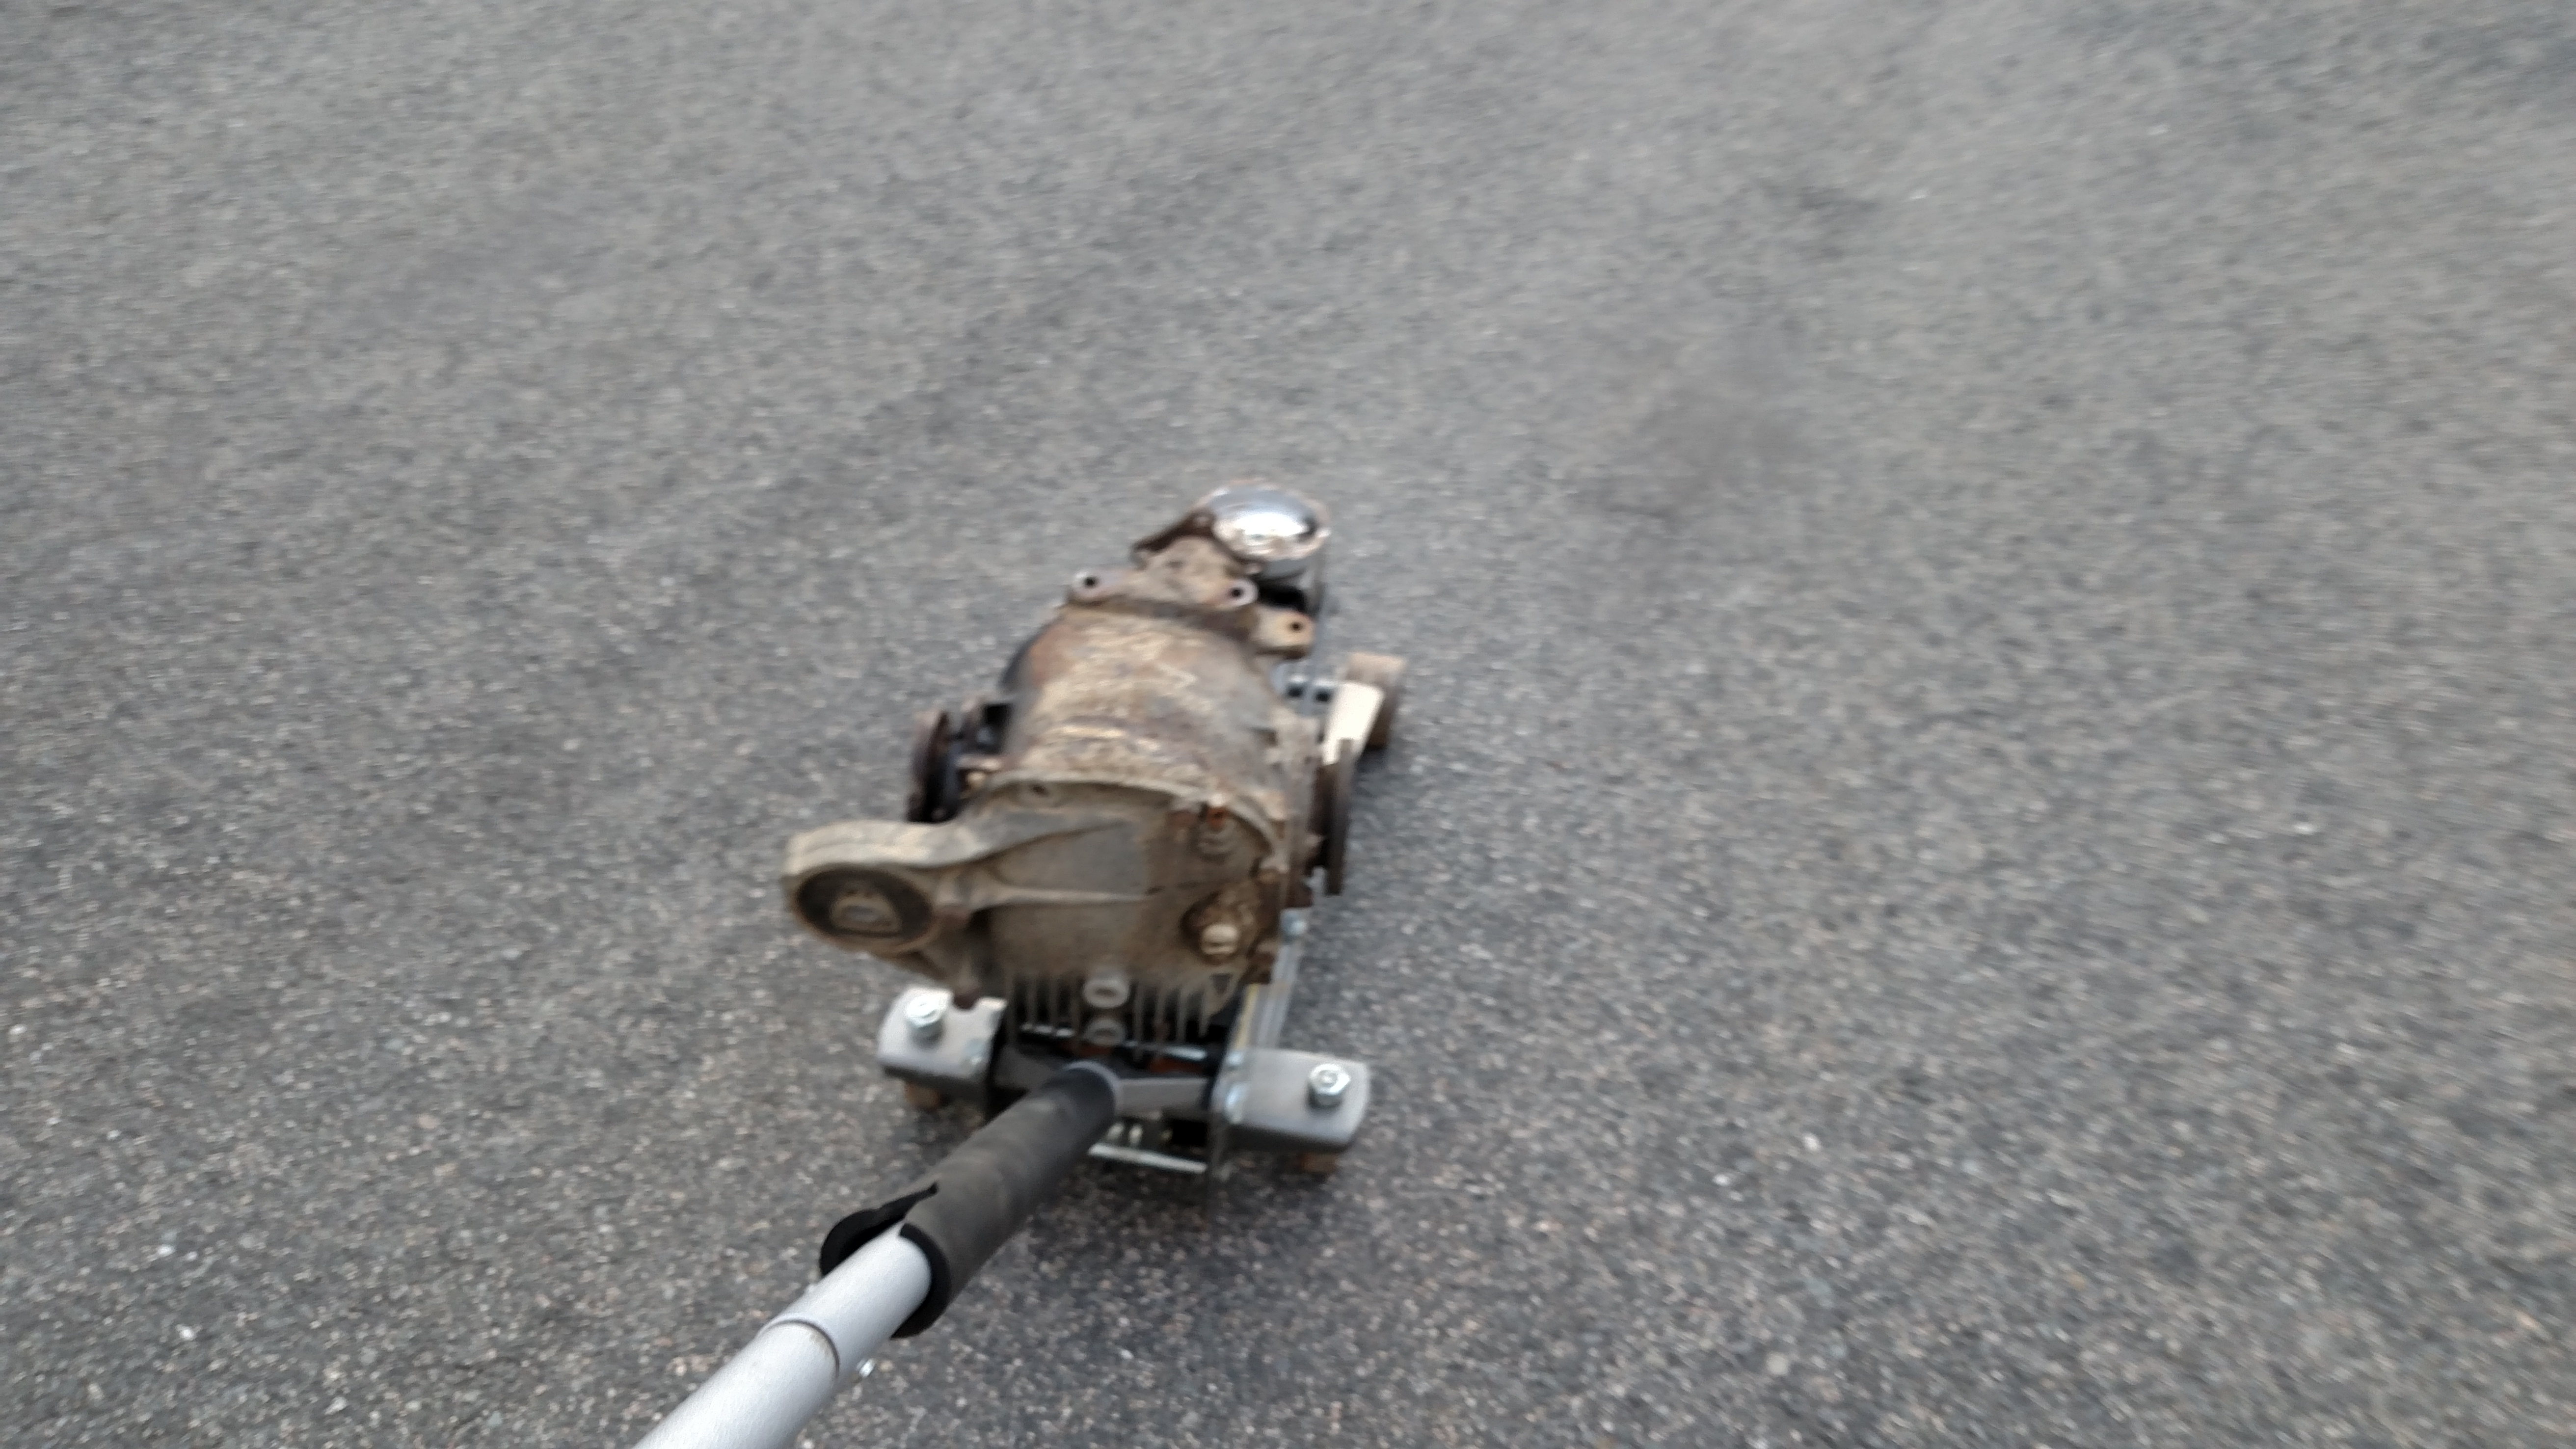
Begin! First take the Diff out. remove drive shaft 17mm nuts, halfshafts 8mm allen, 4 bolts on top 19mm, and diff mount bolt 19mm.
This think weighs about 80lbs so have the jack ready to catch it instead of your face.
Remove speed sensor and clean it off it will probably have metal shavings on it since its magnetic. 10mm bolts
Drain the gear oil 2 17mm oil drain plug Allen key style(smelly) and remove diff cover (8 17mm bolts)
Next pop out the output shafts. Will come out with some effort and a screwdriver. Work it from all angles till they pop out.
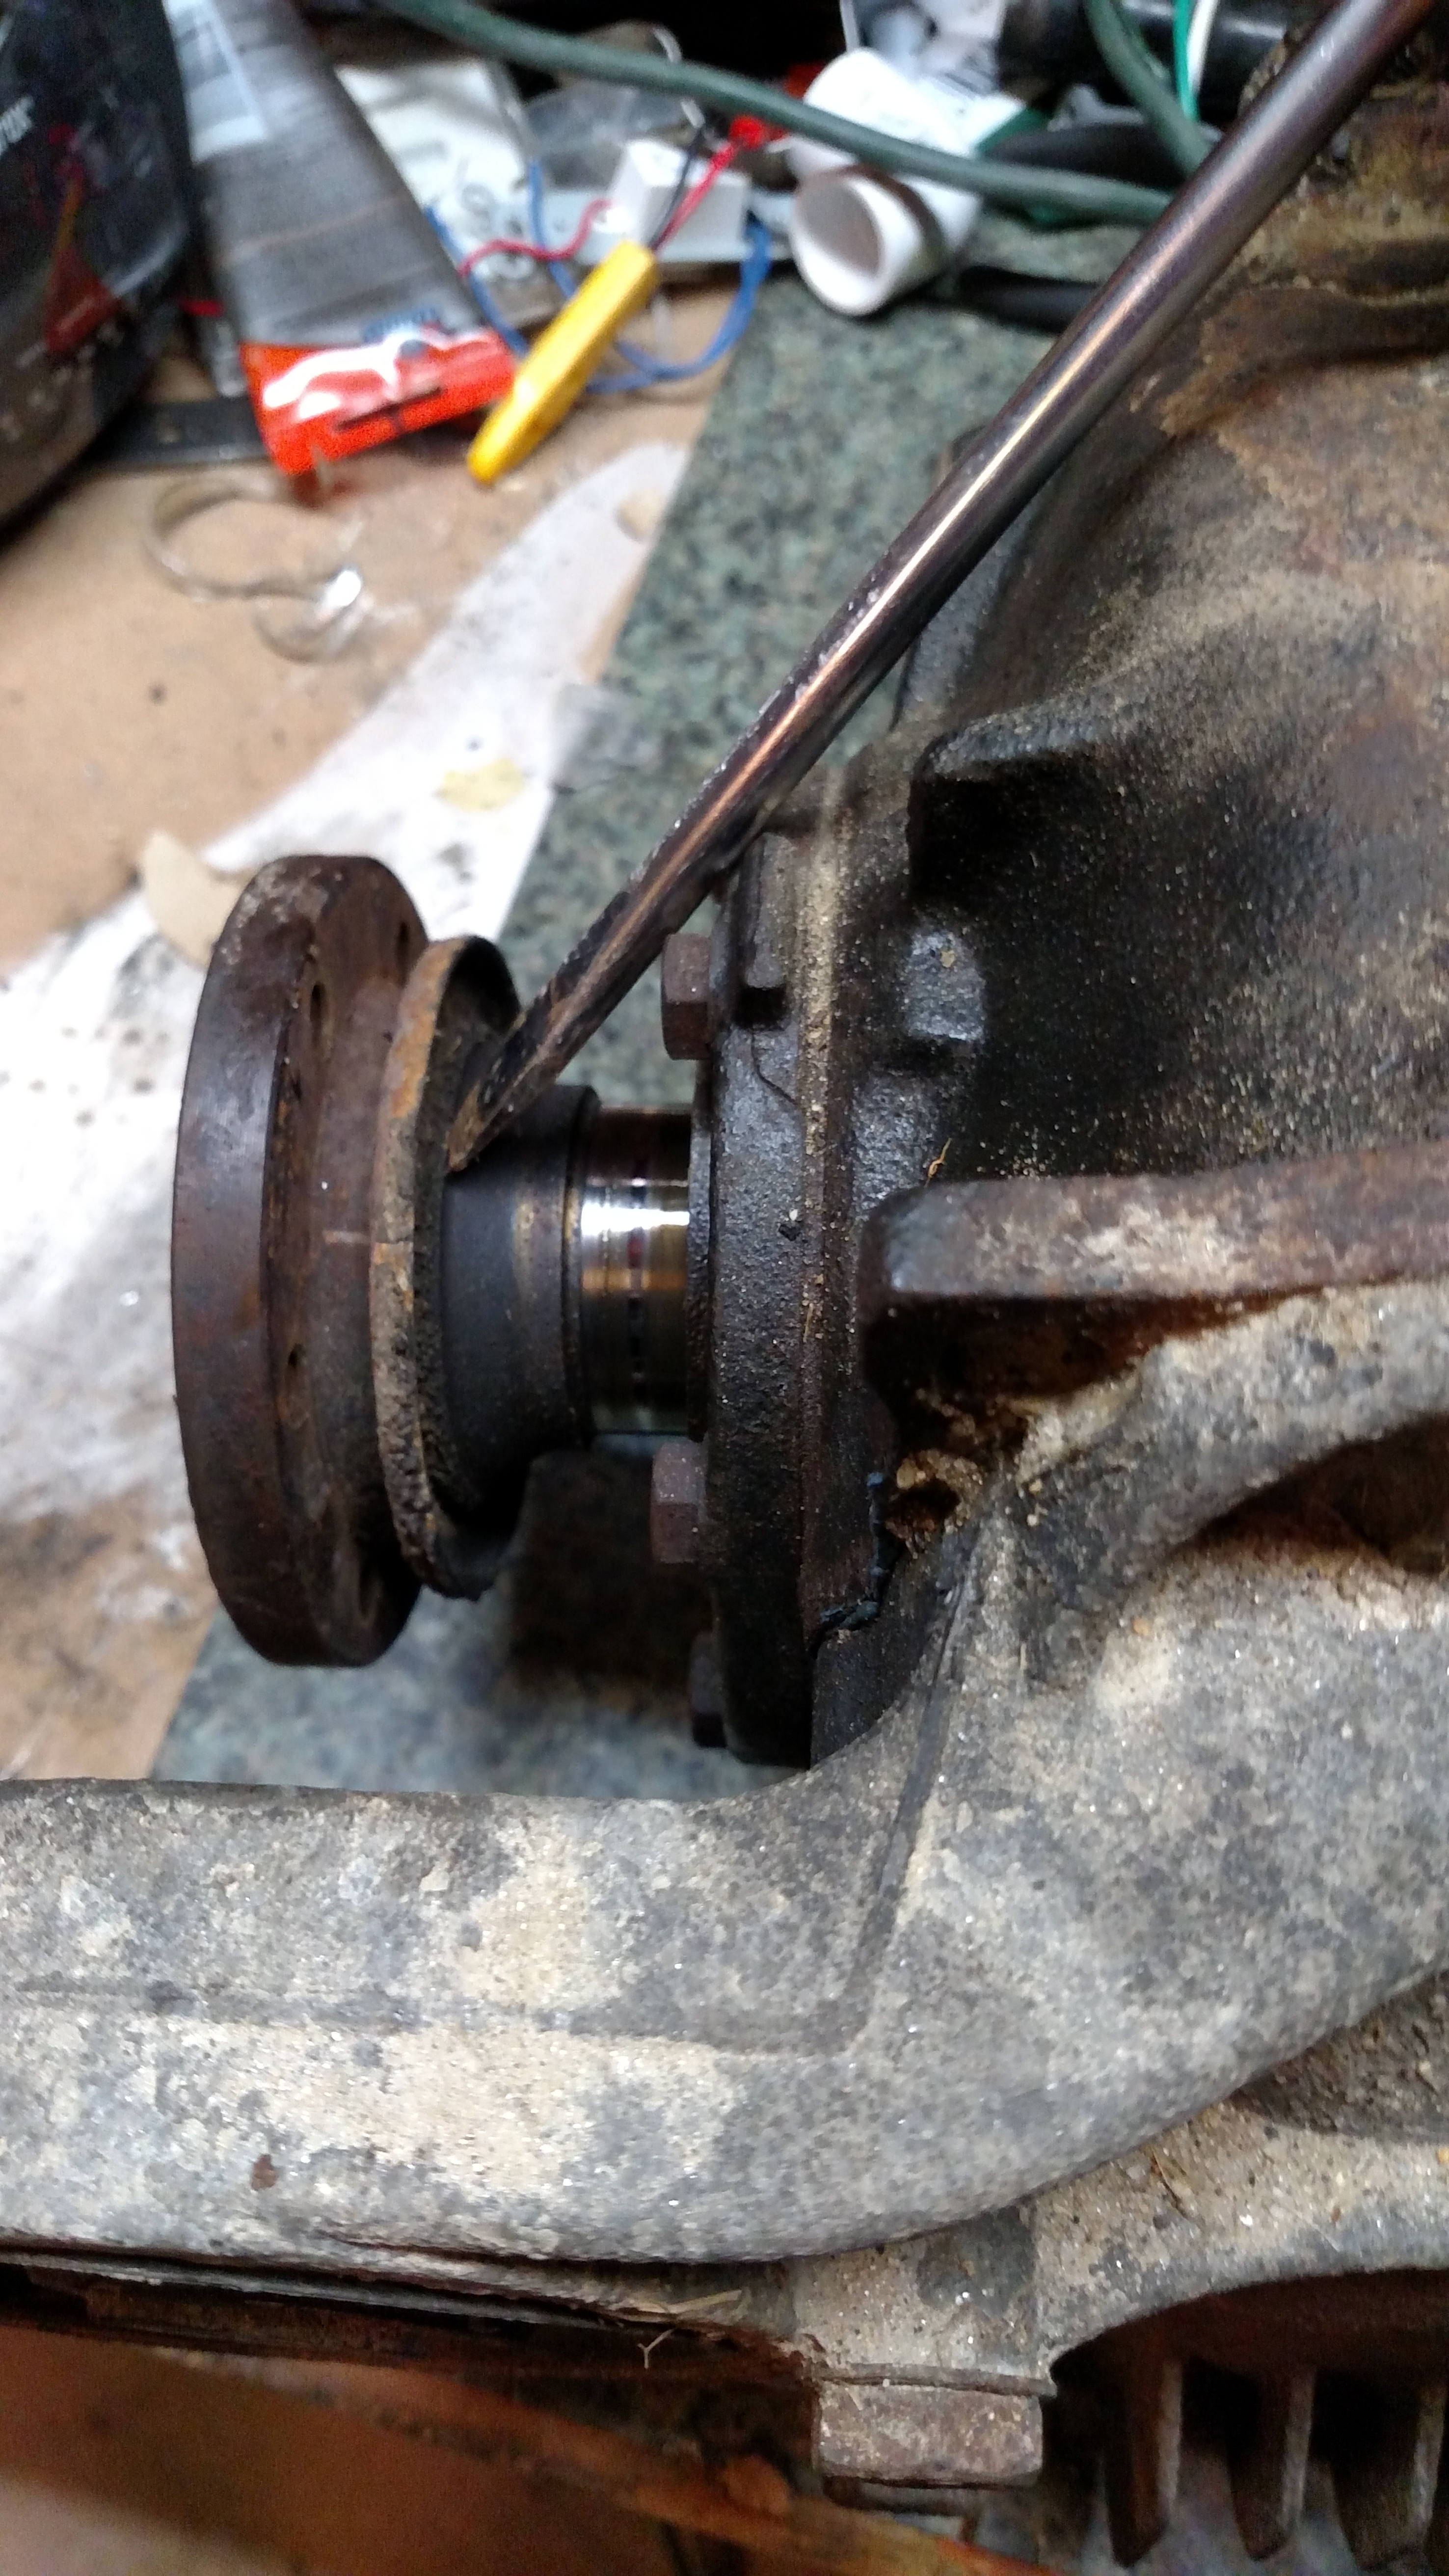

Next remove the carriers by removing the six 13mm bolts on each side.
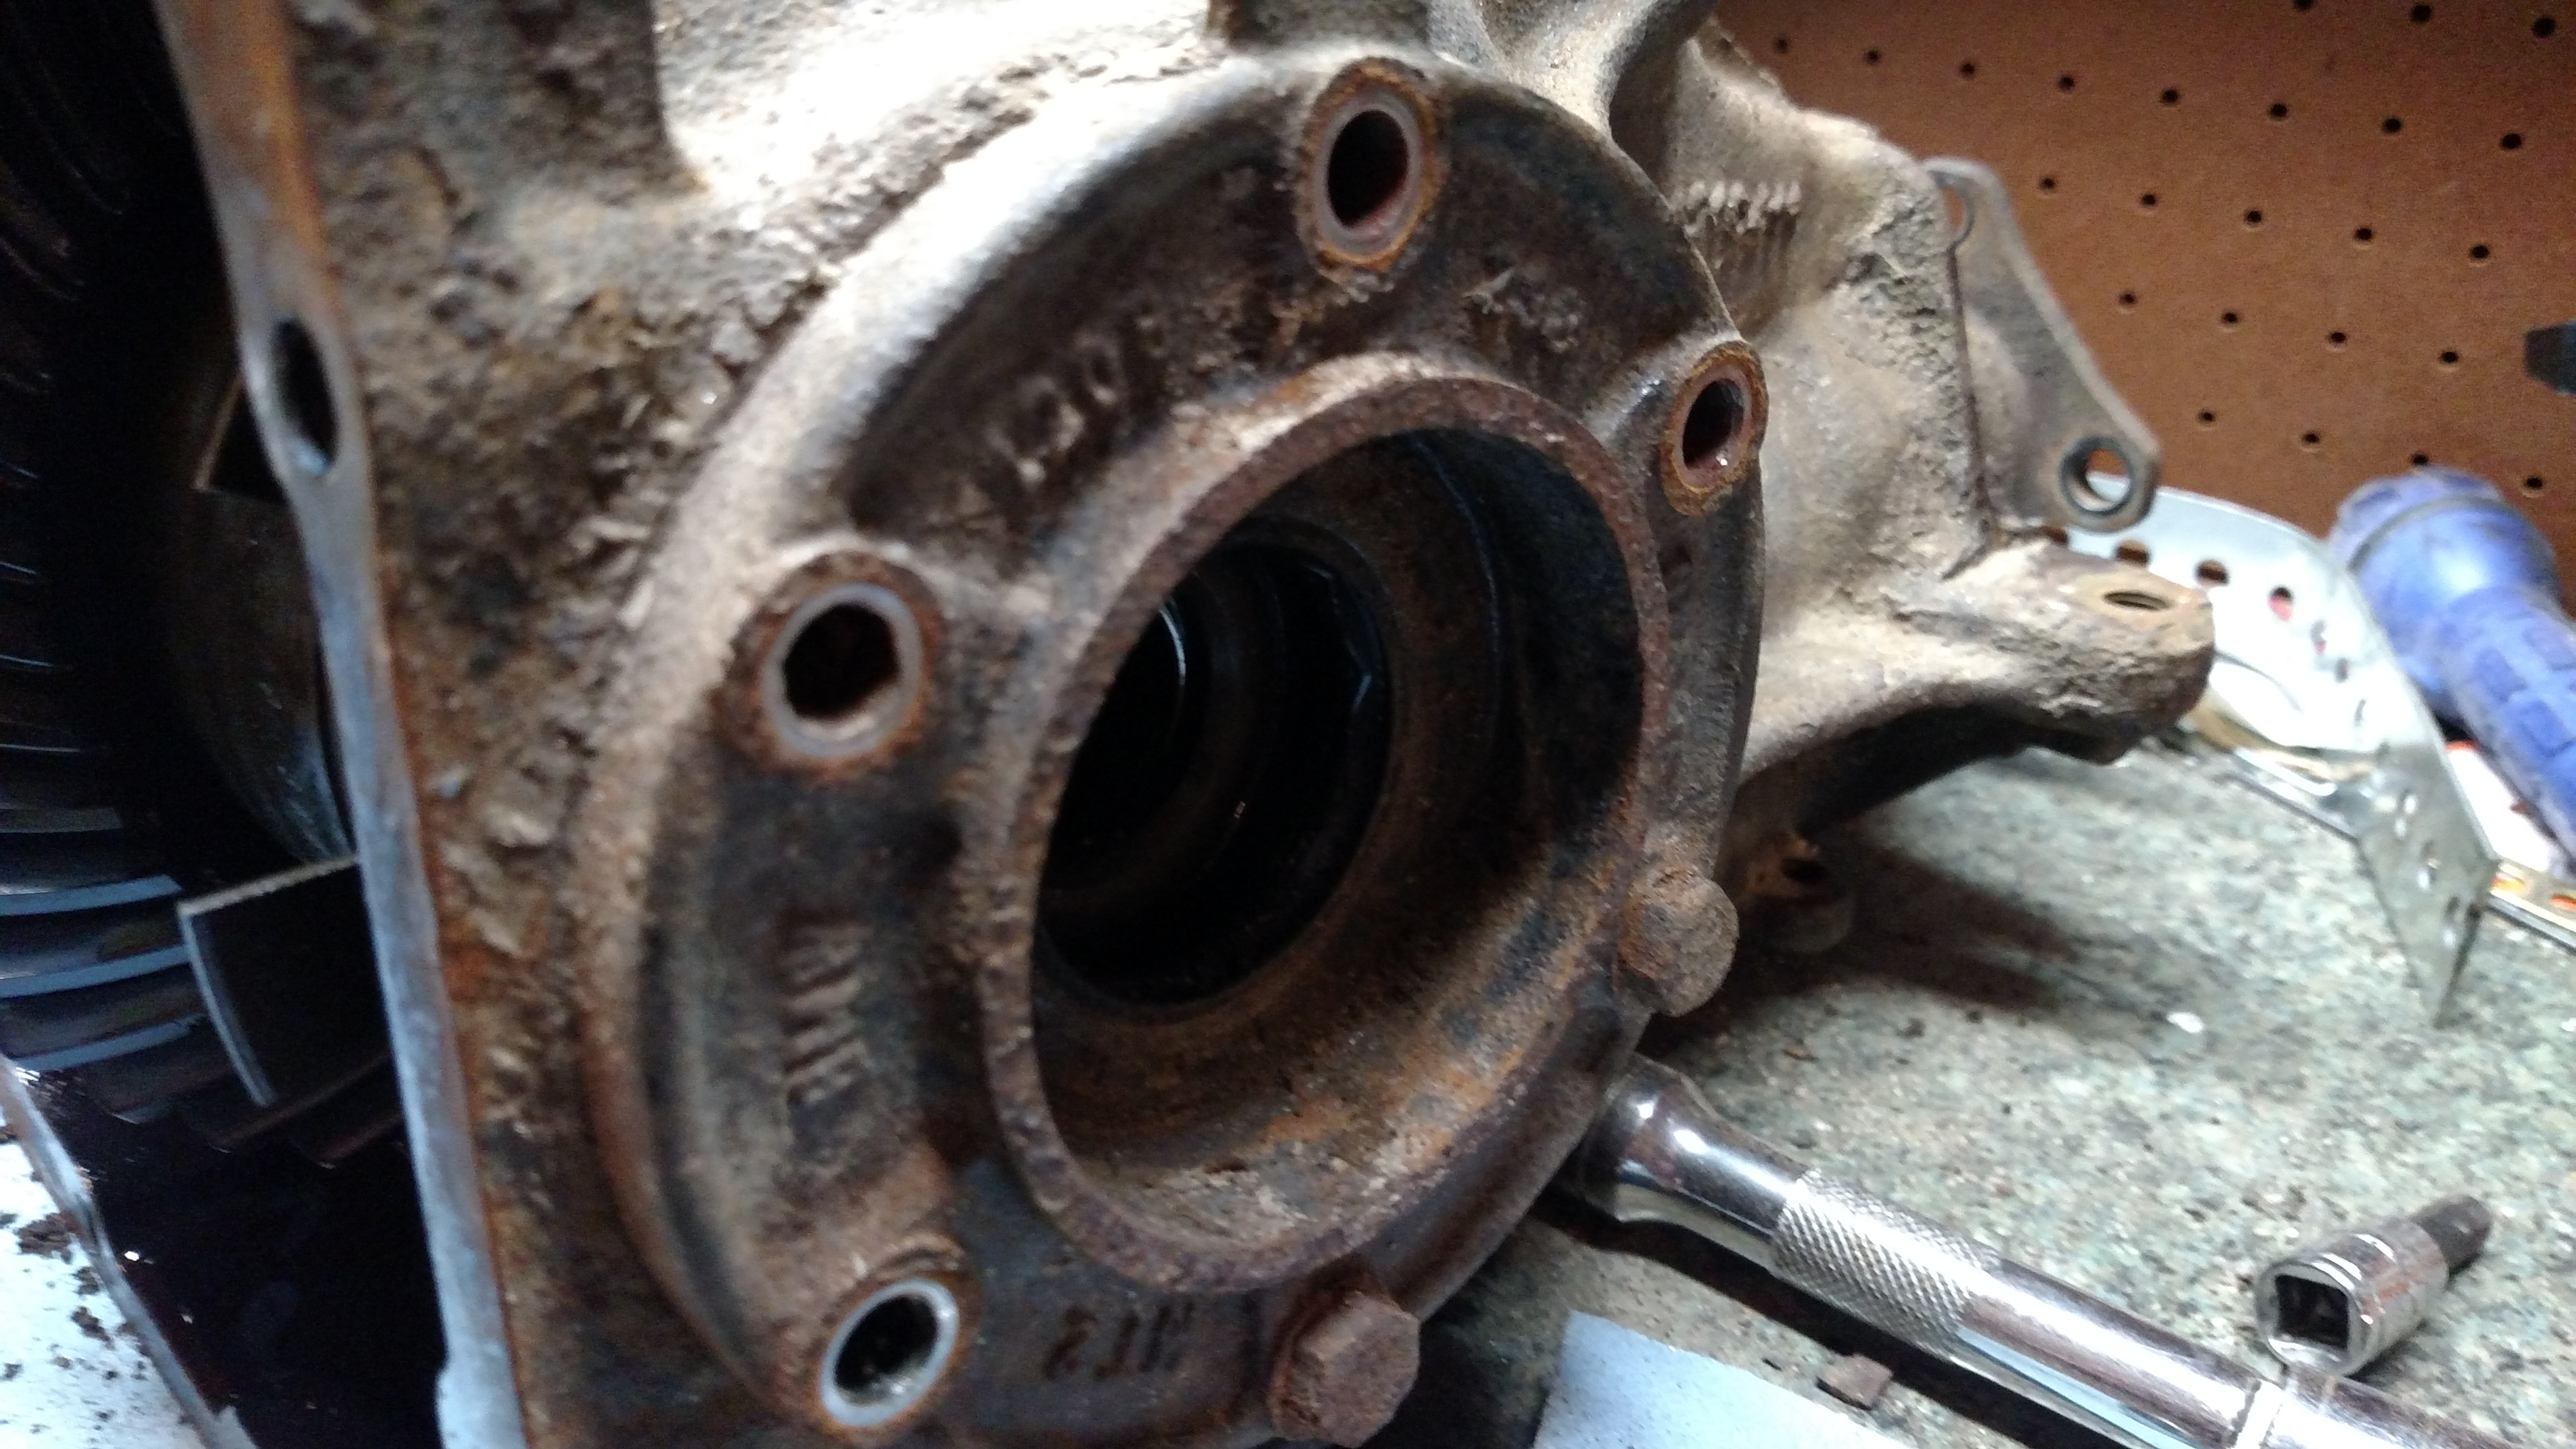
Carrier O rings and out seals are right on this. On both sides.

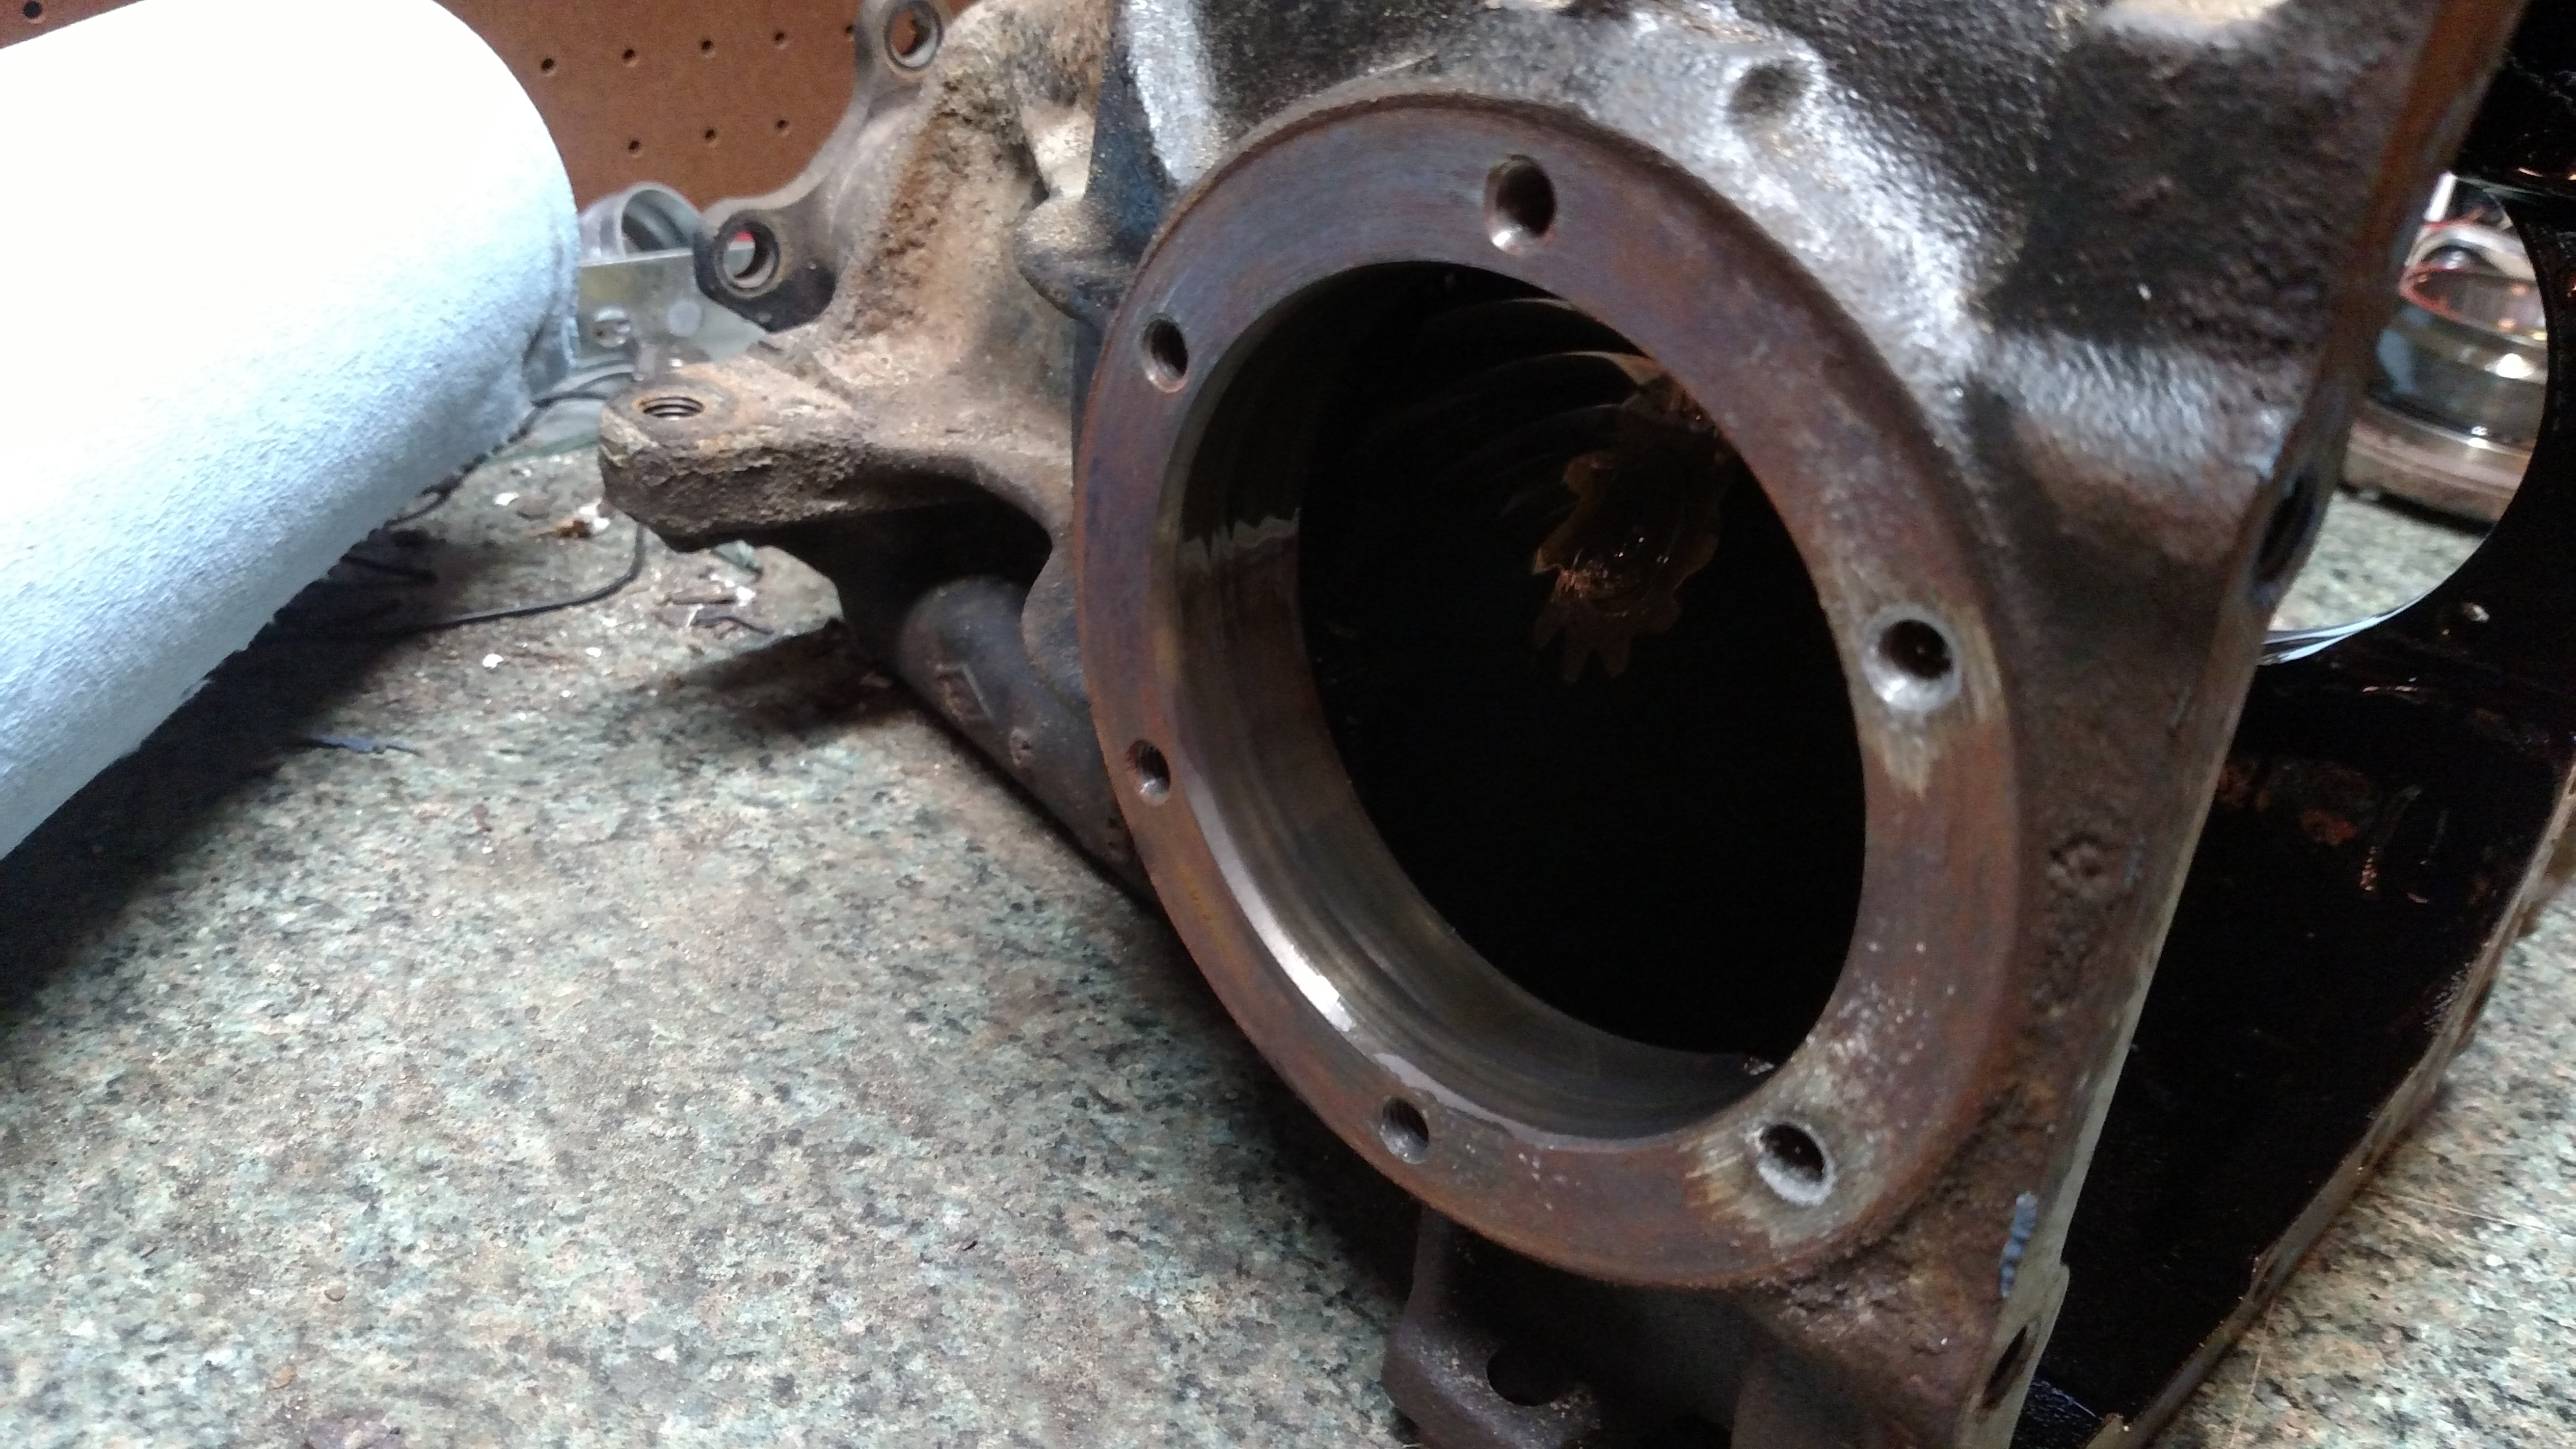
At this point when you remove both the carriers the whole assembly will come right out its greasy and heavy be careful not to drop it.
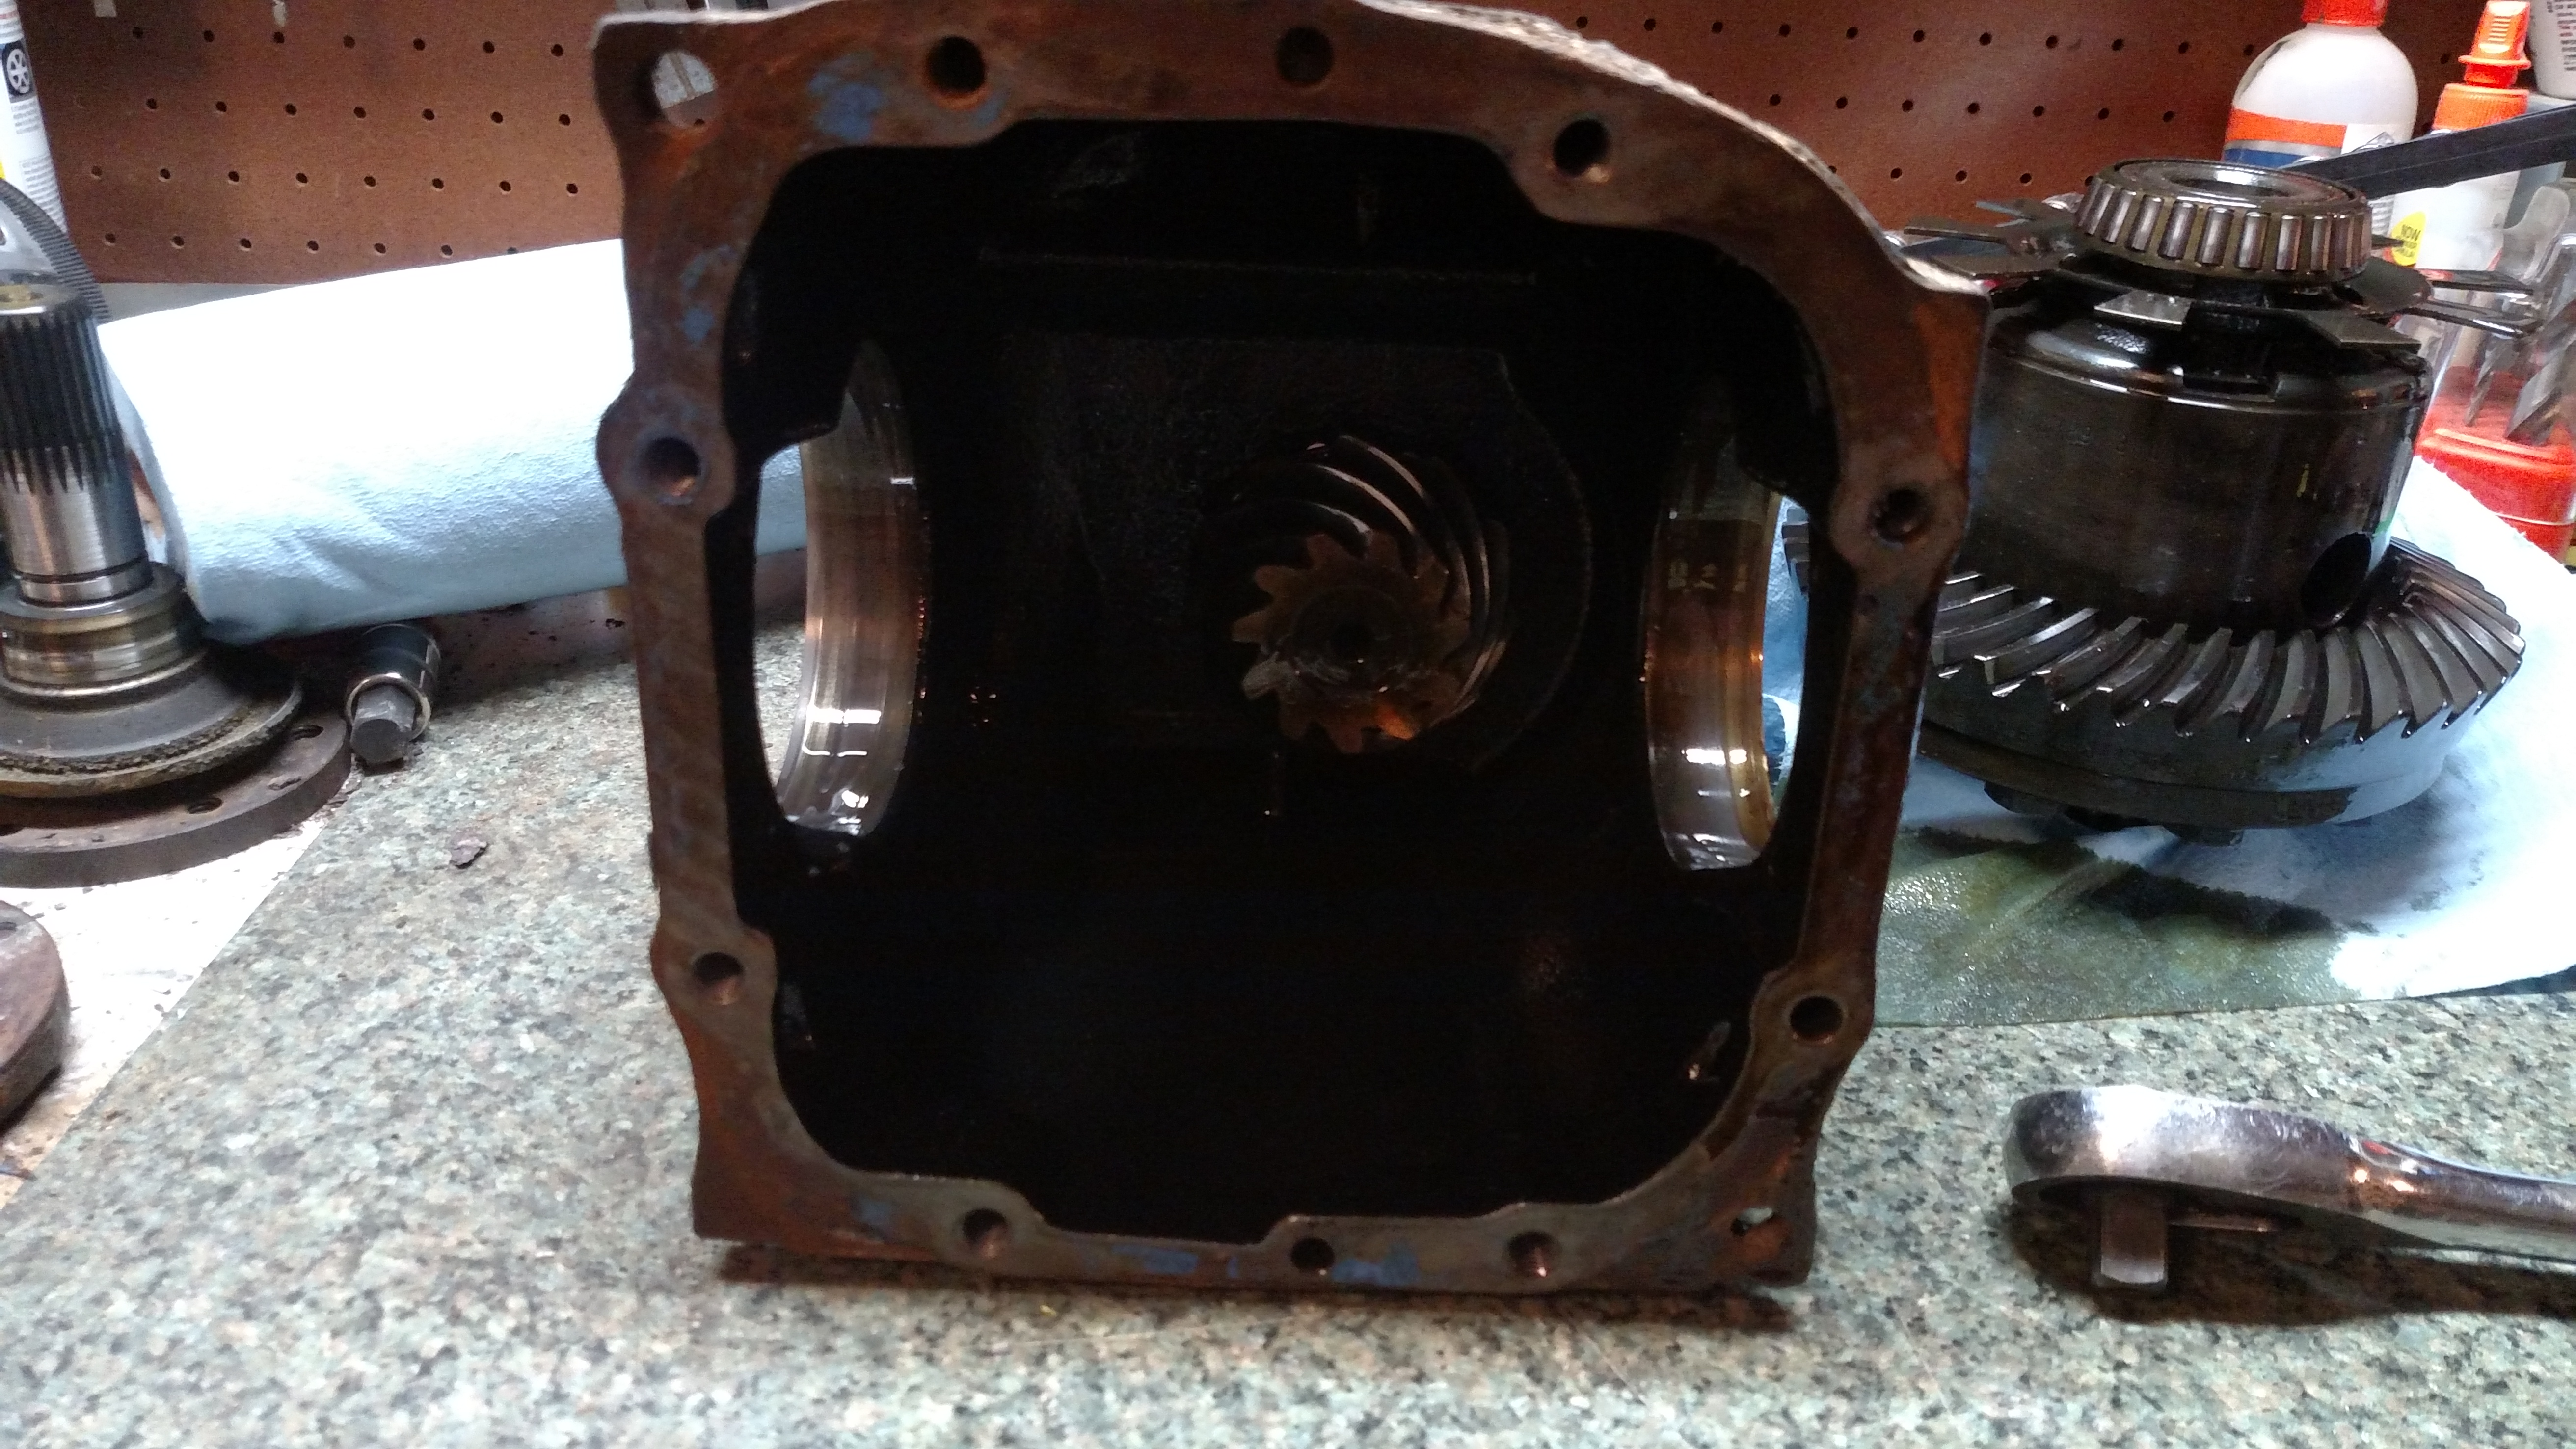
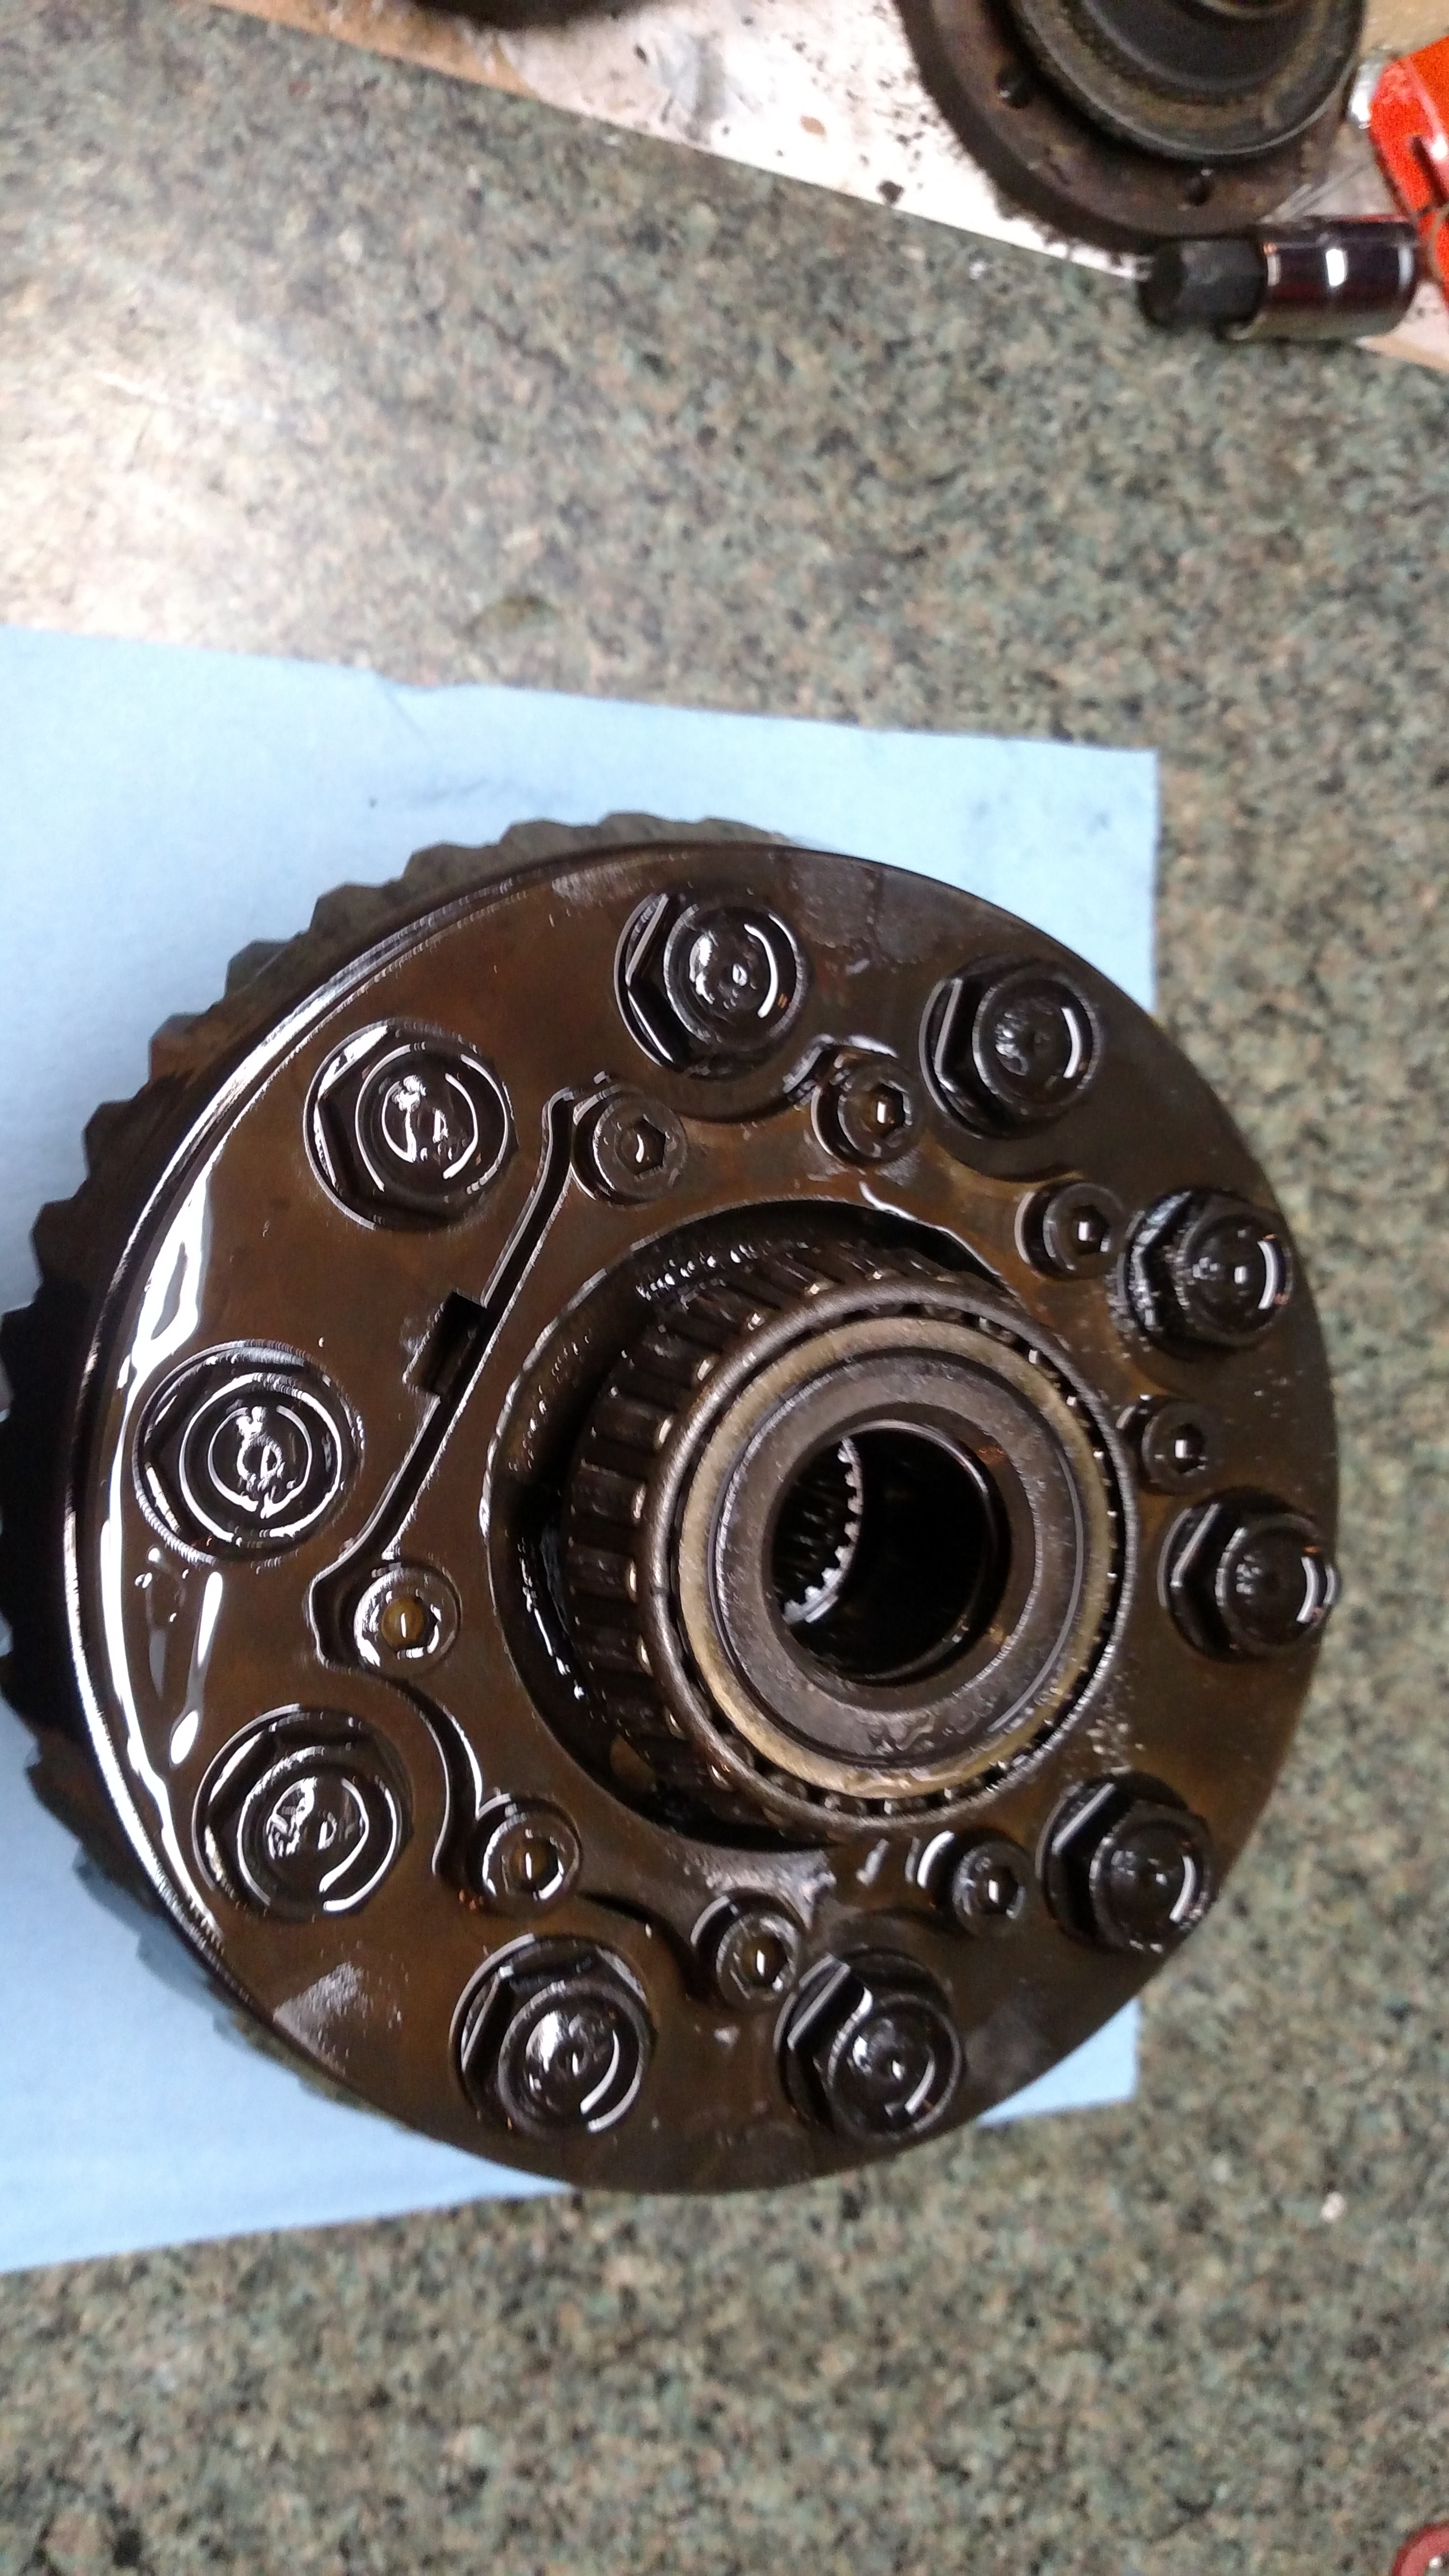
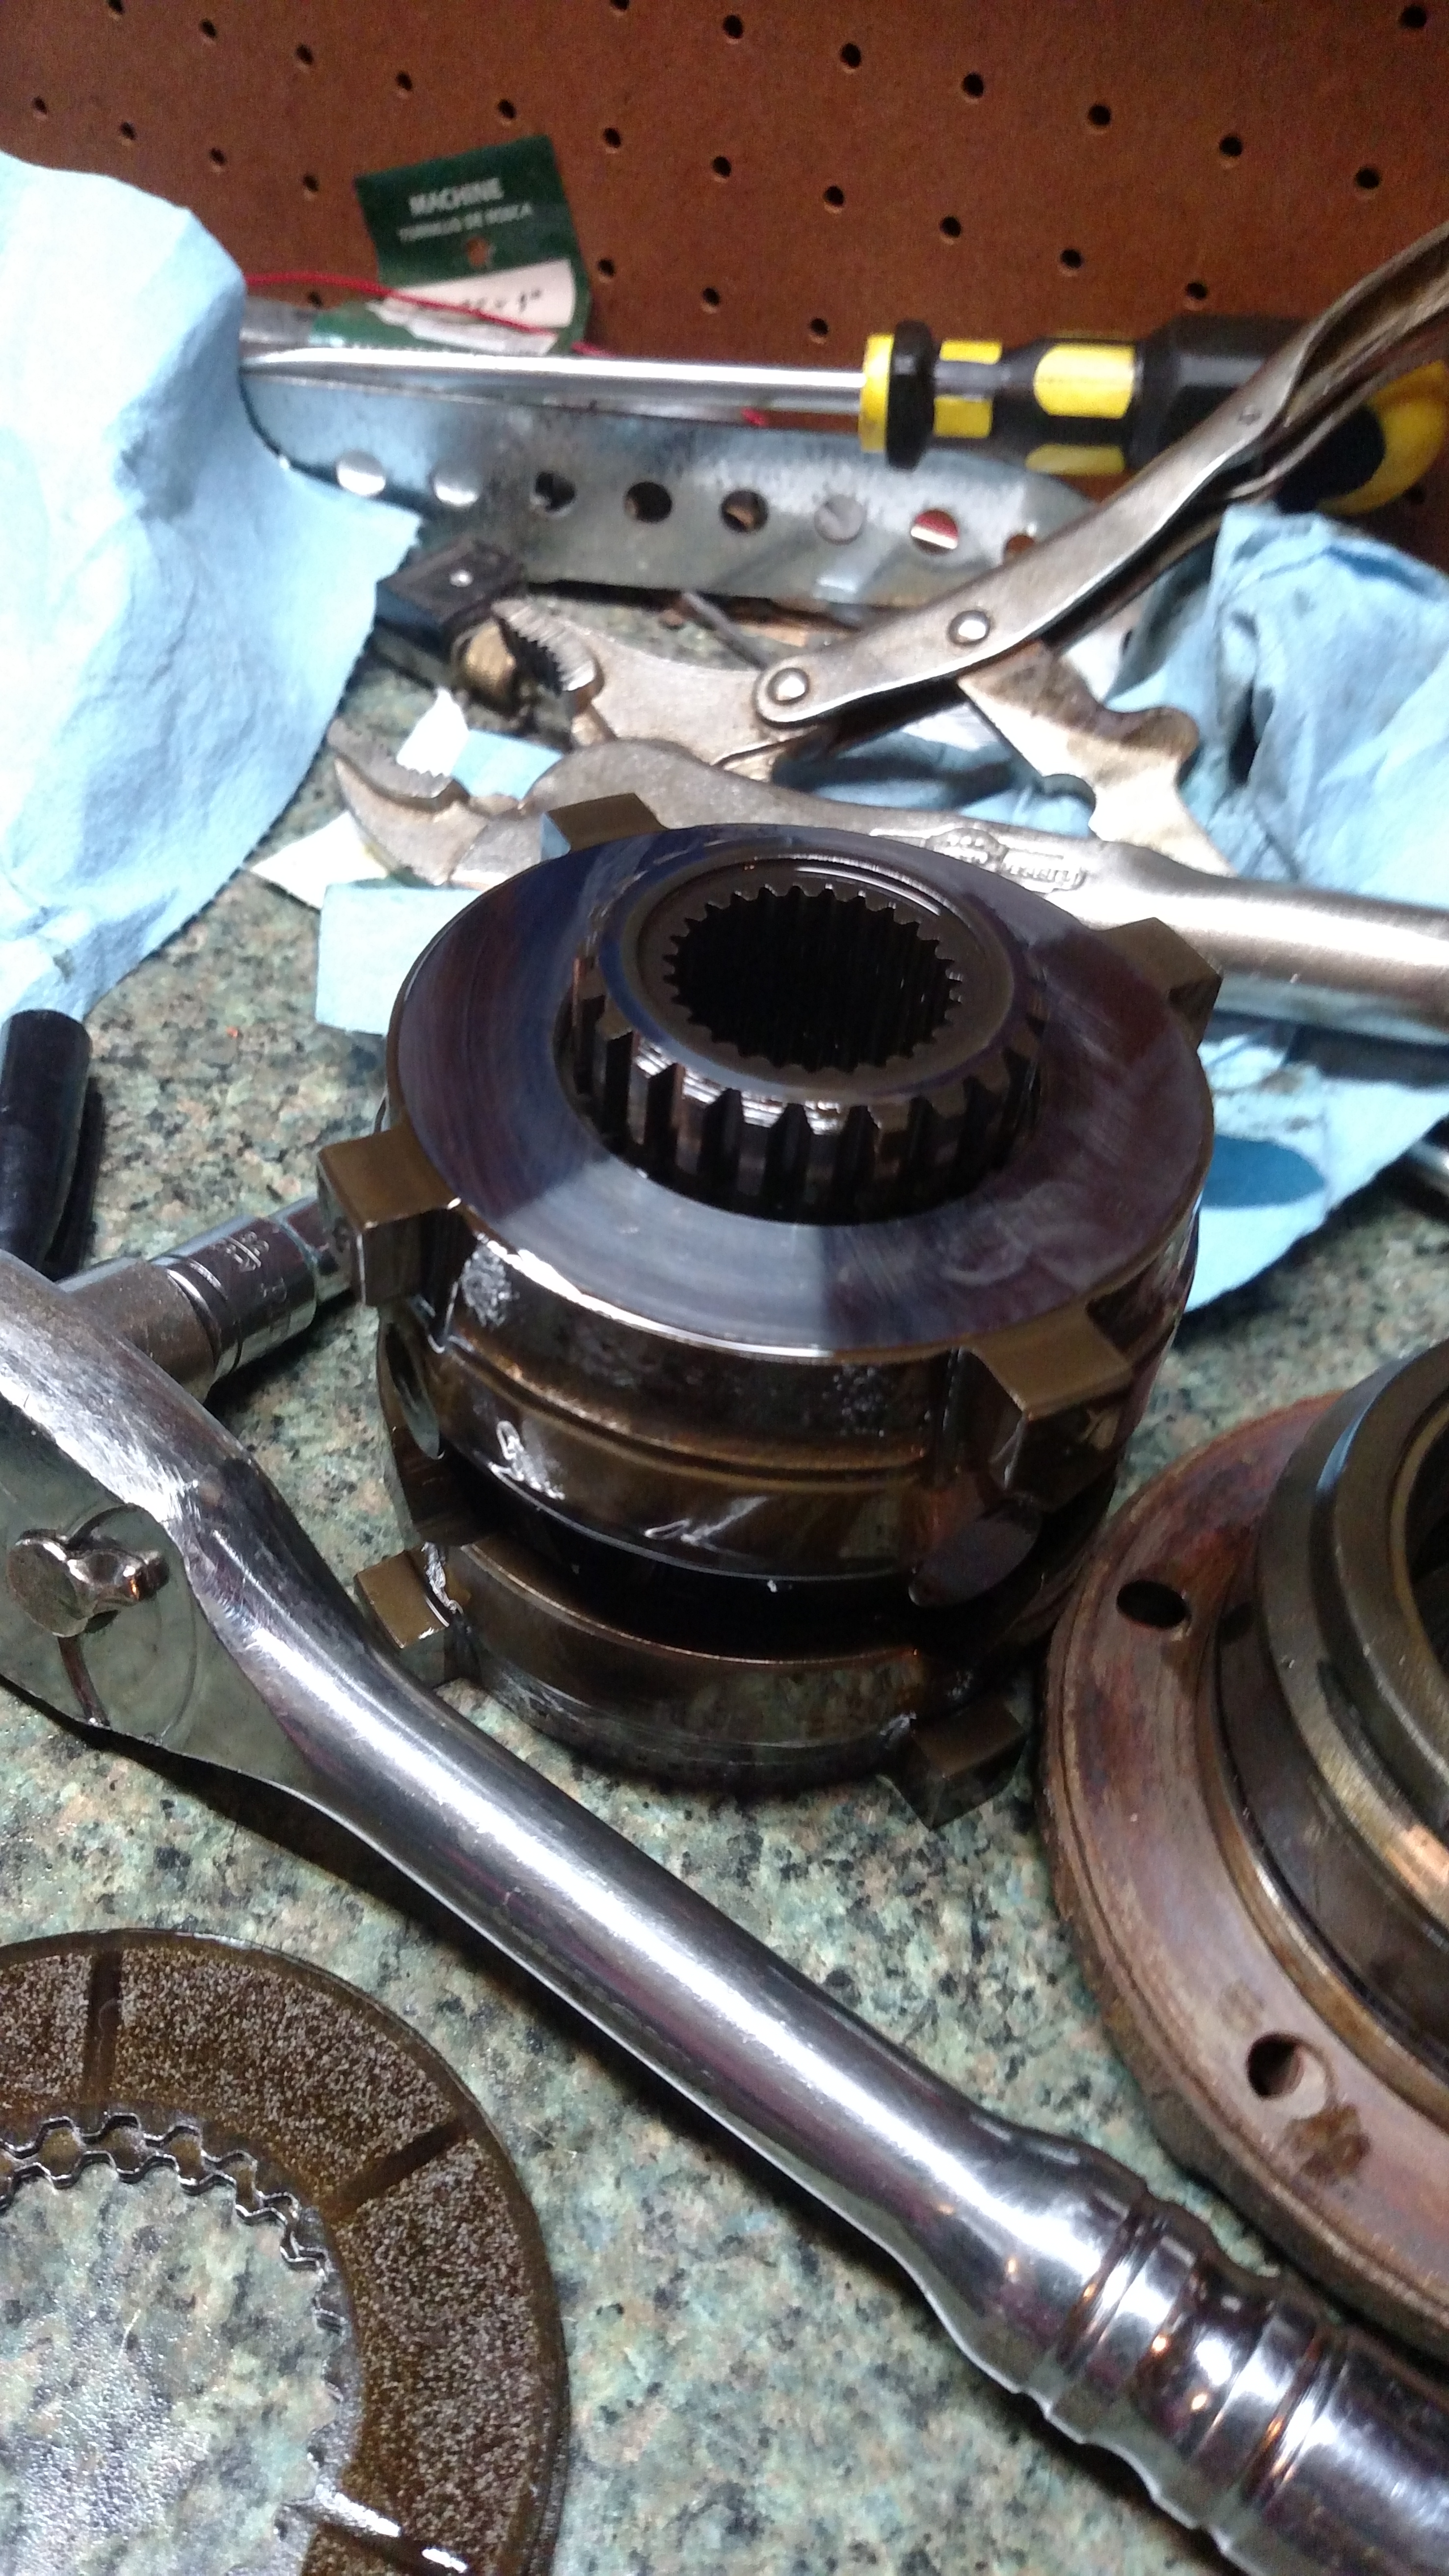
The assembly itself. Starting from the top you have the carrier bearing. Can be replaced but requires pullers and presses. I opted to skip that. the big throwing star thing is the speed gear tells that sensor how fast you are going down the autobahn. And the huge gear that mates with the pinion gear. drives the whole assembly.

Other side. Other carrier bearing. and the case cover. These bolts are the ones you bought to replace because they do strip. Best way I found to get these off is to hold the whole thing by hand (2 hands hugs it bear style) and have a friend undo the bolts. Totally stripped the first two before I employed someones help to undo them. Have some vice grips ready for stripped bolts.
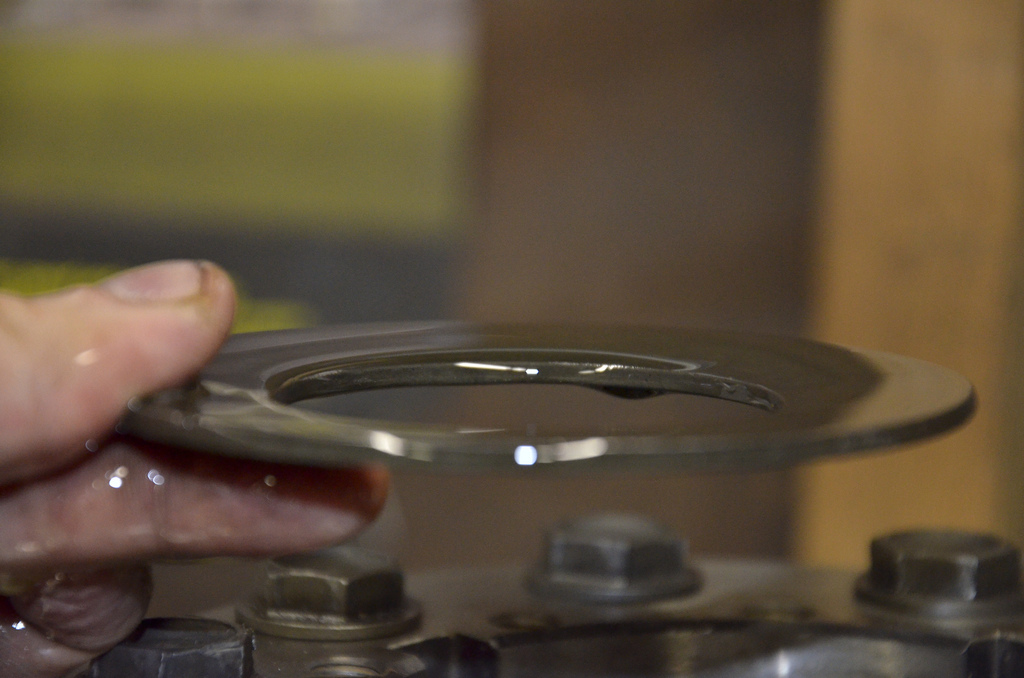
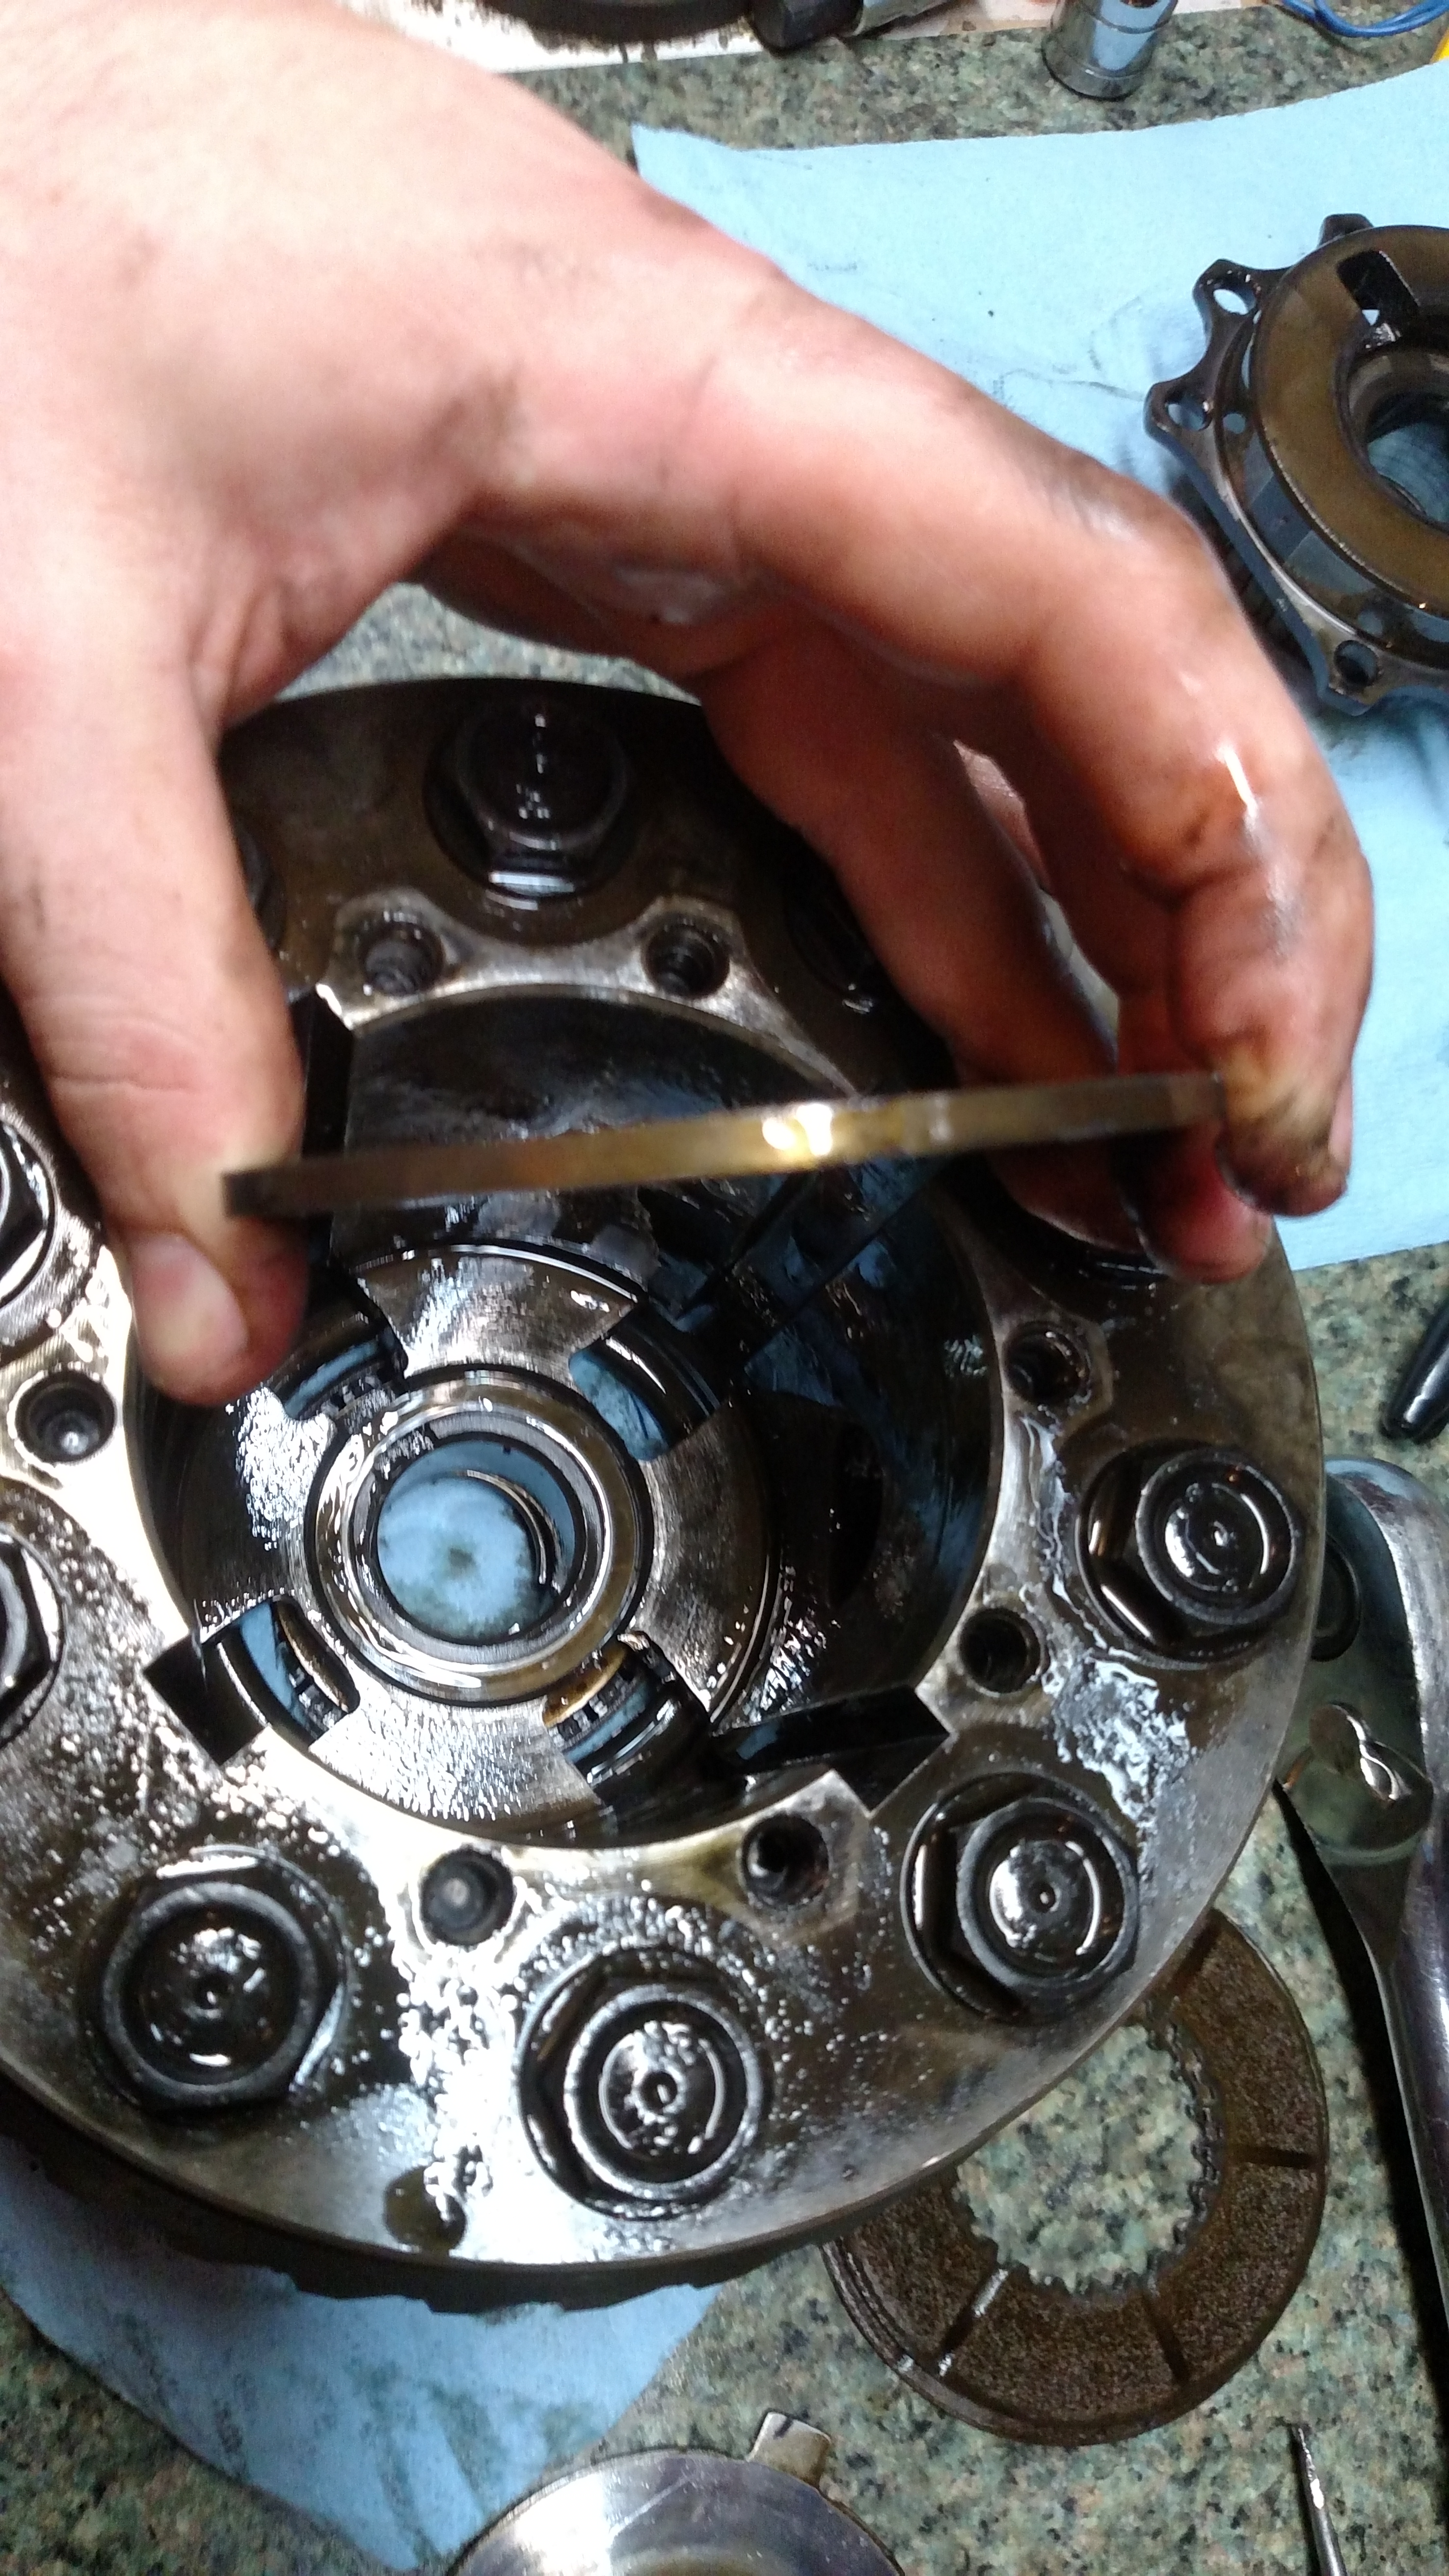
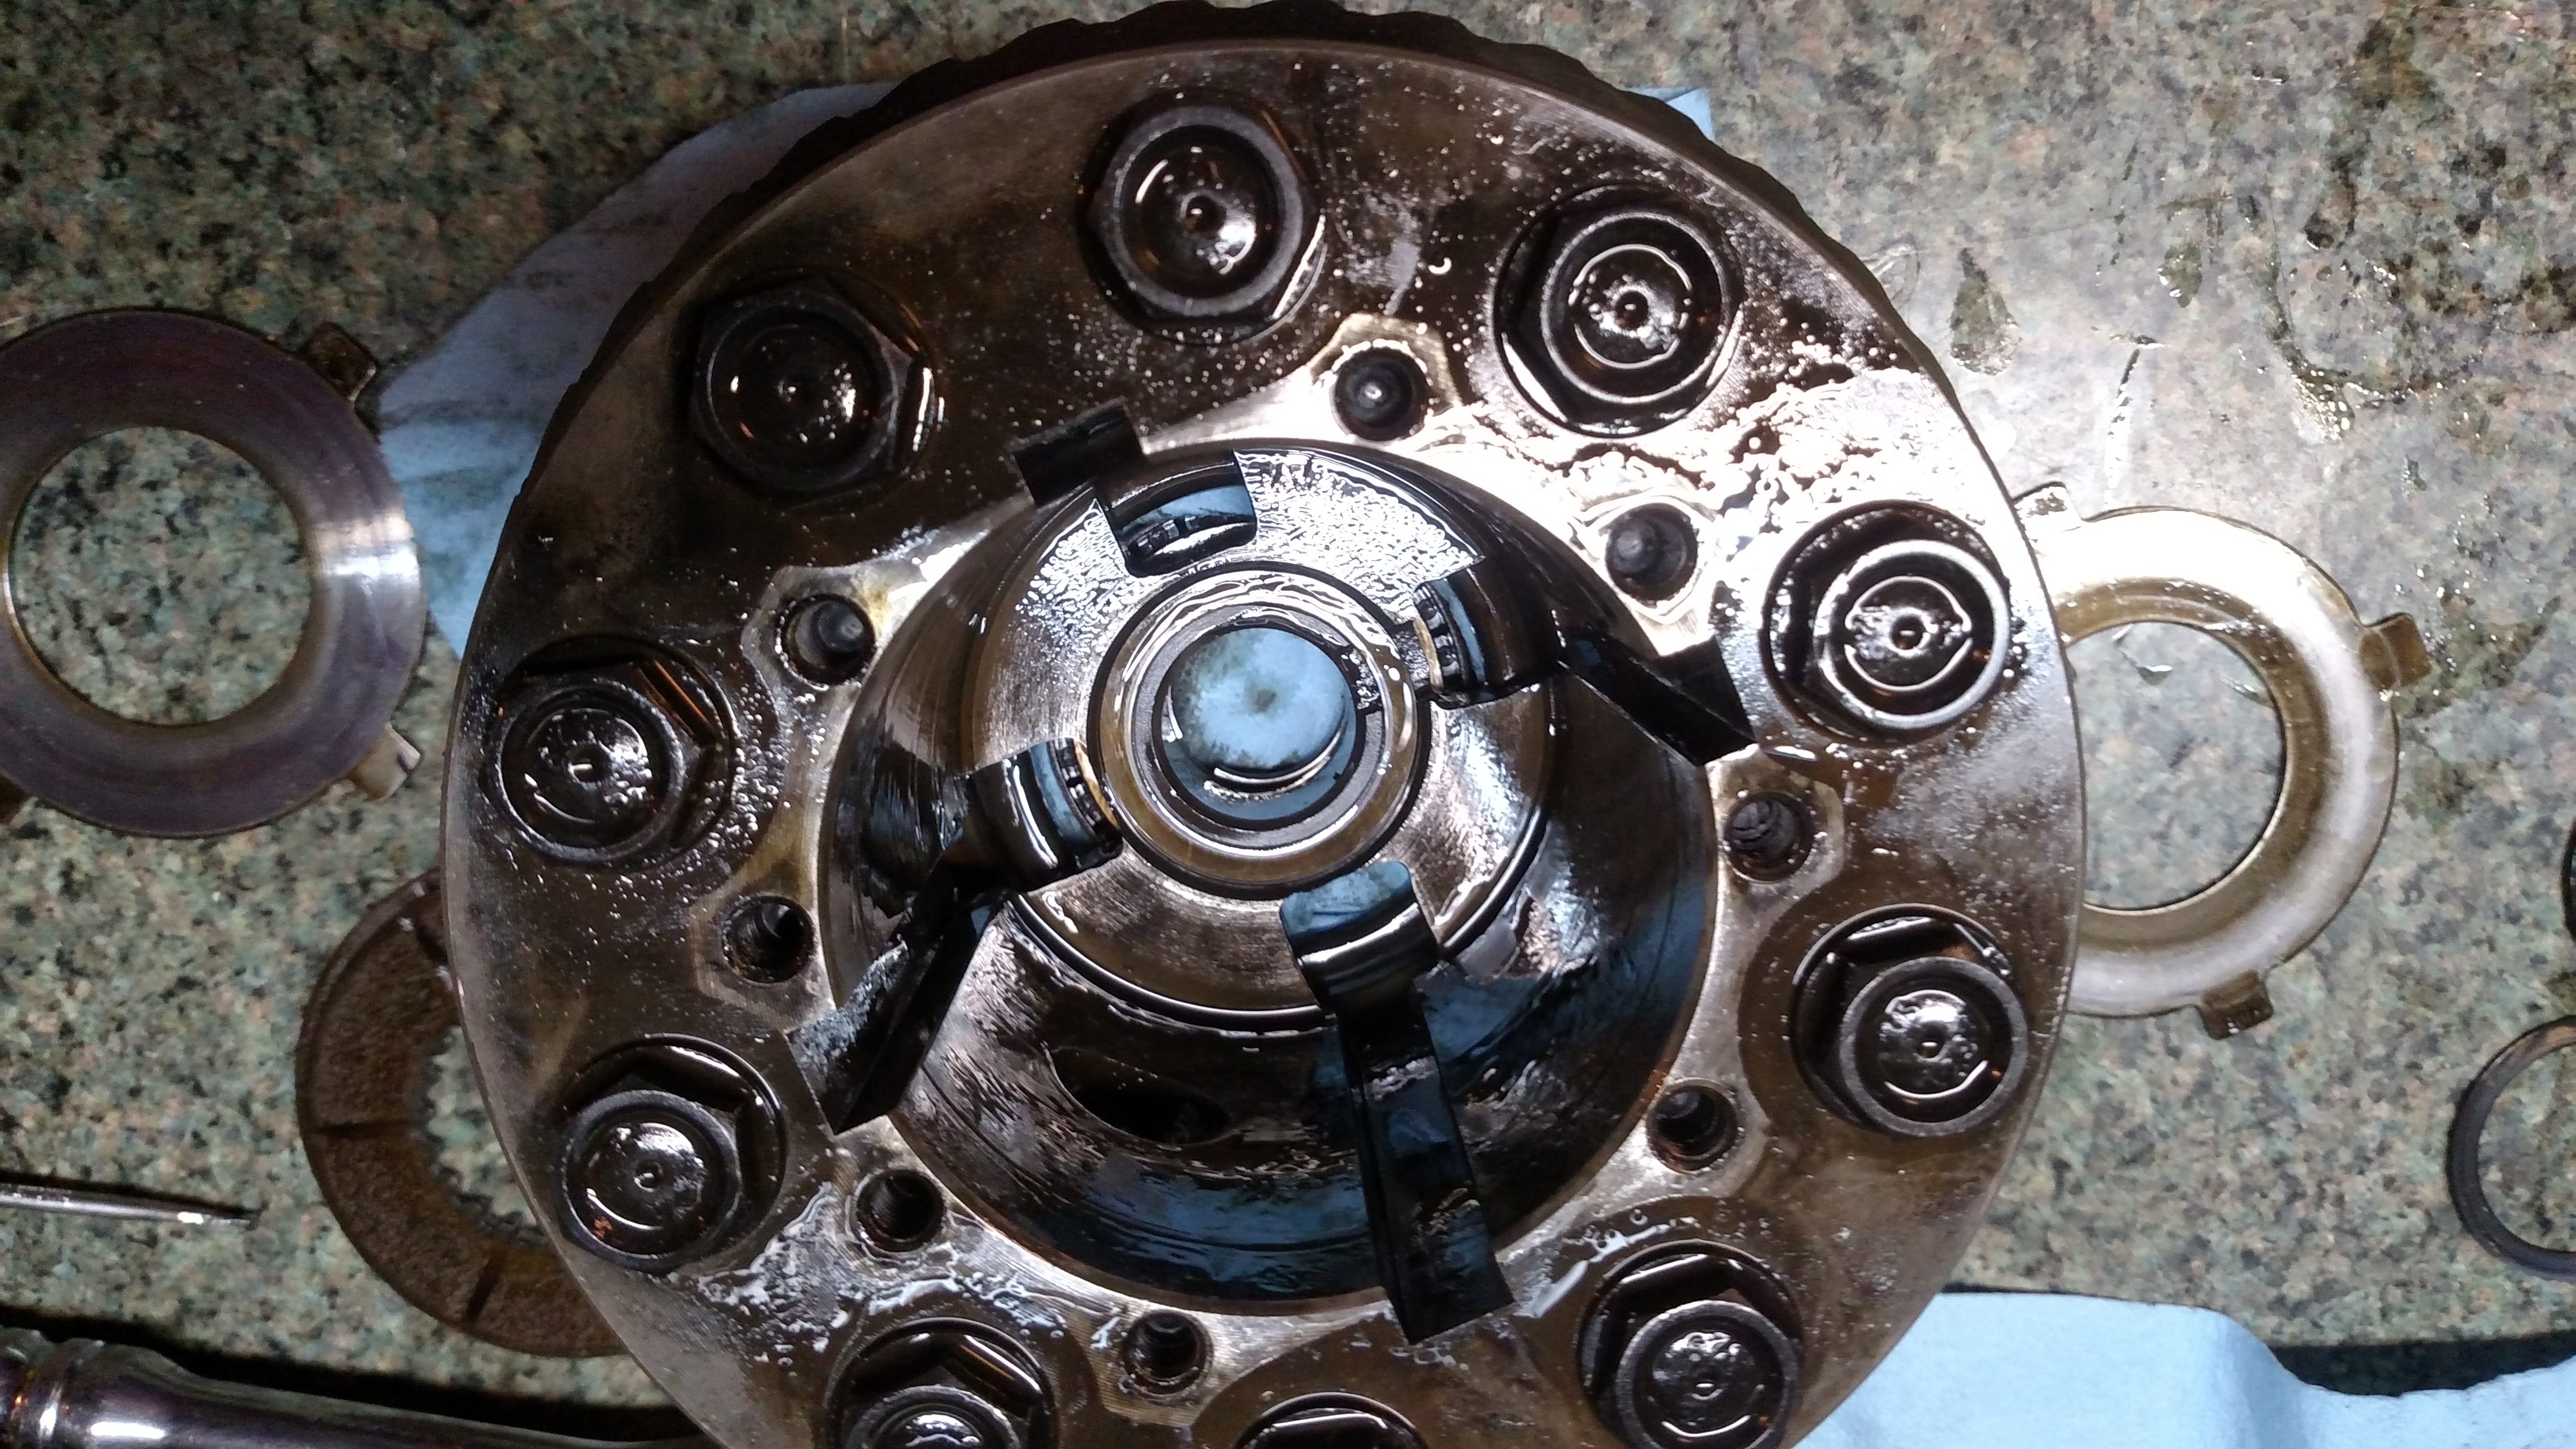
Now you have the cover off. This is the first three things you will find. (I will be ordering everything in order from outer to inner unless otherwise mentioned) This is very easy if you keep track of everything both in the order it comes out and the way it was facing. best to break out the sharpie and mark both the side and number them so its easy to remember, whatever is easiest for you. On the right that ring will most likely be stuck to your case cover take it out so you can keep track of it. Middle one is called a bellevue washer. It is conical, meaning that one side is concave and other is convex(middle school geometry anyone?). The concave side of this and bigger bellevue washers face the spider gears. and last one has waffle pattern on one side. Waffle faces spider gears. And now I want a waffle.

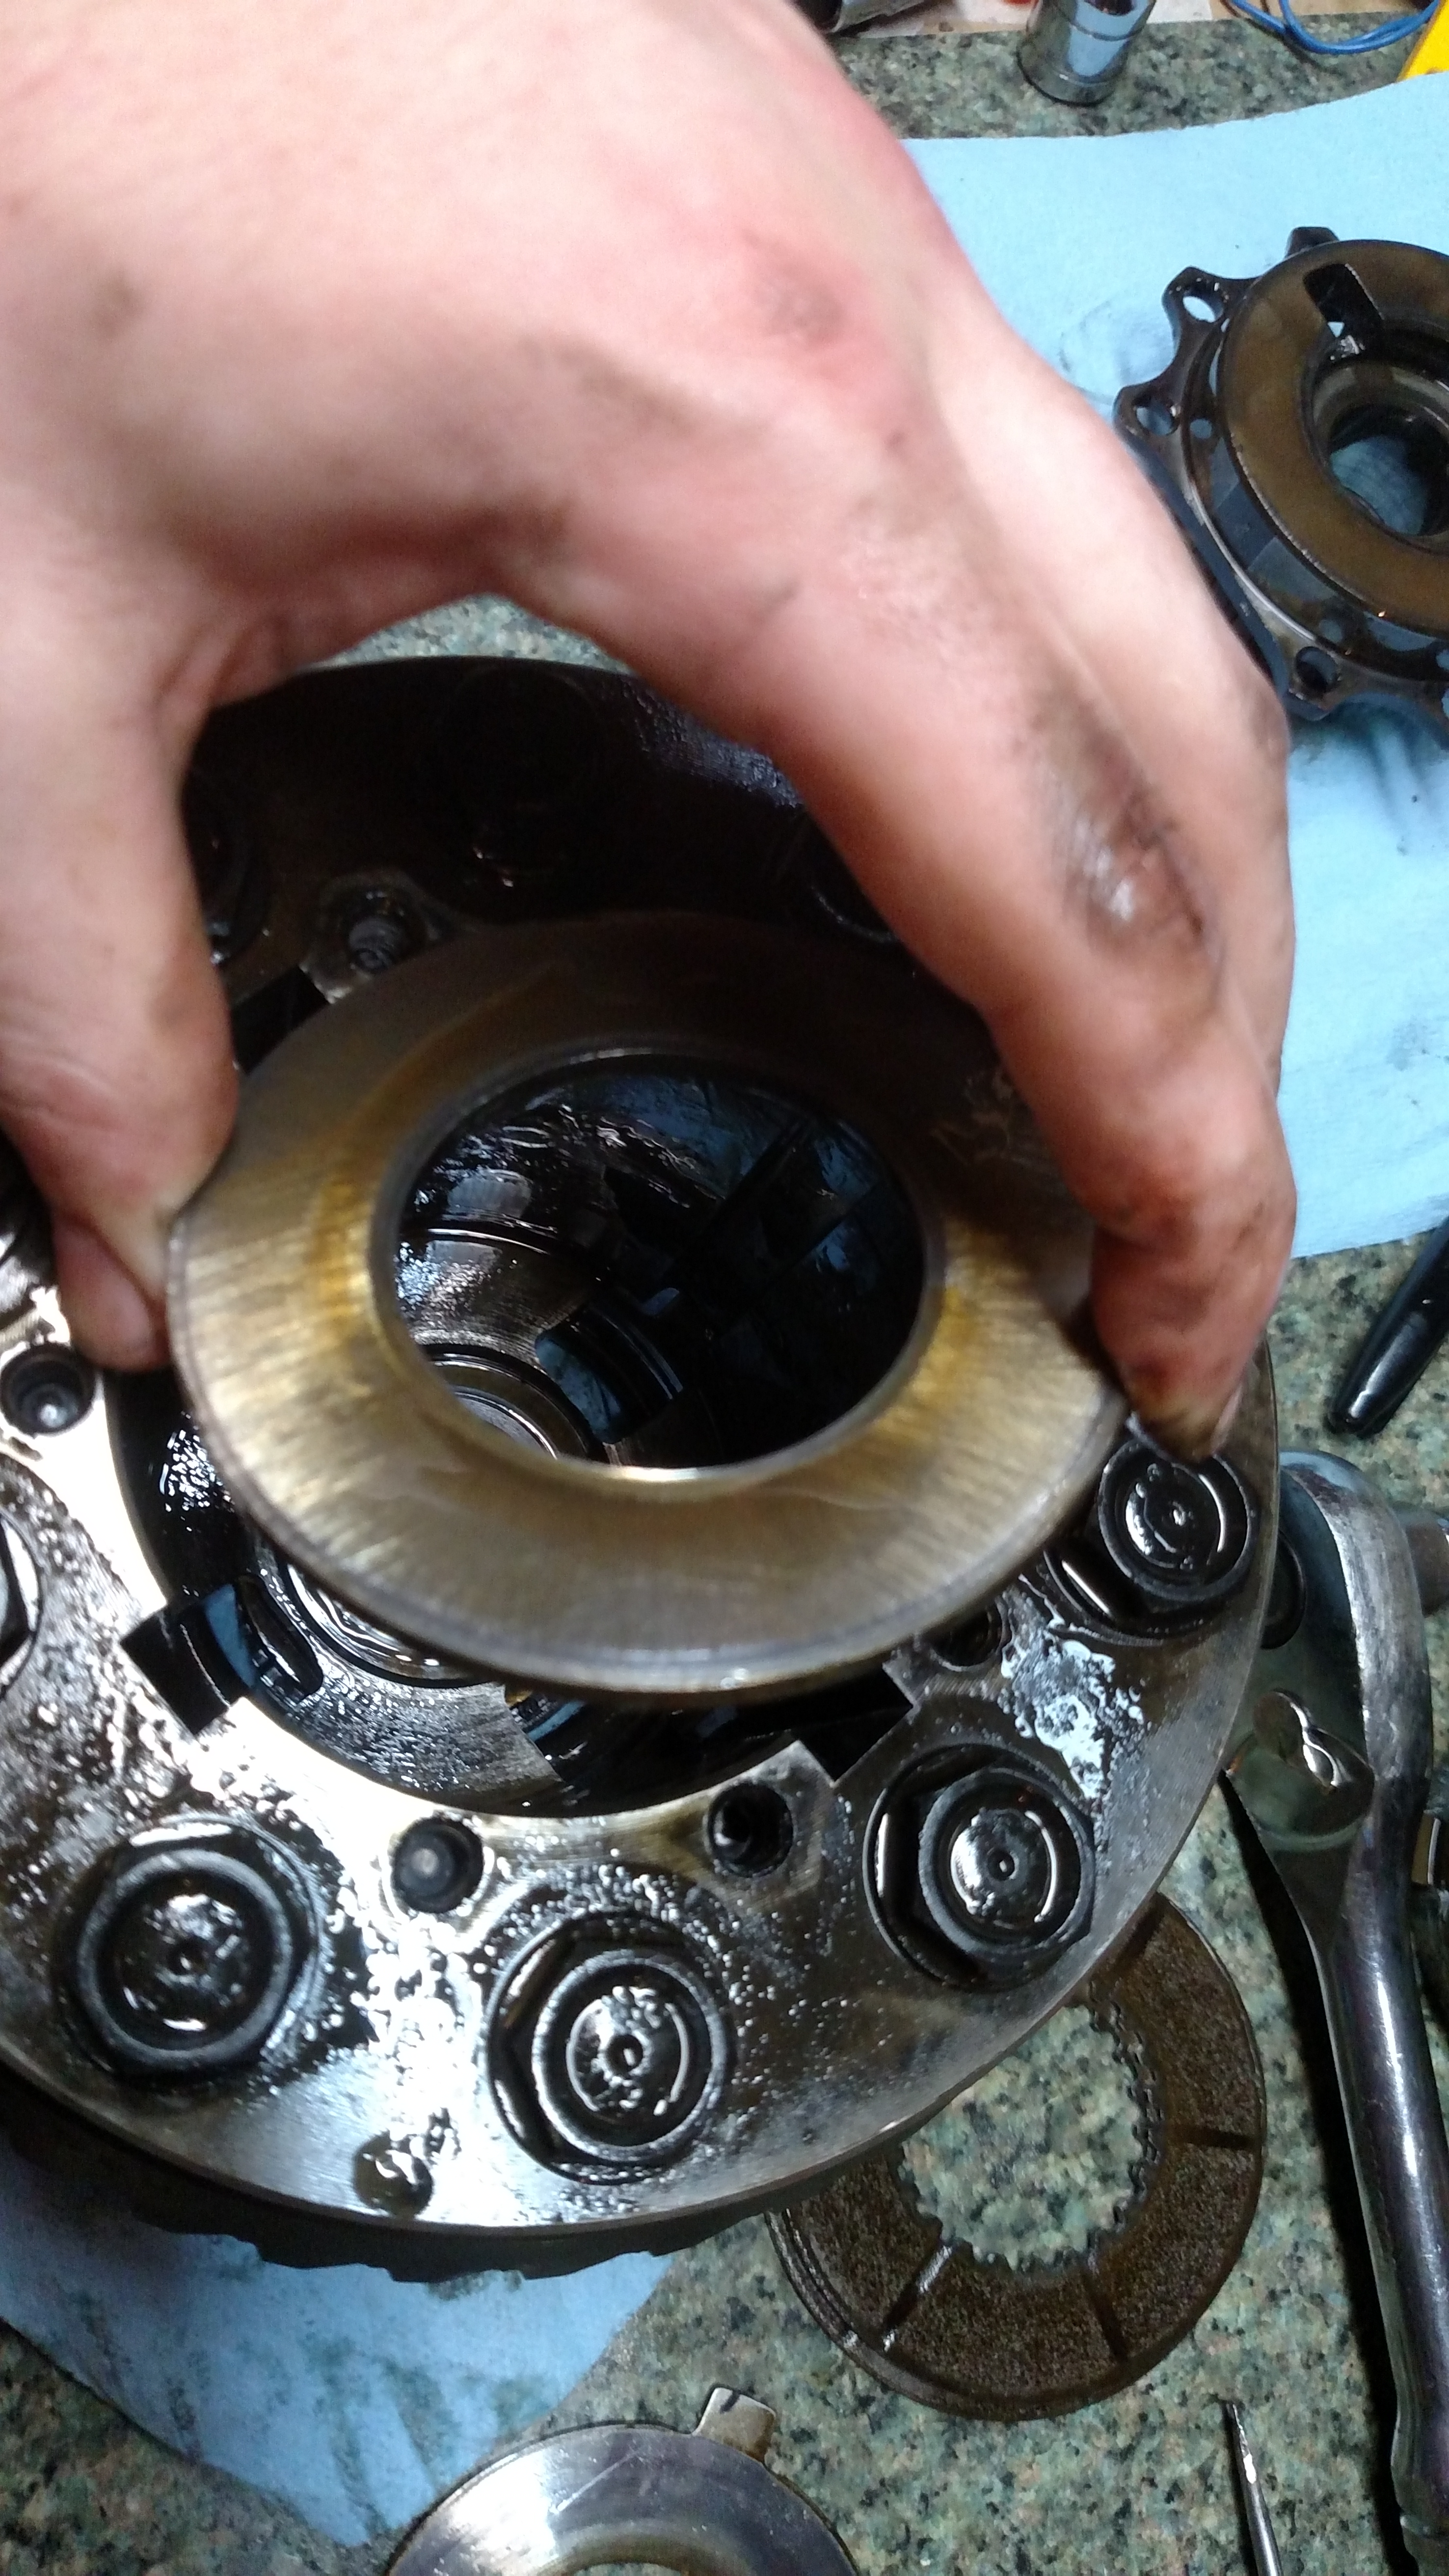
Next is a big bellevue washer again same thing concave faces middle of assembly. Note the bend in the picture below.
Here is the first dog ear. For me I will be reversing the way this is facing so I marked this side to face down. New dog ears go in however you want. Just under this is the first friction plate.

From bottom to top- bellevue washer, dog ear, friction plate. Outer to inner order.

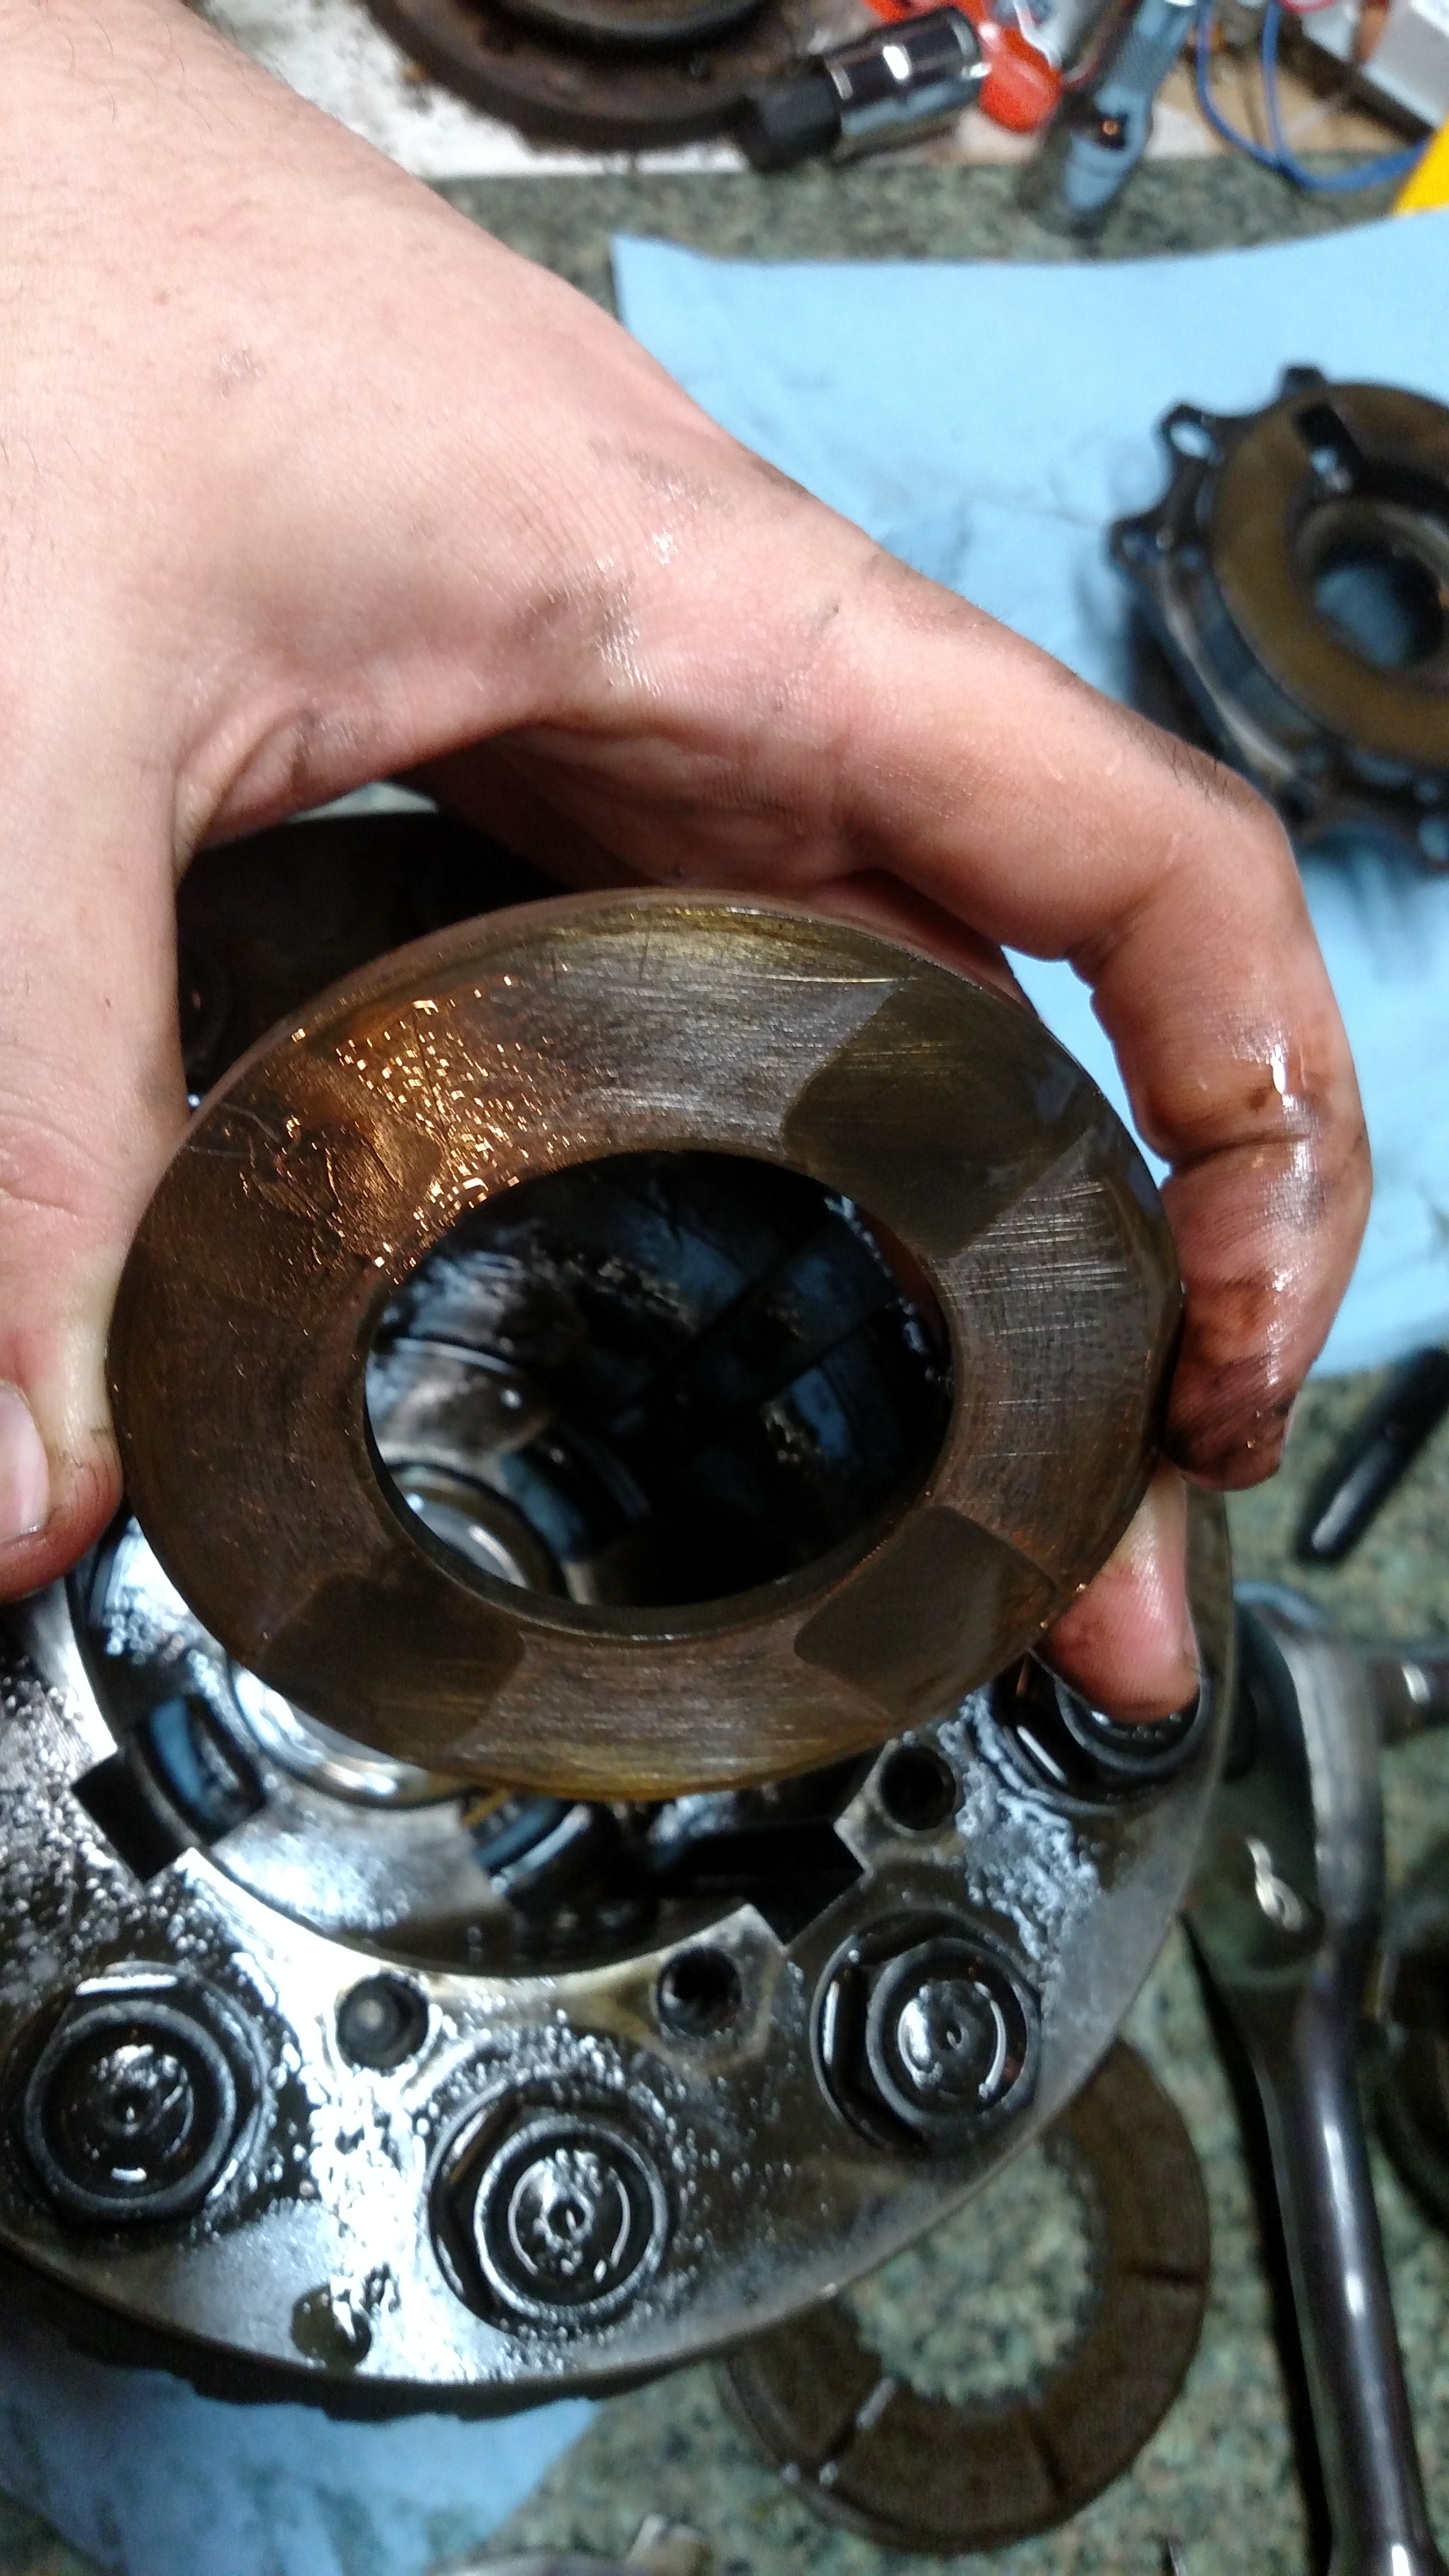
You have now reached the core. The spider gears they are in-cased between the output gear housings. Remember which way this comes out just to make sure you are not messing any shimming and spacing up.
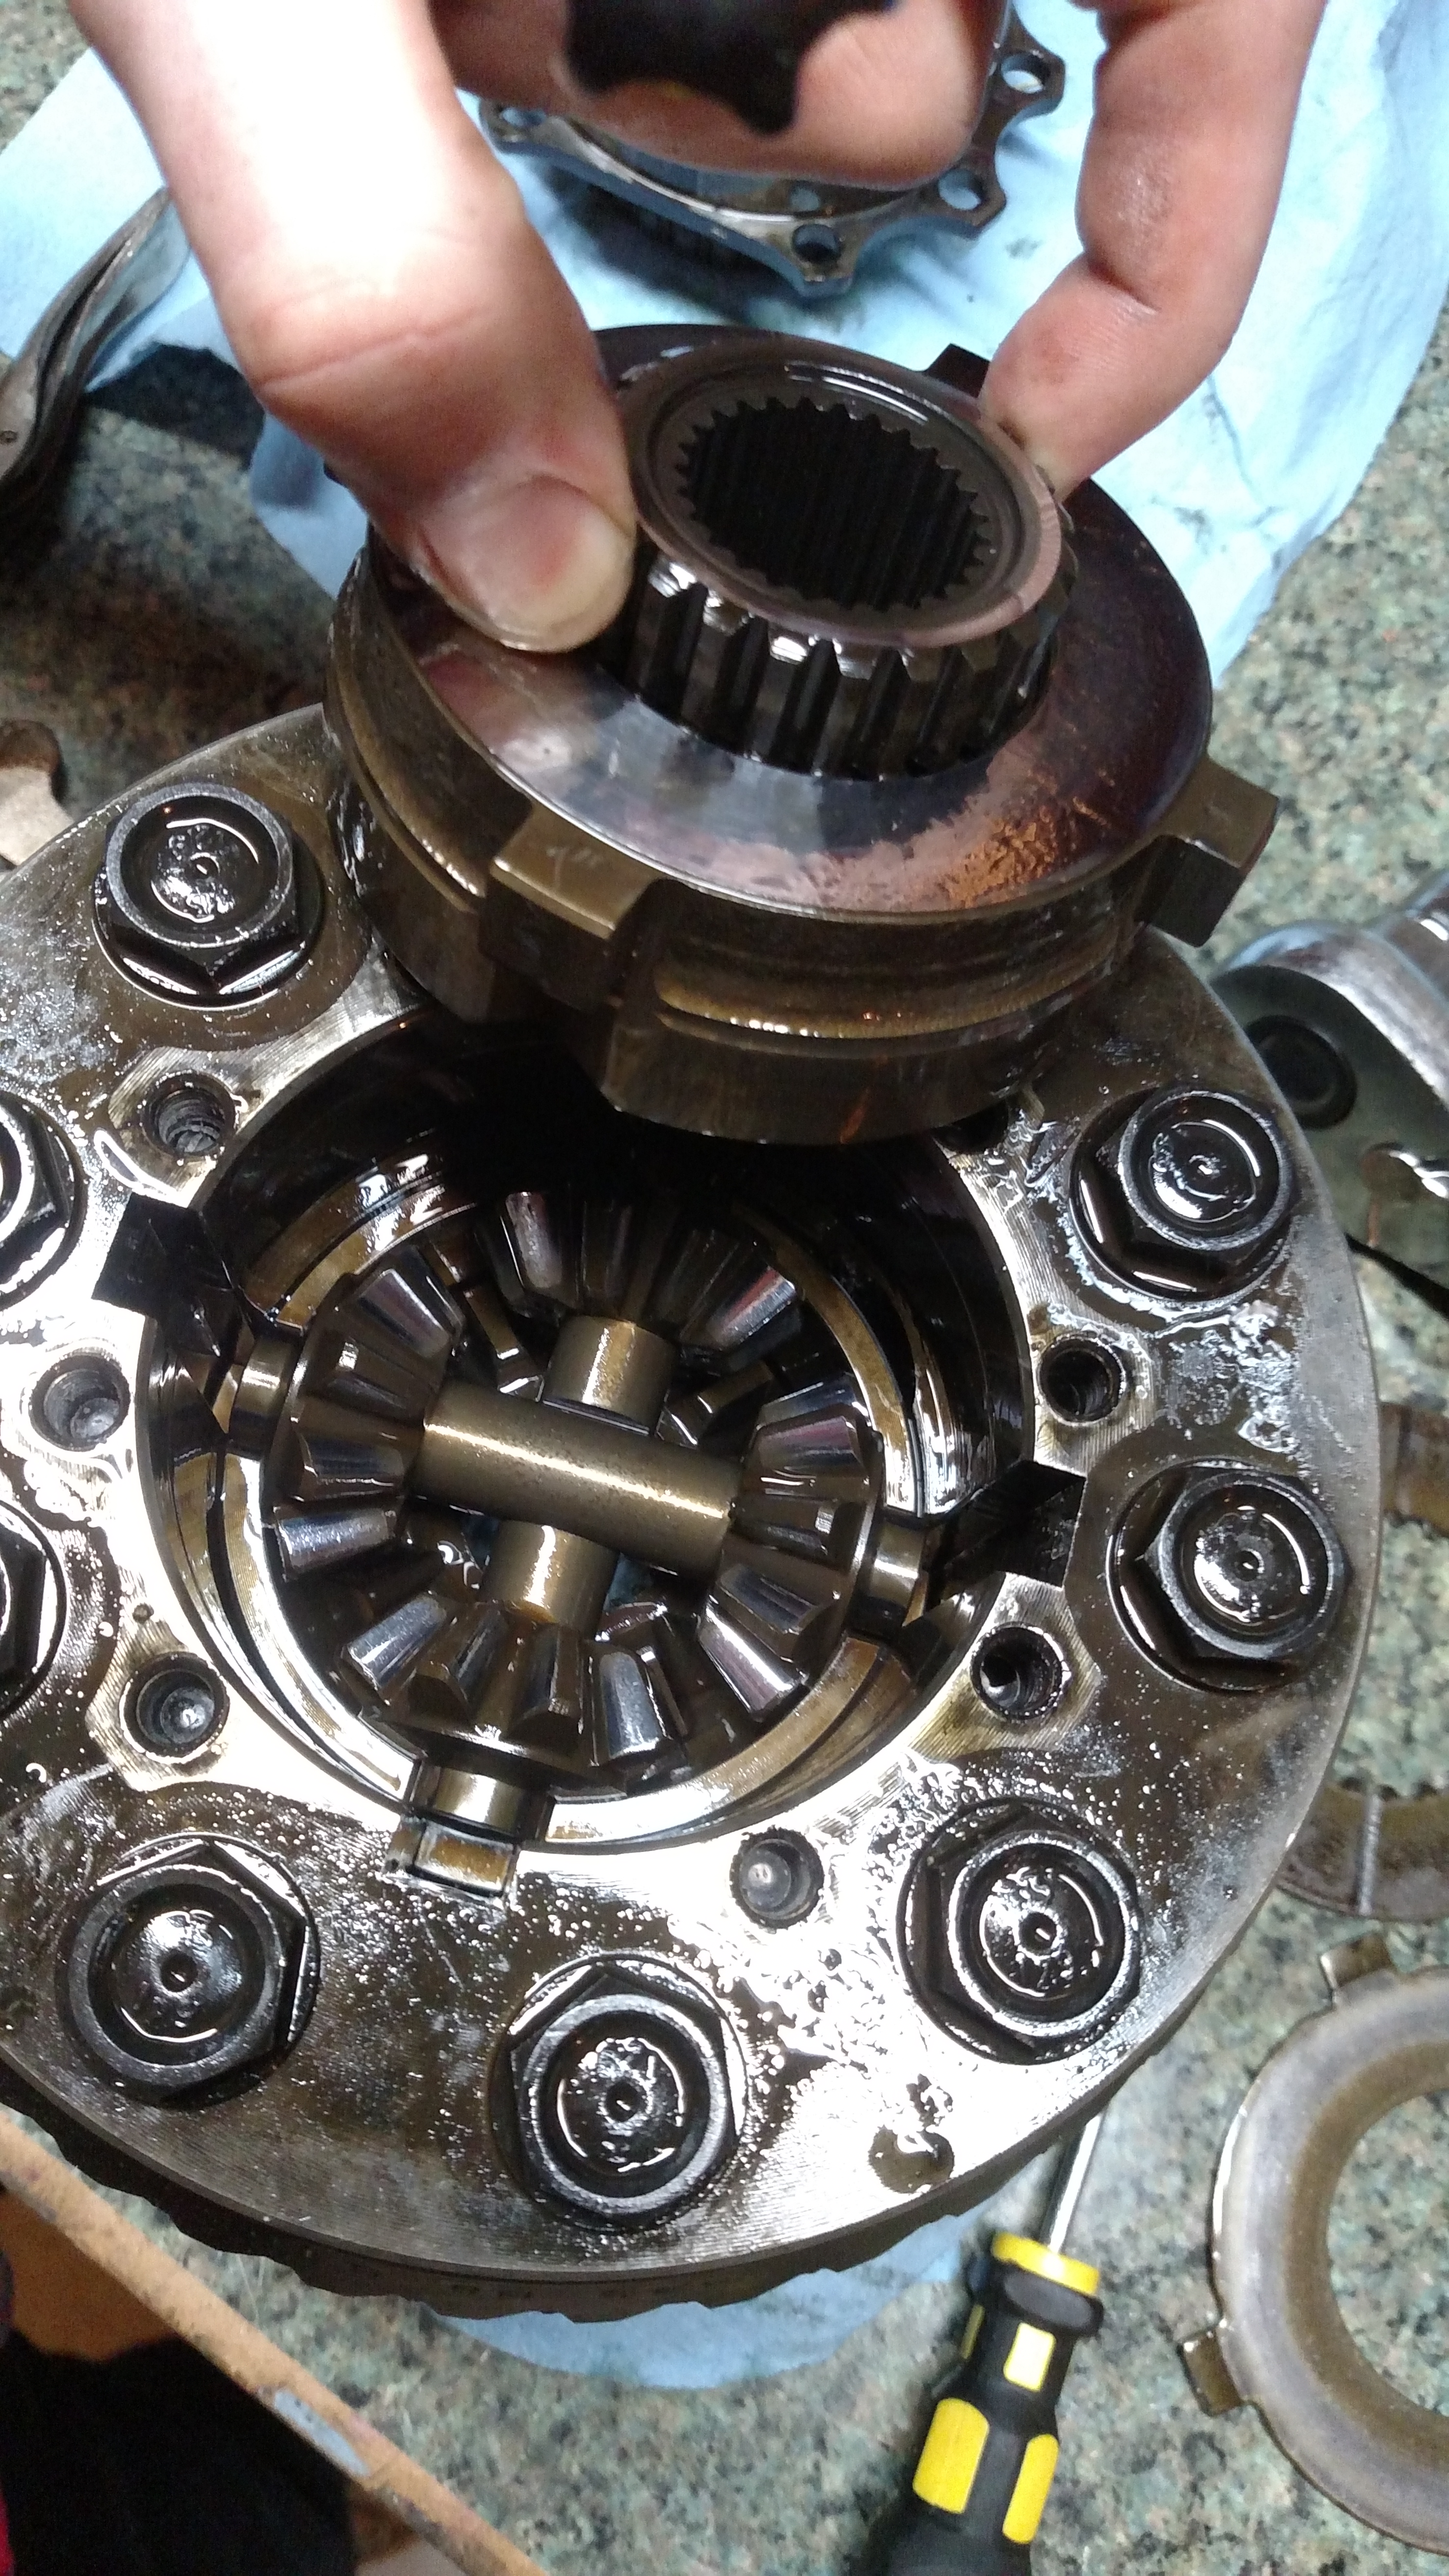
The full spider gear assembly. Below this is another set of (reverse order now) friction plate, dog ear, and bellevue washer. Refer to Diagram up the page to keep track of this.
UPGRADE ALERT. This is the spacer that you throw away and replace with a dog ear+friction plate to get that 3rd. This is found right after second large bellevue washer. Place bellevue washer, then the 2 clutch packs ordered from bottom up if adding 3rd clutch pack.
Under the spacer will be the same 3 small rings you found when you first opened the case cover. Same ordering facing center.
Again I got my stuff off thayermotorsports.com Their old site is bimmerdiffs.com both have great value of info videos and pictures.

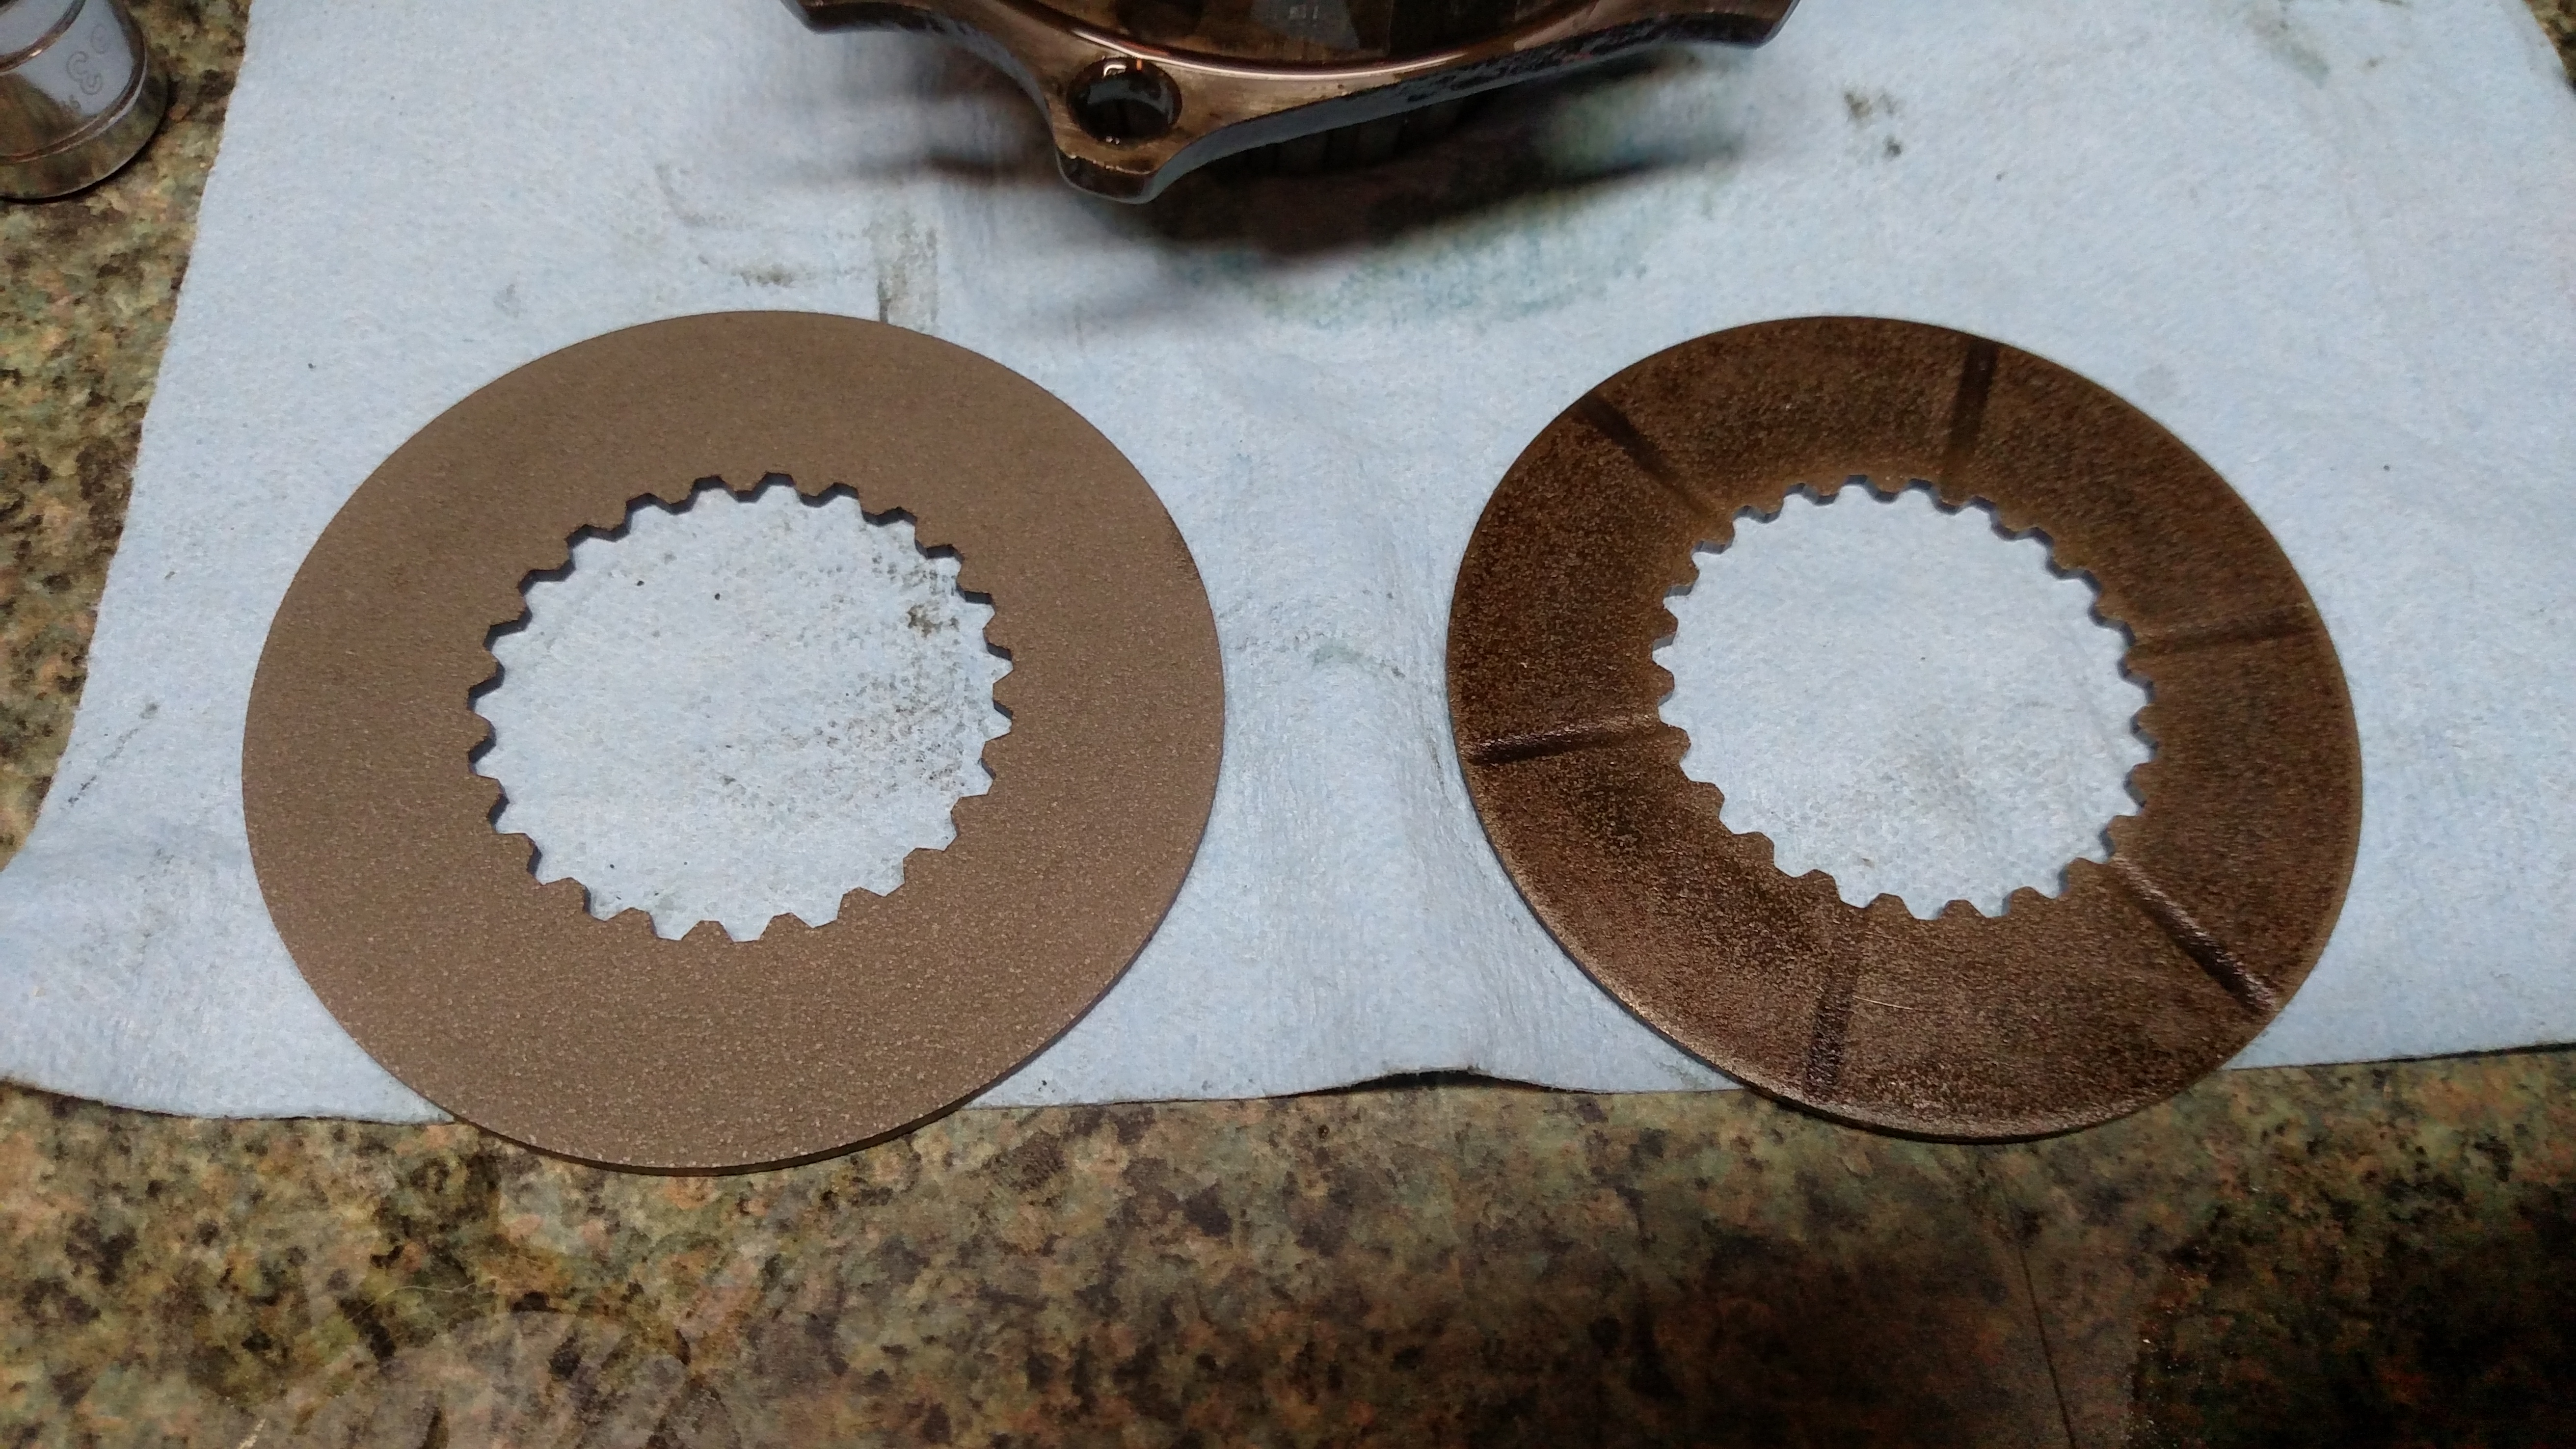
New vs old friction plate.
Stack it all up in same order you took it out with your new friction plates and bolt cover on with new bolts. Place Assembly in with the carriers and bolt carriers back on. Put your output shafts back in. Seal up the rear cover with RTV and bolt back on.
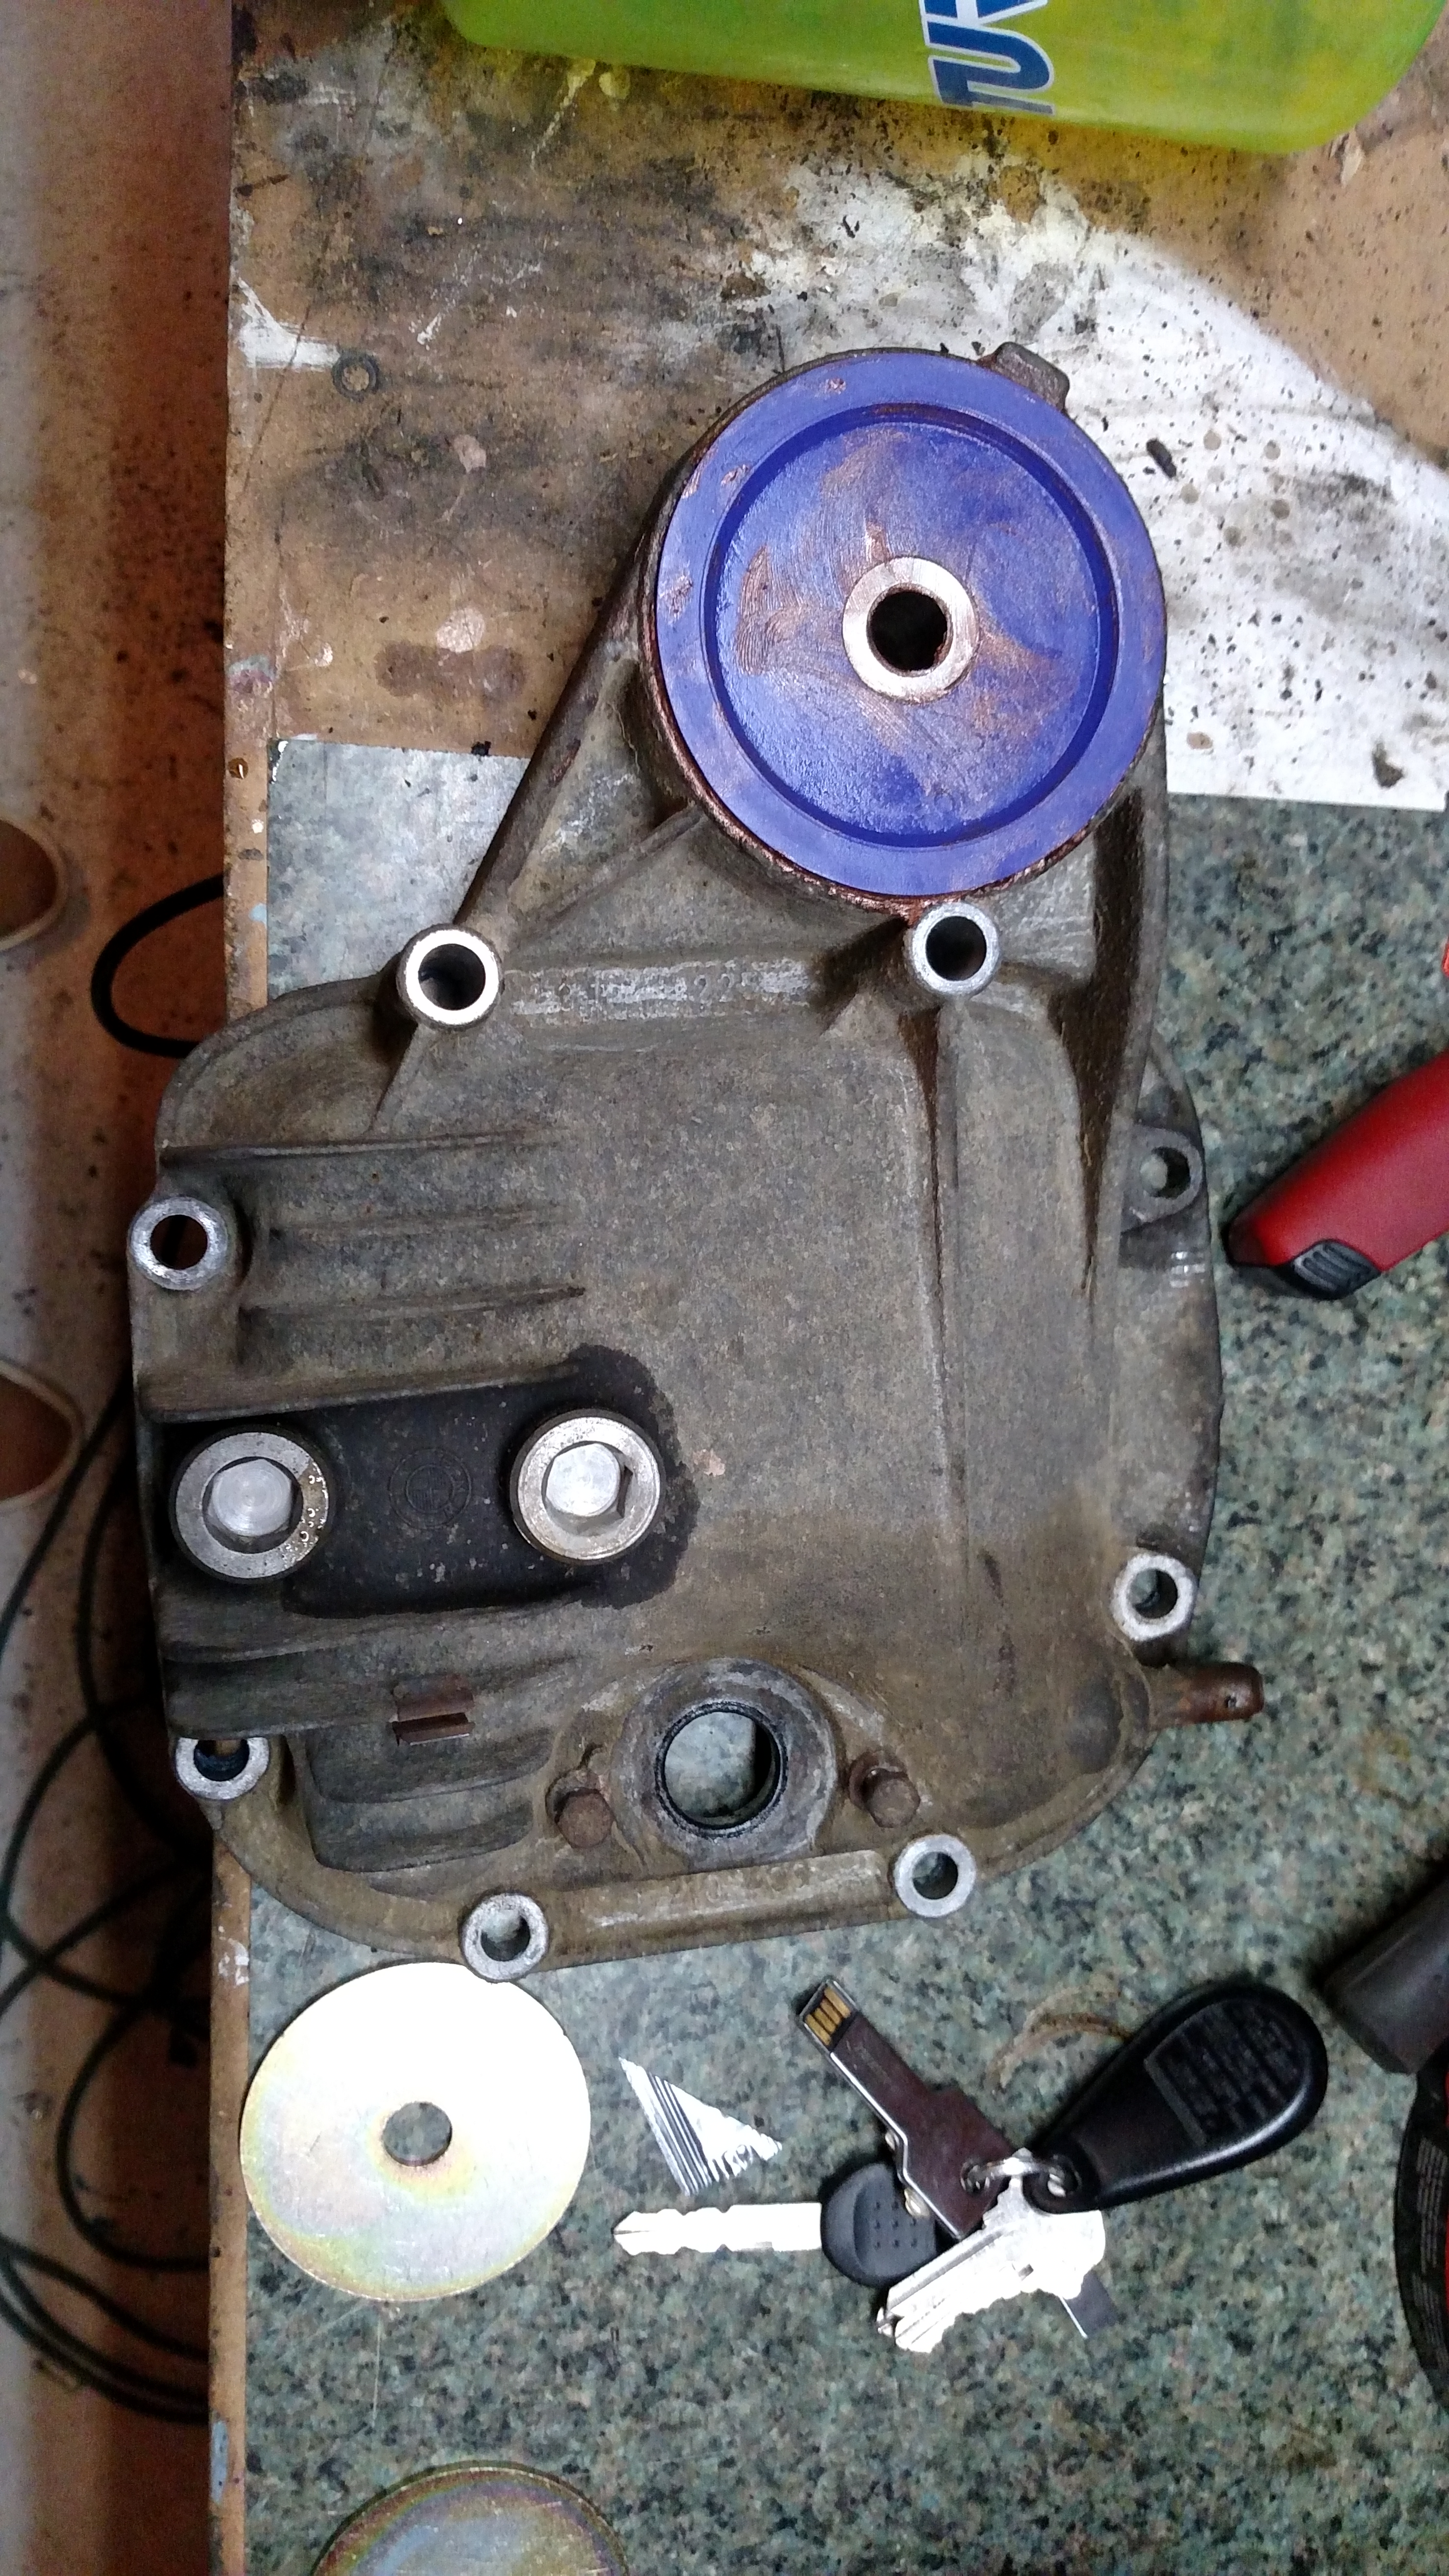
I also took this opportunity to replace the last bushing I had yet to do. Diff mount. It was probably original to the car. Looked pretty good but upgrade was well worth it.
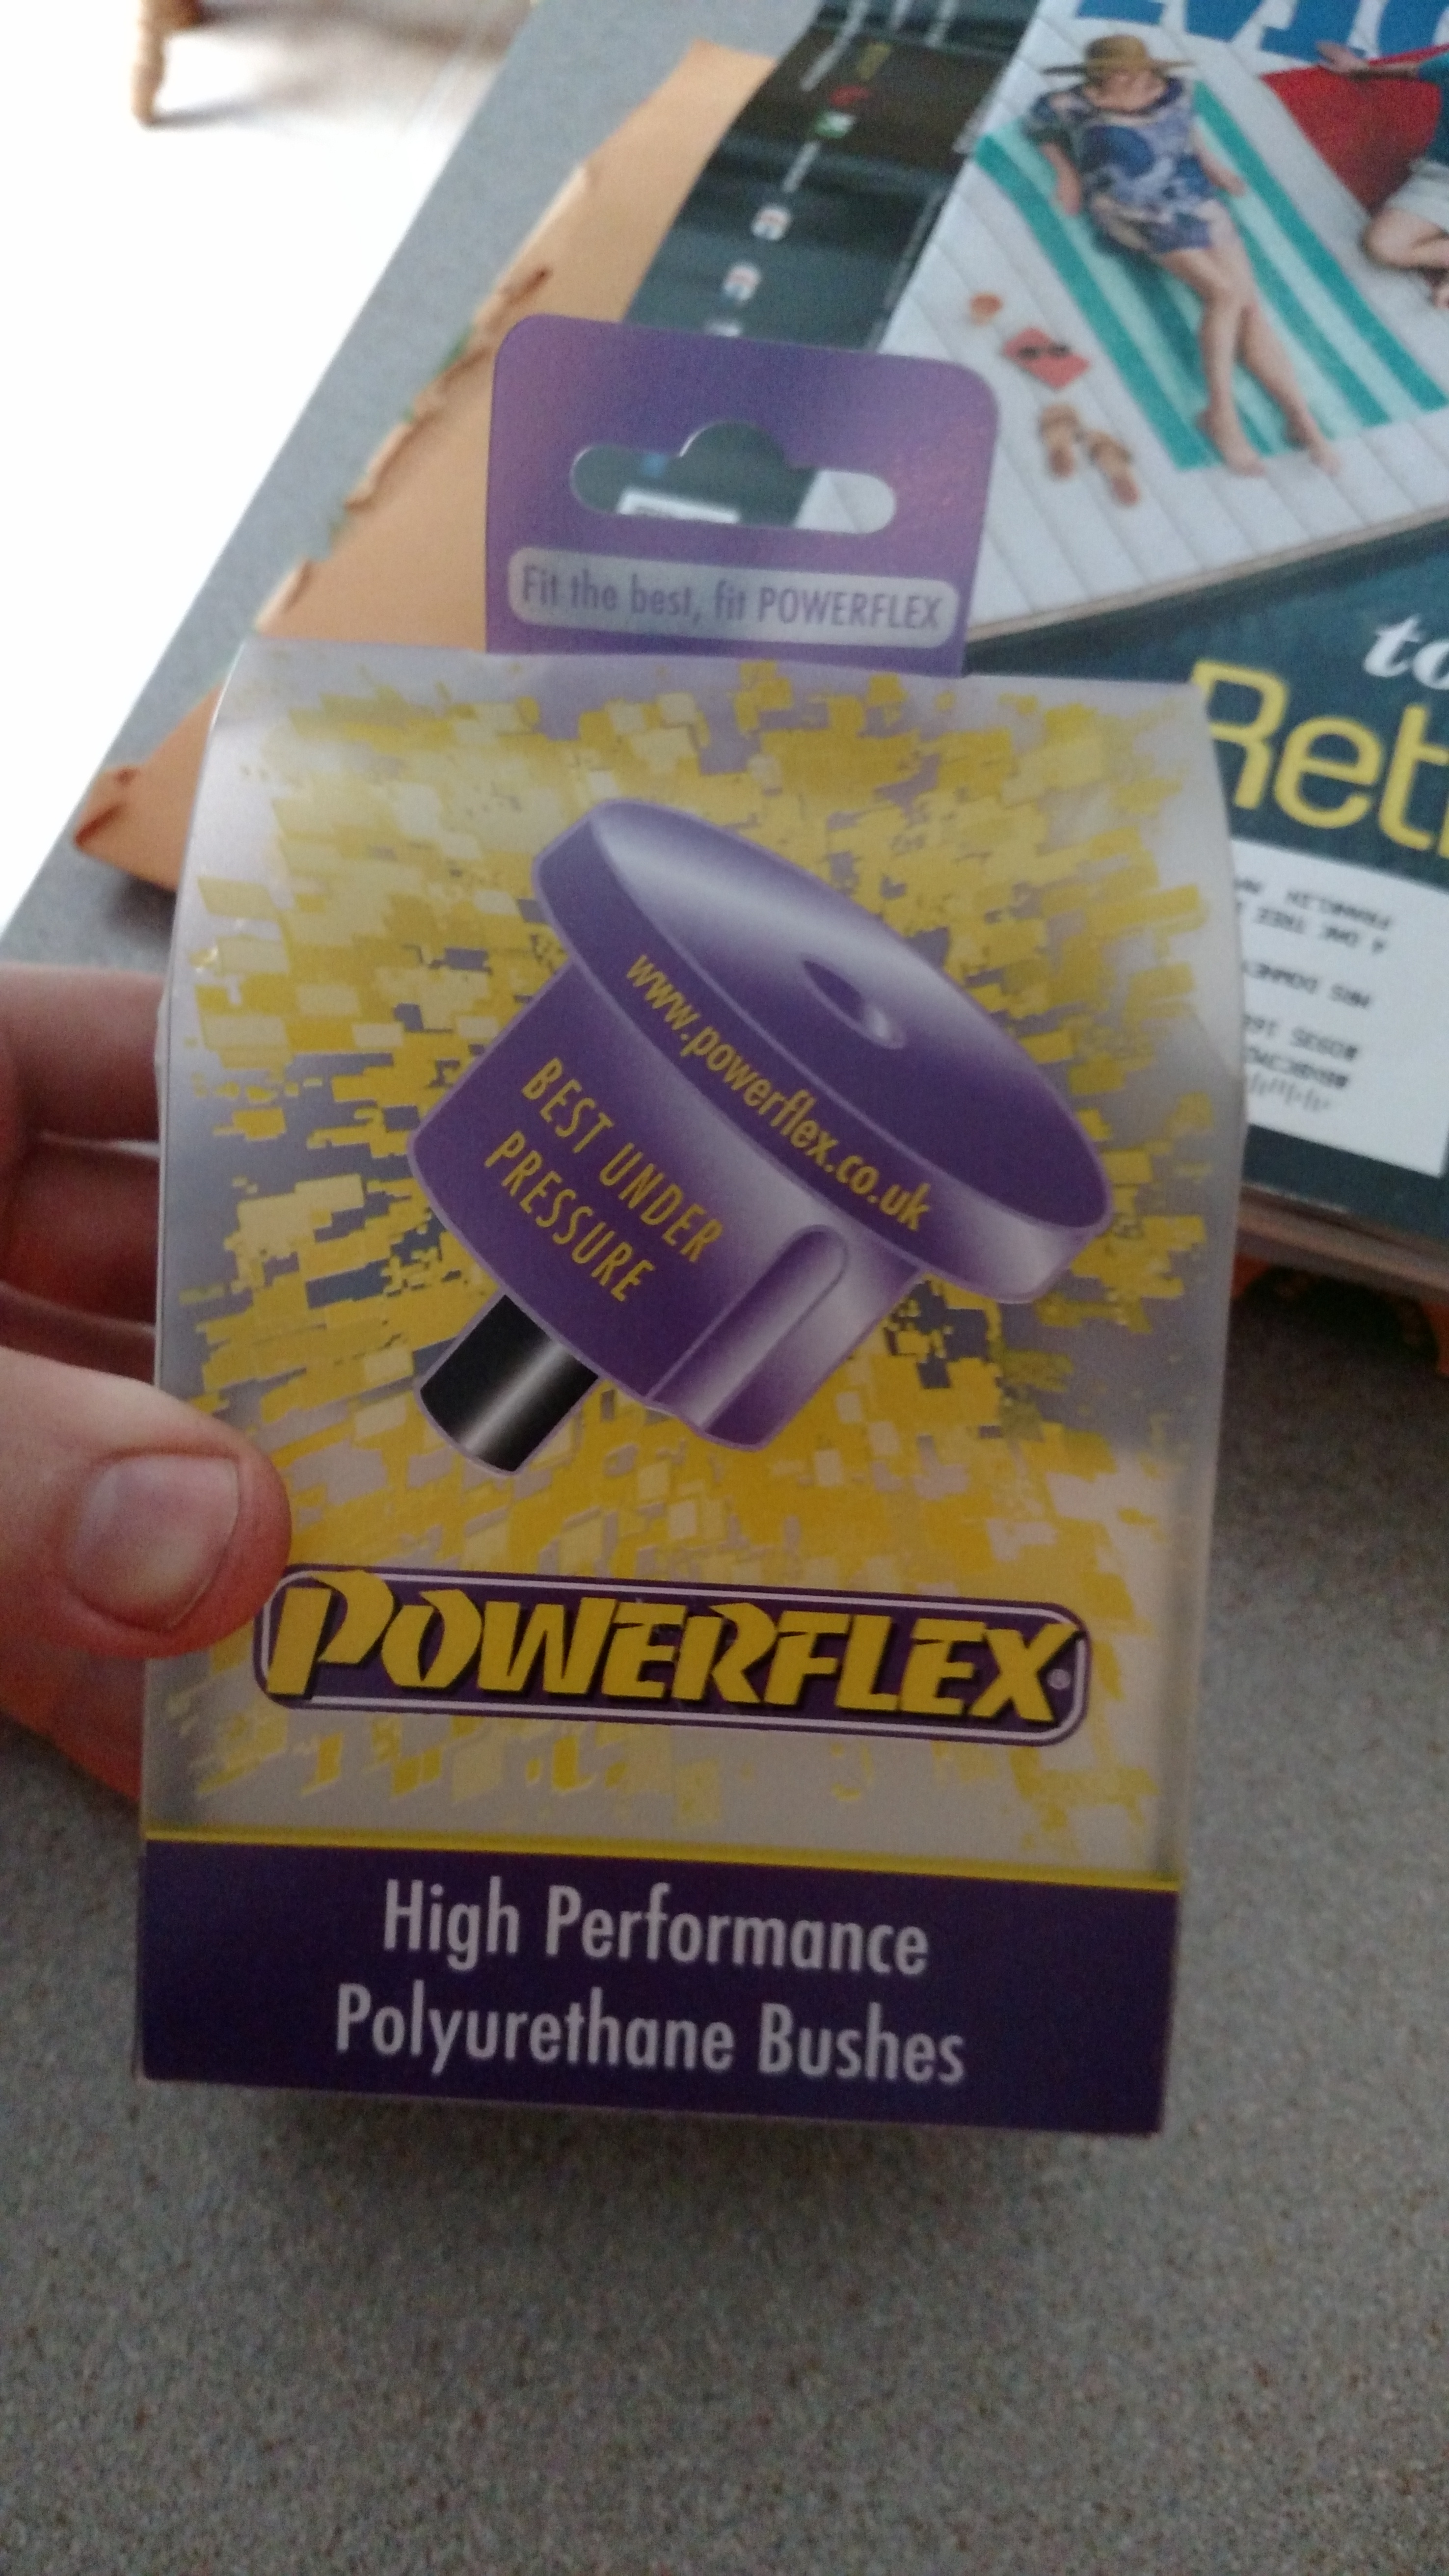

Poly bushings are awesome pressed in by hand.
Overall this was pretty easy job I would say. But the first thing I did on this car was change out the broken engine, so take that under your own advisement. Do your homework. Take it slow. Its a very doable project to tackle and well worth the time. Driving the car around after both upgrades, the car feels like it has a more direct or instant plant and go sensation. Even with my soft rally suspension. I will have to report later on LSD capabilities but I am certain I will have more go on ice, snow, mud, and really any loose or mixed surfaces.


Im rebuilding my differential and I am thinking betweeen these options
-replace stock dog ears with thicker one from Porsche
-replace stock friction plates wtih Porsche ones?
Thanks for your thoughts!
Al
Aljaz,
People have added the Porsche dog ears with success. Might add small amount of lock go for it. Have not heard or seen anyone adding Porsche friction plates i am not sure that they would add anything more that the BMW ones could already do.
Comments are closed.