Have you gotten through your winter list of race car and race day maintenance items? Was “refinish / maintain my trailer” on your list? If so, I recommend taking a look at the Herculiner brand of DIY bedliner paint as a durable, tough option to paint.
One of the most critical parts of a race weekend is my trailer, but it’s usually one of the last things I focus on during the season while chasing every day life plus my racing hobby. So, this year I decided to spend some time getting my trailer up-to-snuff.
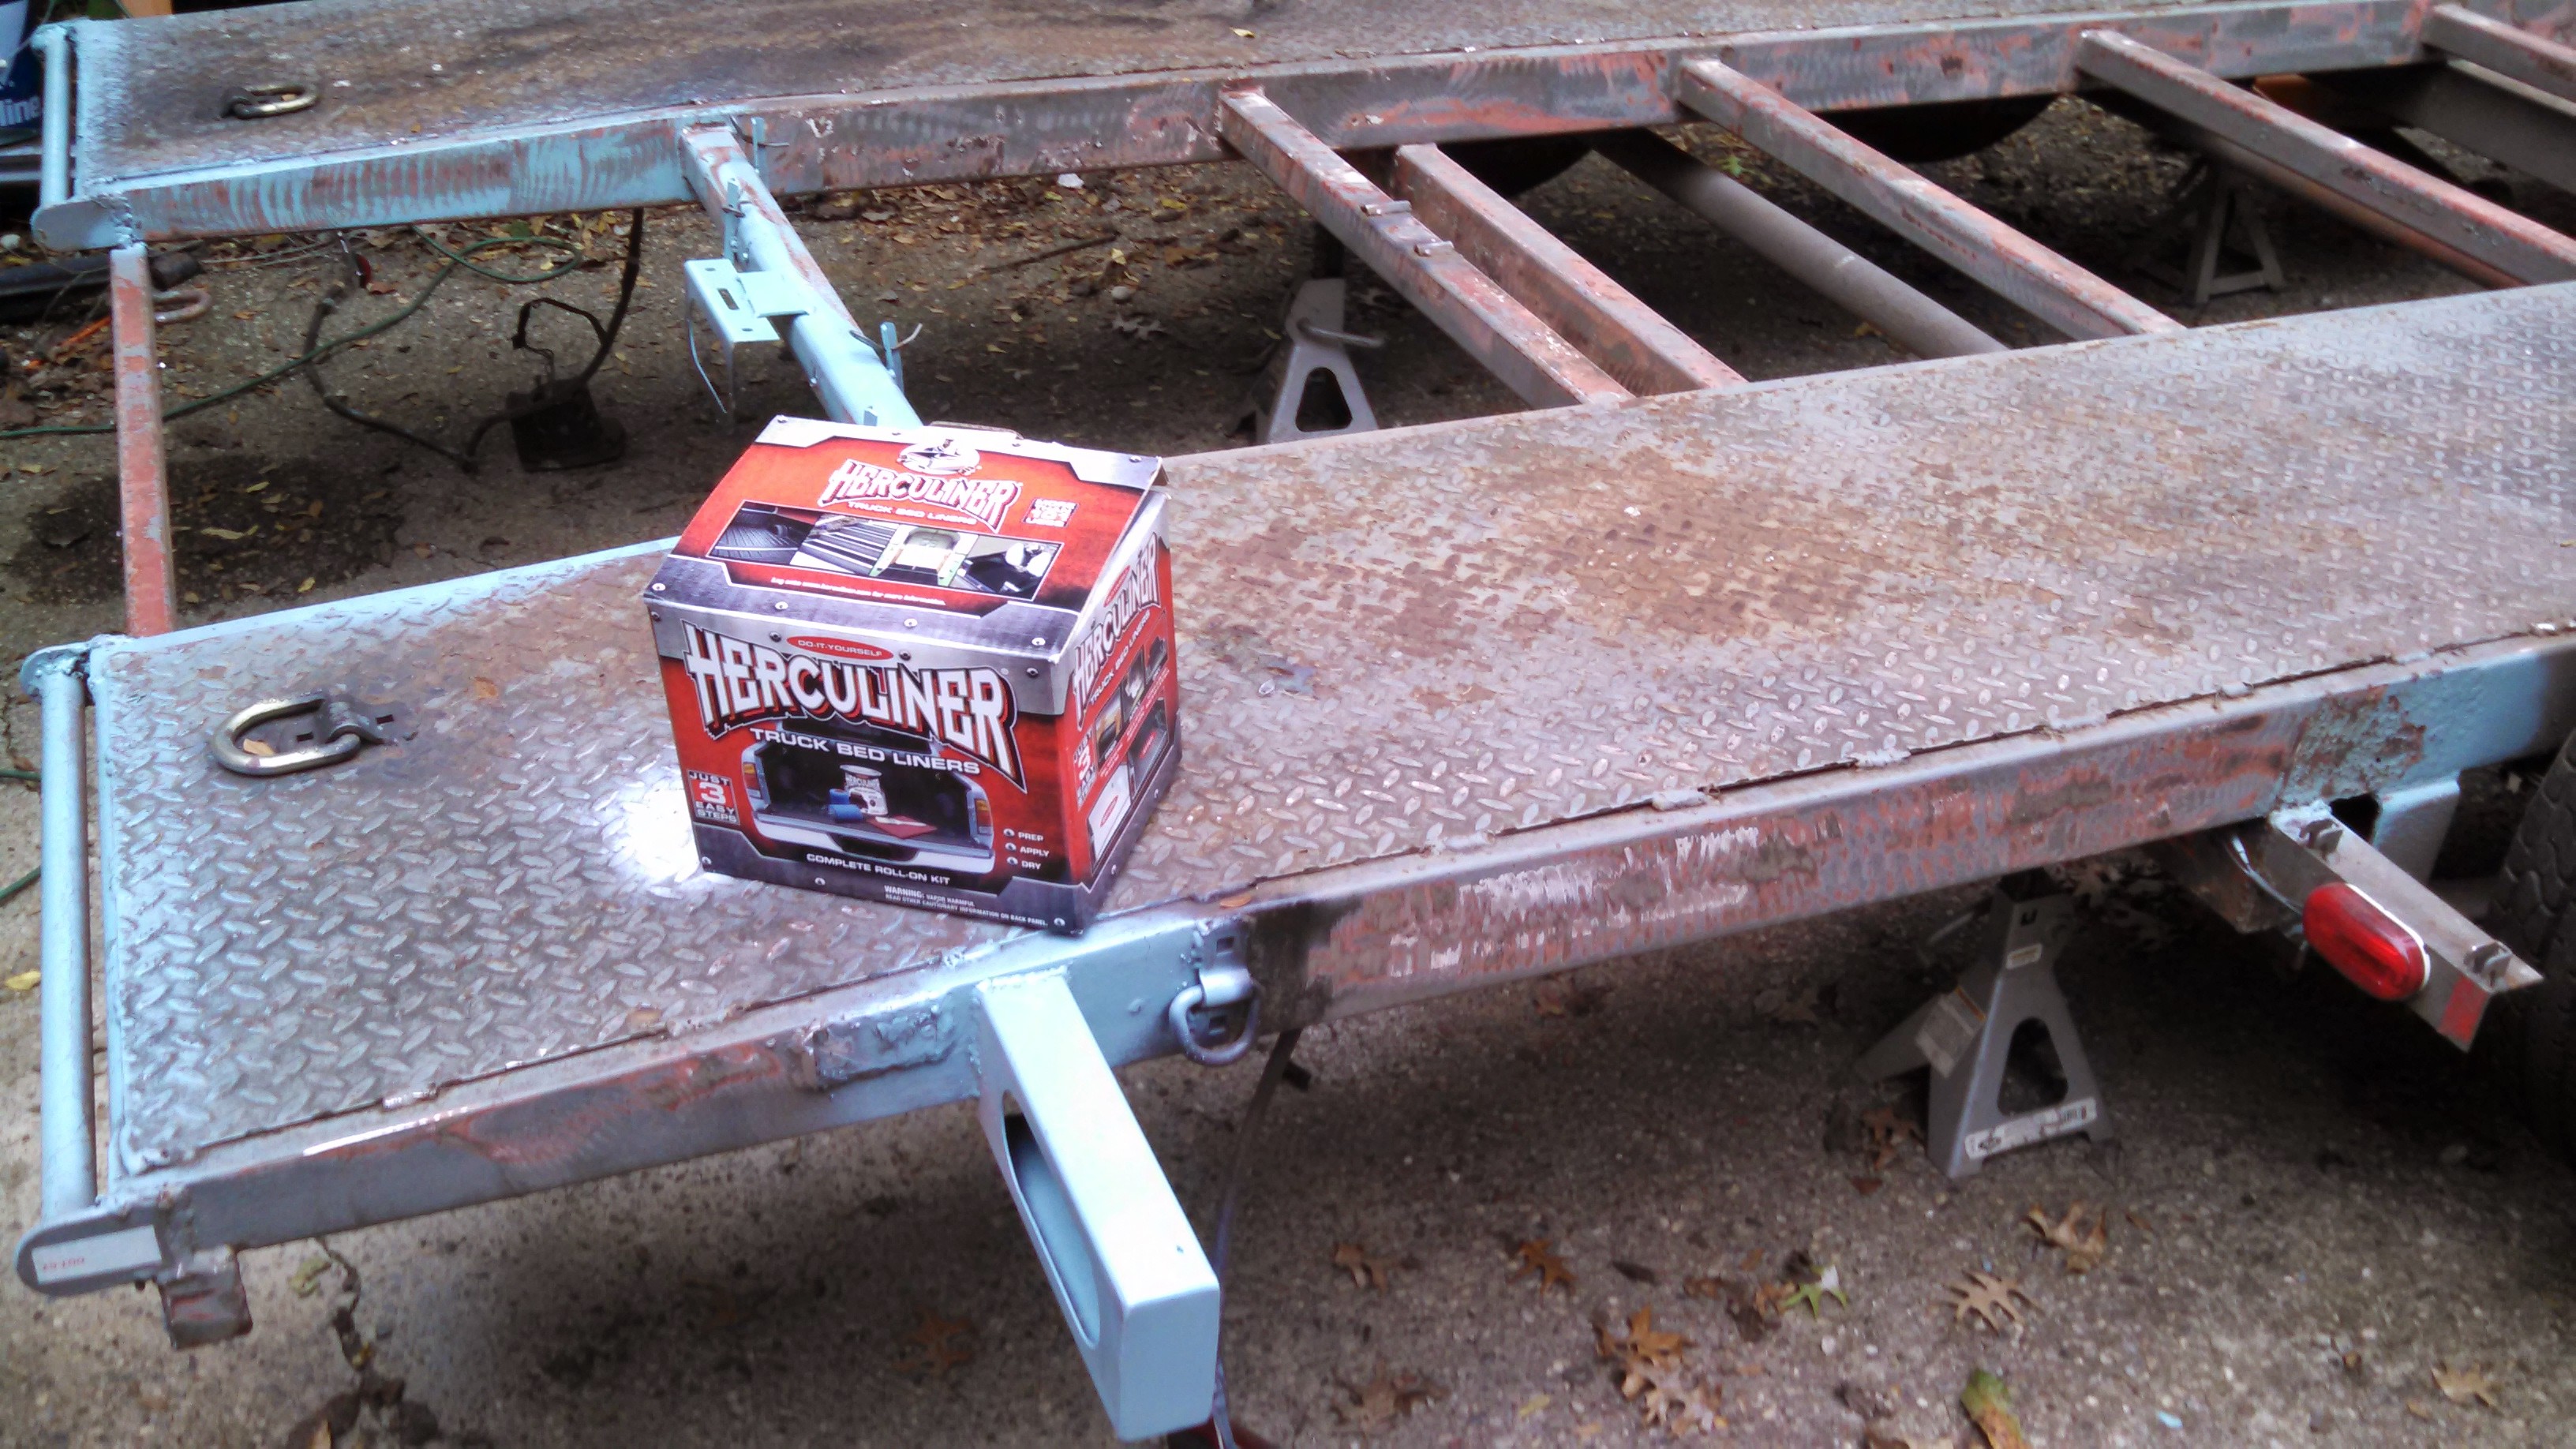
Years ago I built the trailer in my mom’s driveway with the help of several friends. At the time, I painted it with gray farm implement paint I picked up at Tractor Supply Company. It lasted over a decade, but several winter-time tows, moving many wrecked cars and normal weathering had worn away the paint to bare metal in most places.
Needless to say it needed a new coat of something.
And along came Hercules, err, Herculiner.
A full-size bedliner in a box
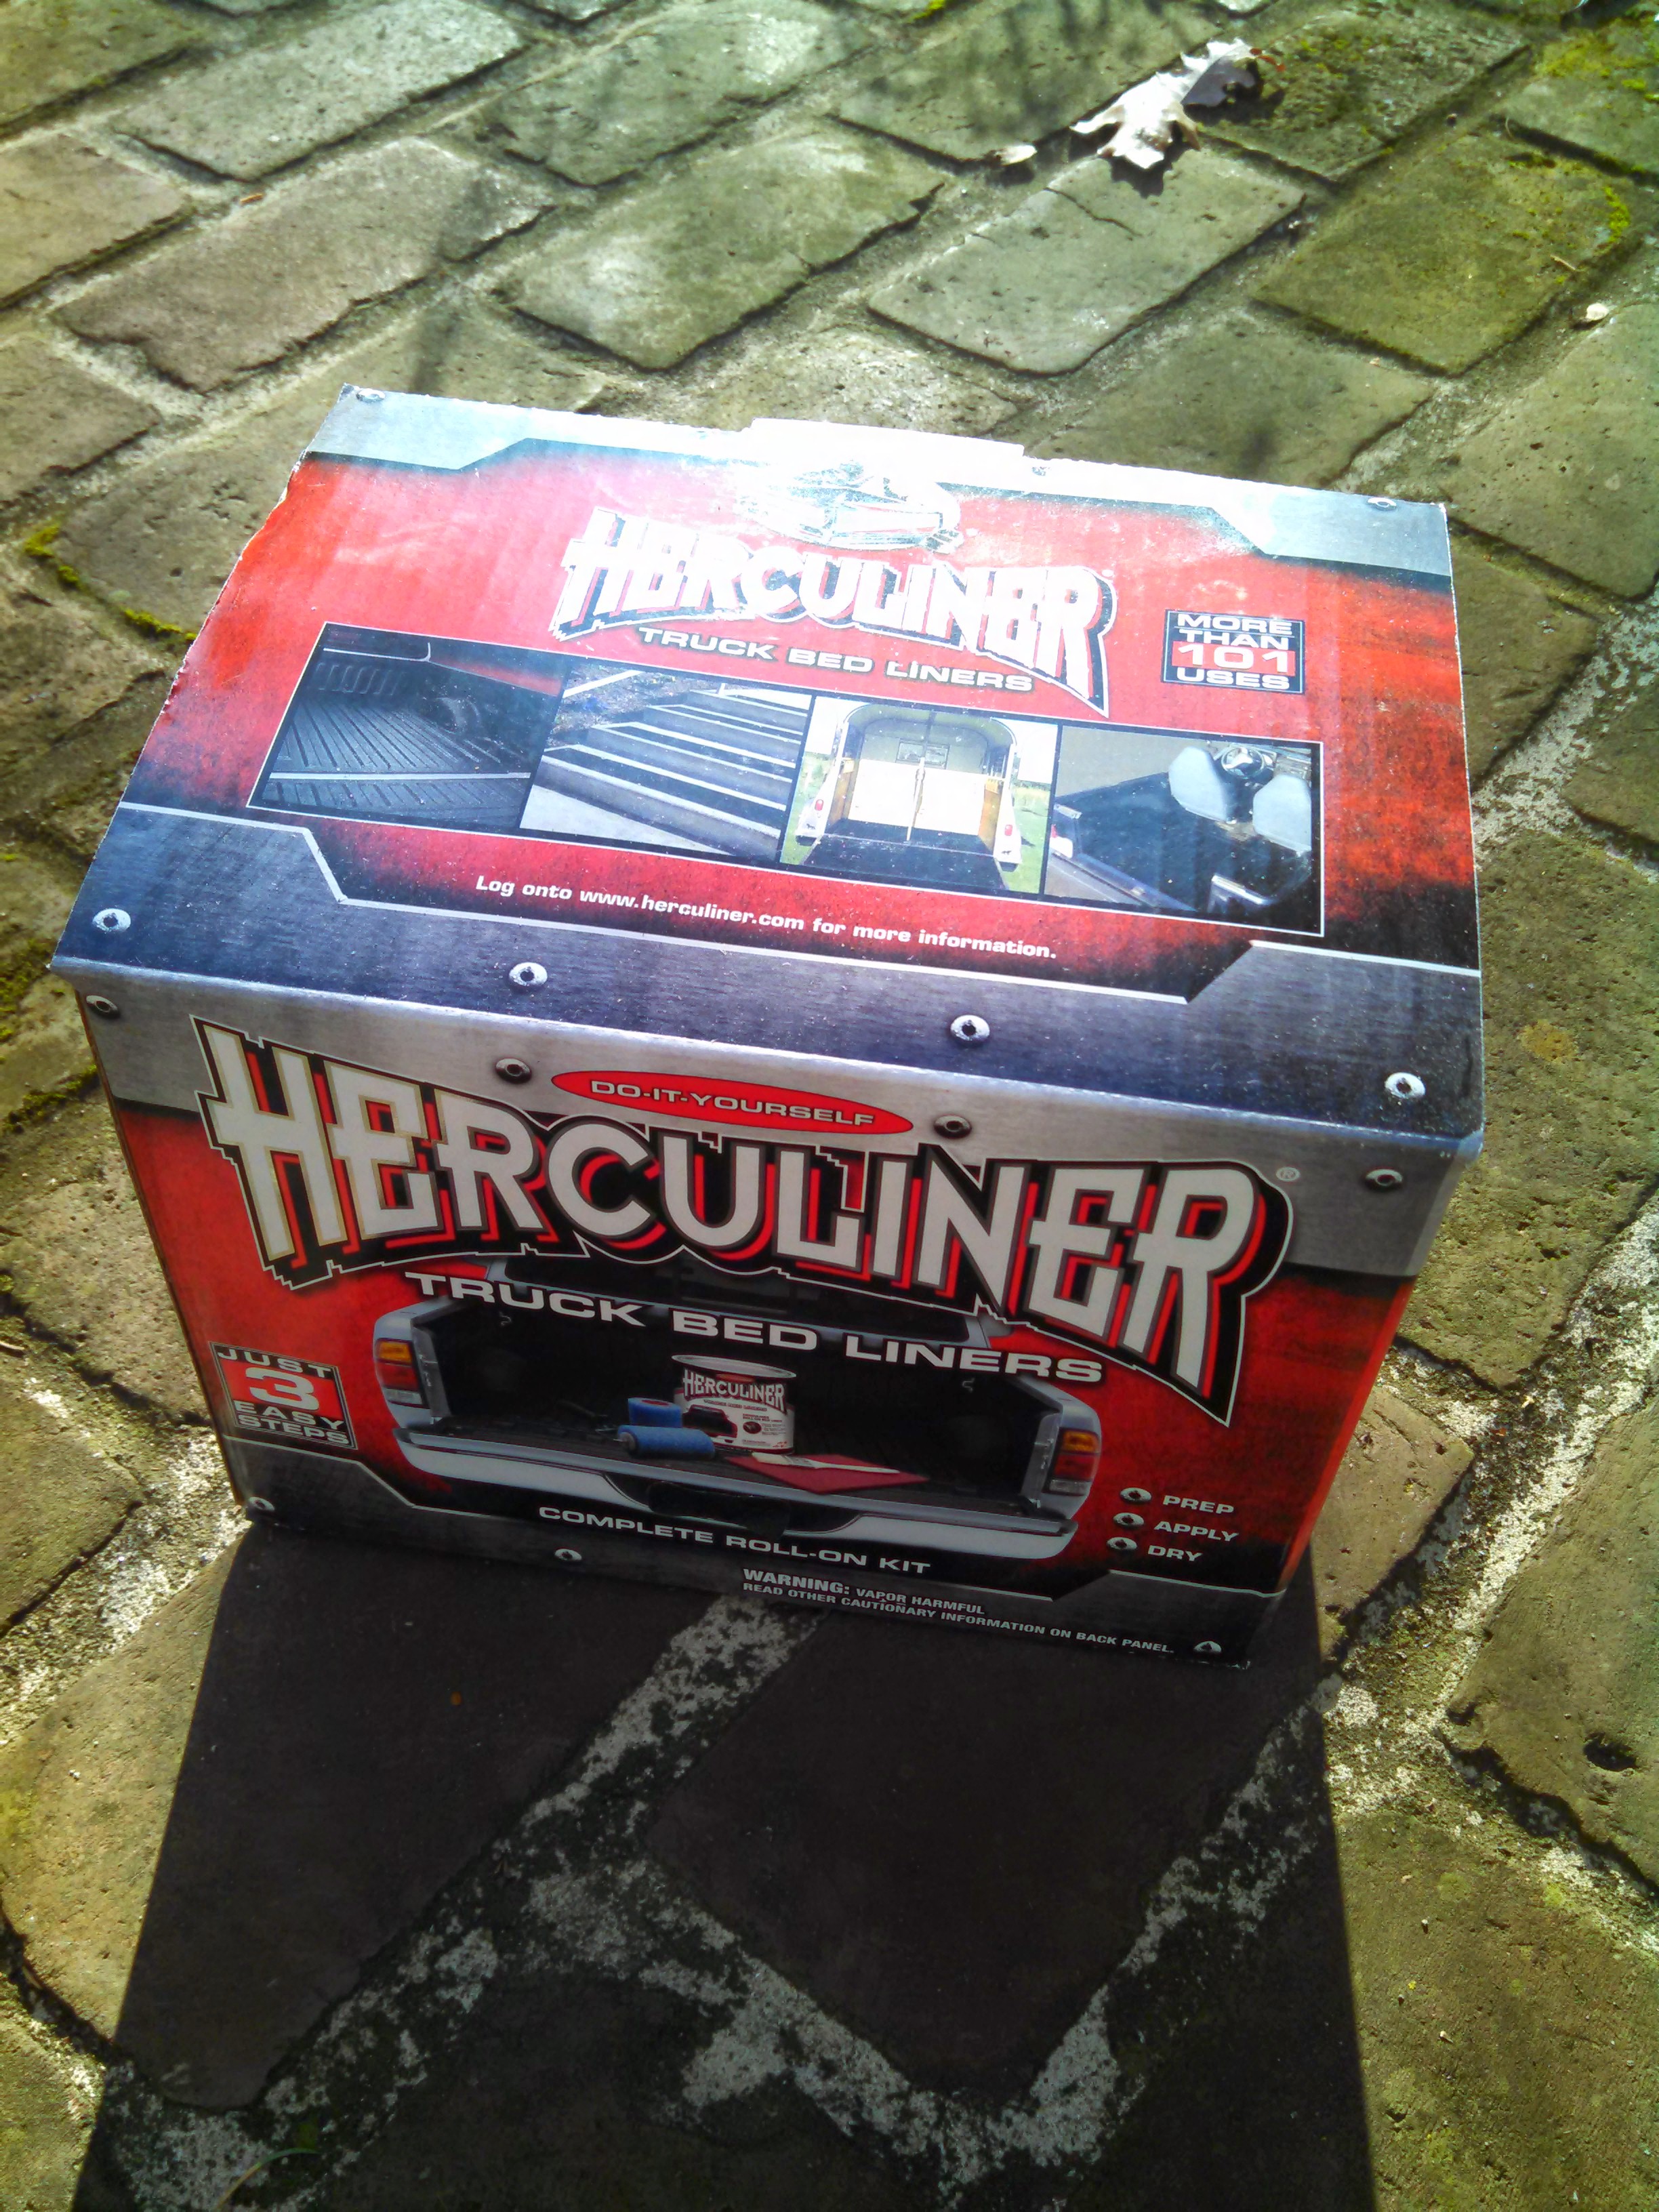
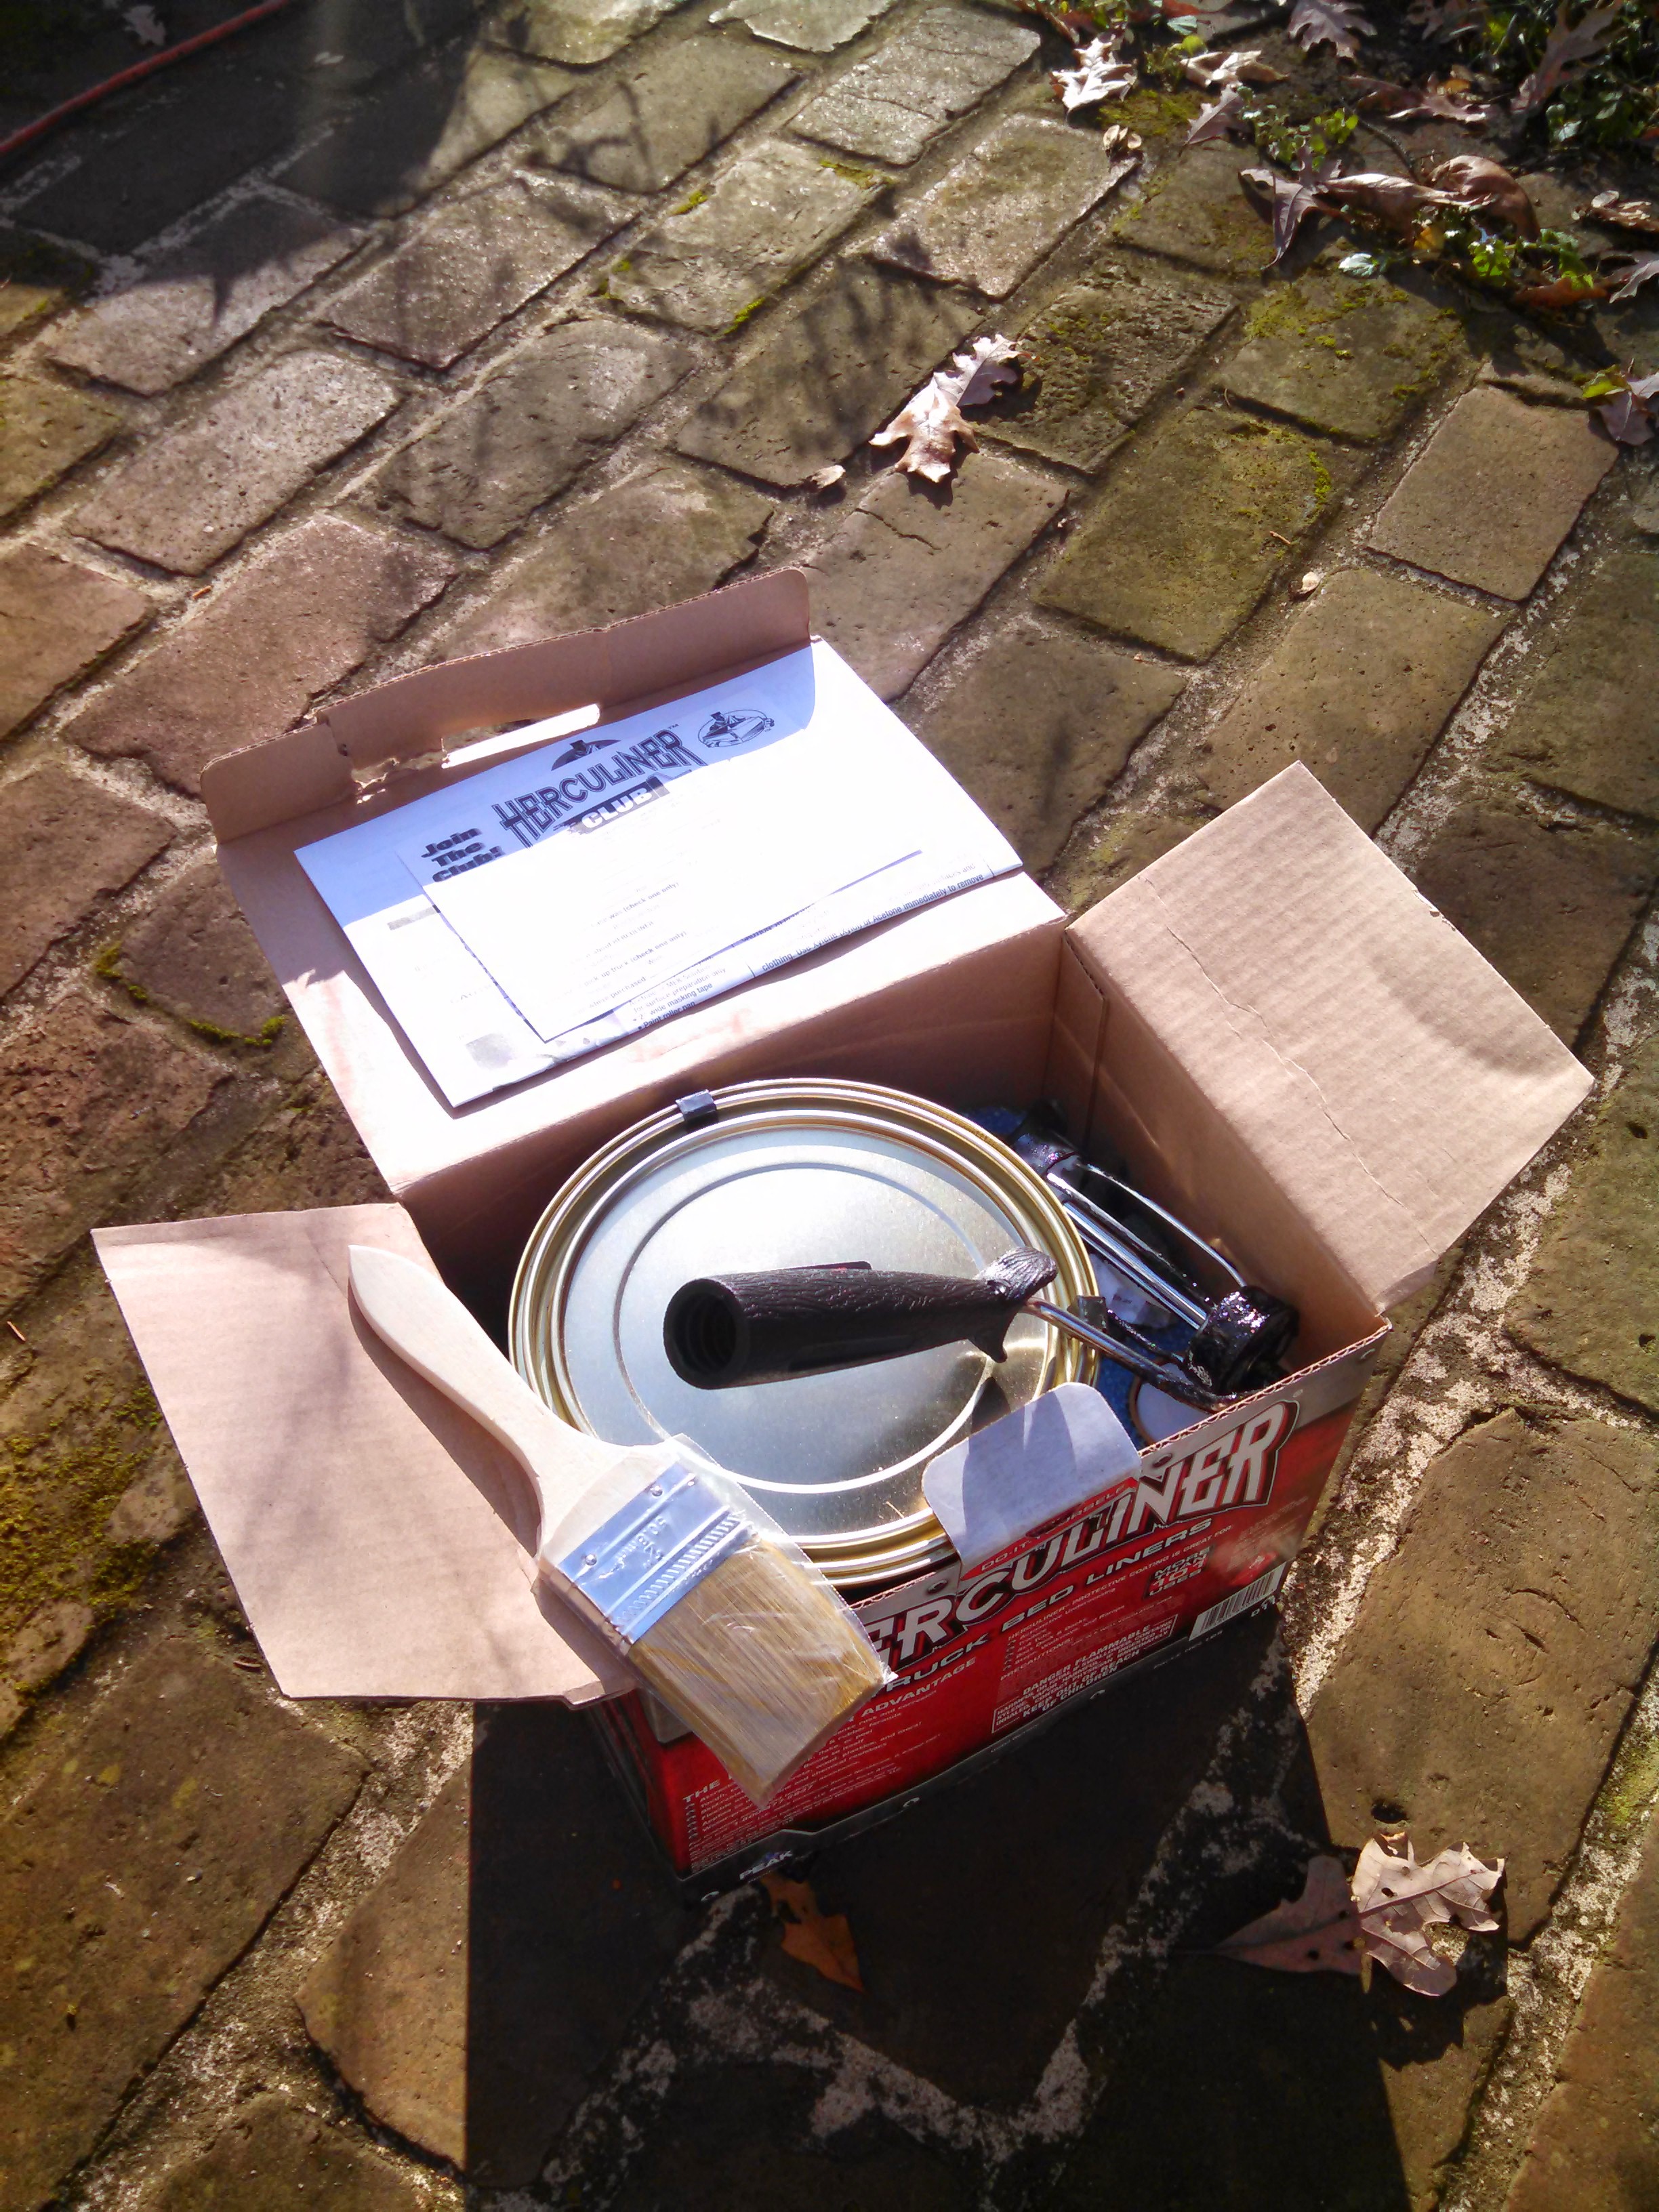
The Herculiner Complete Roll-on Kit is an accurate description of what the full-color cube the kit comes in contains. One kit includes:
- 1 gallon of Herculiner bedliner paint
- 1 brush
- 1 roller handle with two foam roller pads
- an abrasive pad (like Scotchbrite)
- instructions (and info about the club… who knew?)
You will want to pick up a paint tray, a few tray liners and most importantly the toughest nitrile or rubber gloves you can find.
While a great product for the intended application, it is very, very difficult to remove from skin. It ate through some latex gloves I had on and soaked through my clothes. It took every bit of two weeks for it to completely disappear even after using everything from mineral spirits and old gasoline to try and remove it!
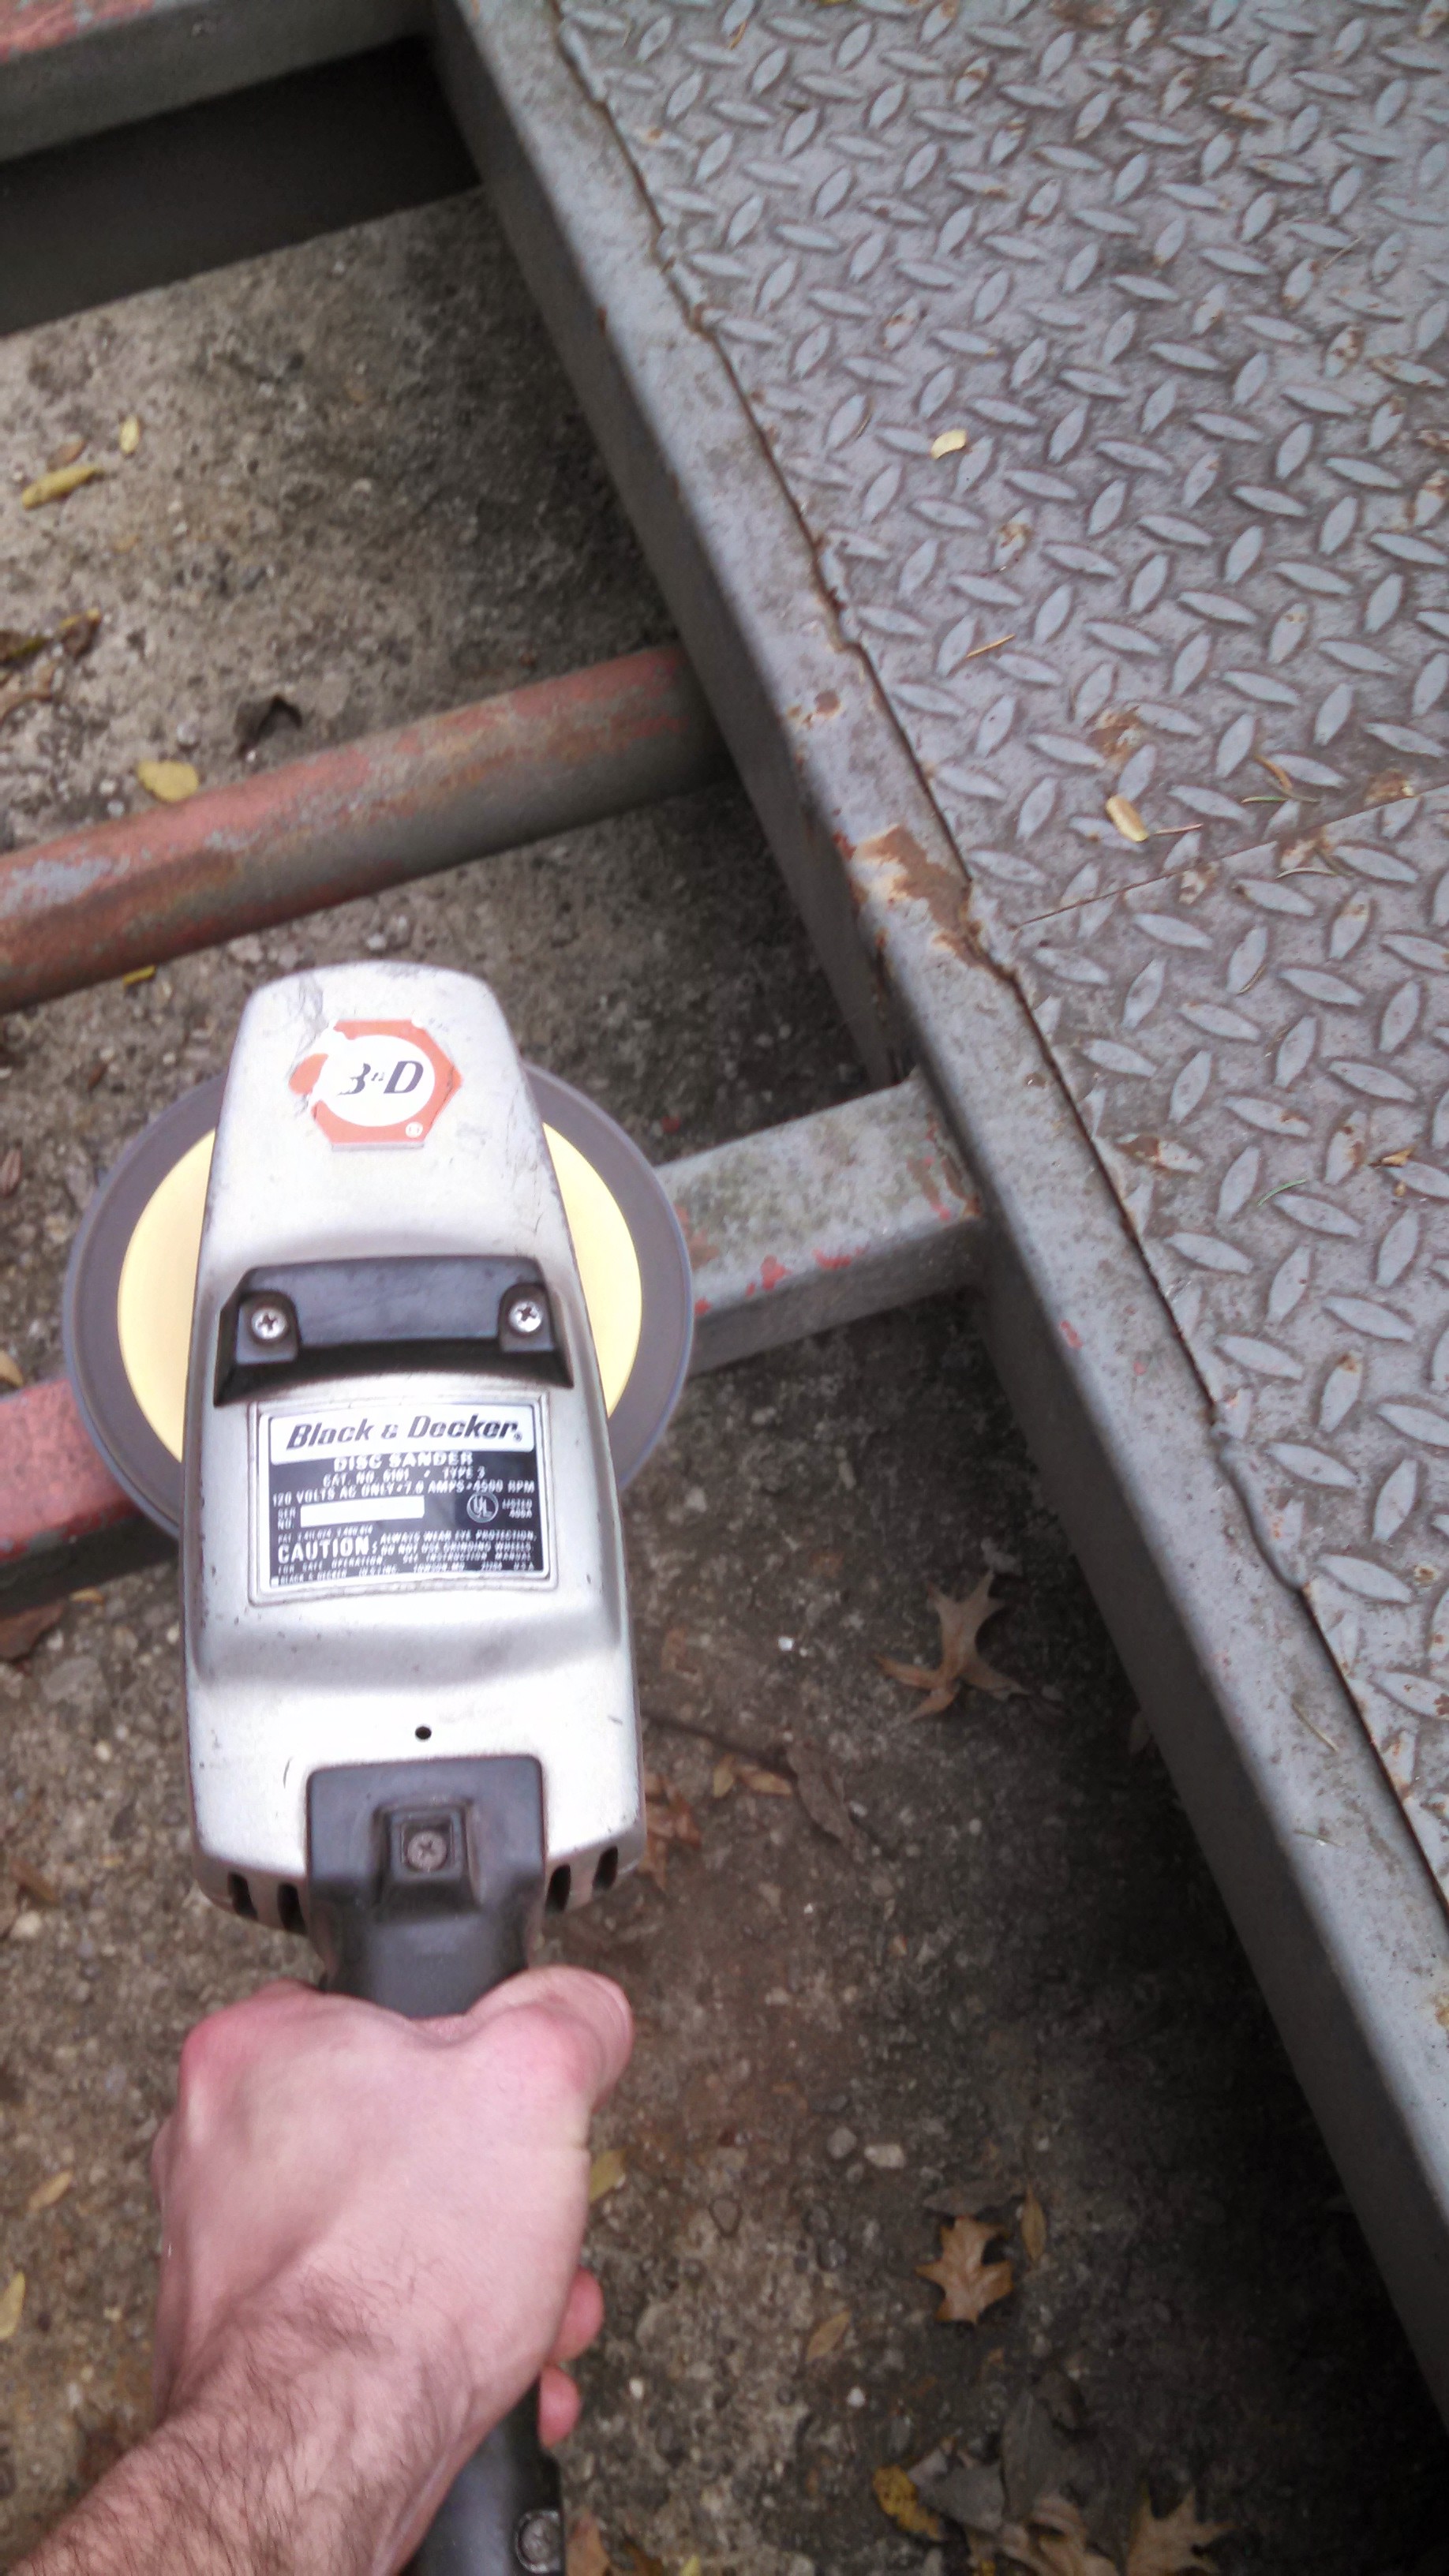
You will likely also want a better means of prepping your surface. I used my angle grinder with an abrasive flap disc to make it go quicker as my trailer surface was quite bad.
Rollin’, Rollin’, Rollin’!
Once prepped, which in my case required some general grinding over the entire trailer (a good condition truck bed shouldn’t require this much work, for instance) and some liberal application of masking tape to areas I didn’t want painted (lighting, handles, etc.), I was able to start applying the product.
I started by trimming the corners around the bracing under the trailer with the included brush while lying on my back. During this time I learned an important lesson: don’t get this product on your face, especially if you are starting a new job the next day. It comes off, but I’m pretty sure I had first degree burns from scrubbing mixed with chemical burns from whatever I was trying to use to remove it. As your high school sex-ed teacher once told you: WEAR PROTECTION.
Once I had that done I was able to start rolling pretty much everywhere else. As this was a trailer with lots of flat surfaces I found that pouring the liquid directly onto the surface and then rolling it out smooth worked very well.
The working time in the conditions I was in (humid, Summer day) gave me plenty of time to ensure even coverage everywhere.
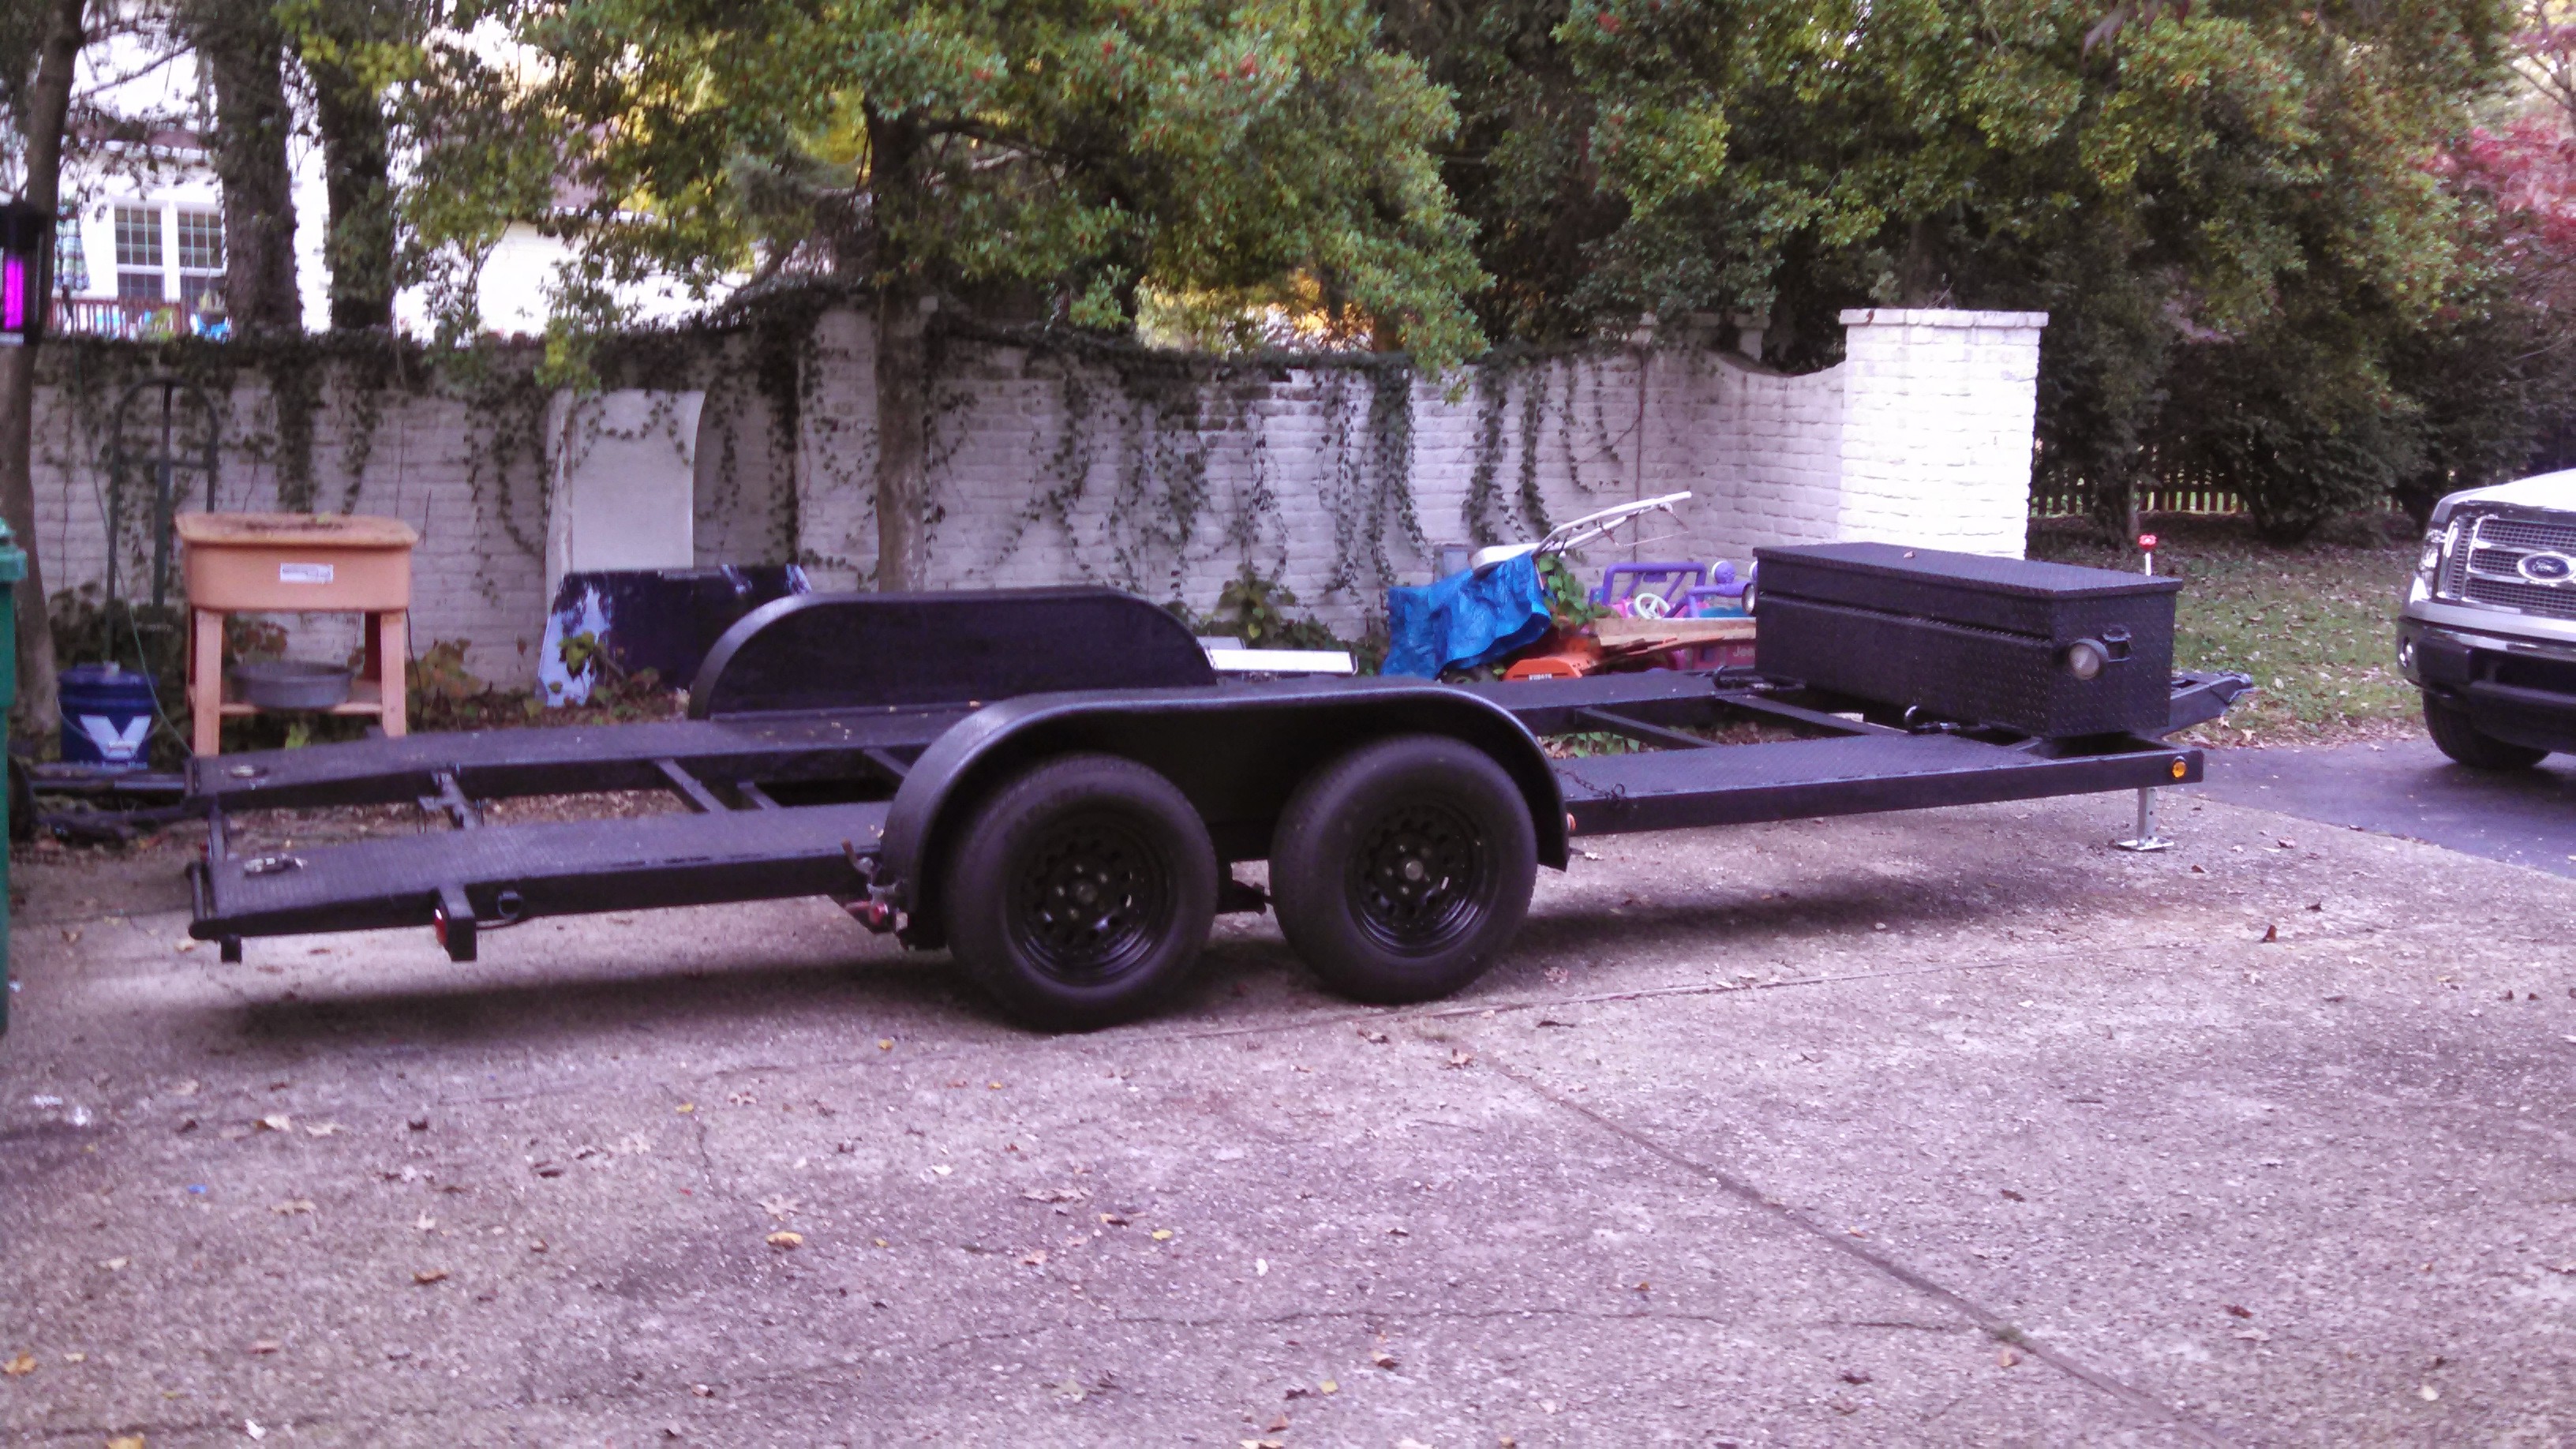
Back in Black… and hopefully, for another 10 years.
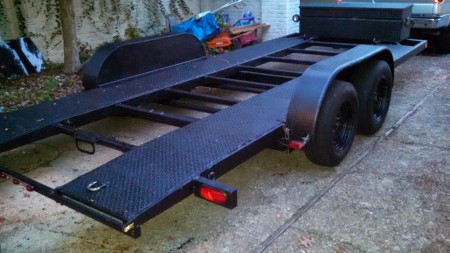
In the end, I think it turned out pretty good.
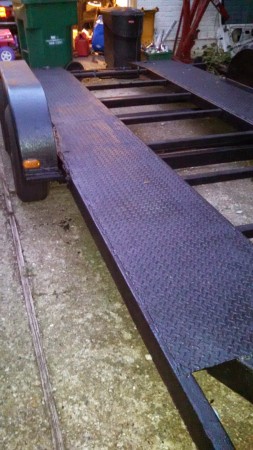
I ended up doing two coats of the upper surfaces of the trailer and one coat under the trailer. It took two gallons of Herculiner bedliner paint to complete this project, and time will tell how well it holds up.
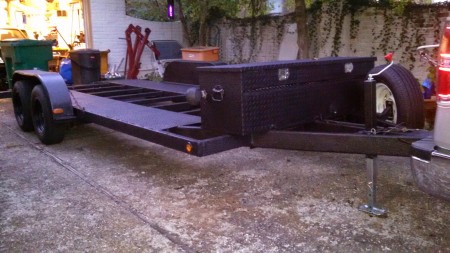
There is a noticeable difference in the sound when I set something on the trailer now, which I believe is a good sign for how this might protect the trailer from the elements.
