
Build Race Party’s Ron Erickson has been involved in rally since 2007 when he purchased a 1986 Honda Civic with a goal of turning it into a rally car. Since that time, Ron has competed as a co-driver in numerous Rally America events in addition to WRC Mexico and the historic Pikes Peak Hill Climb with Mr. Build Race Party, Bill Caswell. Ron has taken the time while working on this current build to document everything, here is Phase 4 of his story:
***PHASE 4 – ROLL CAGE***
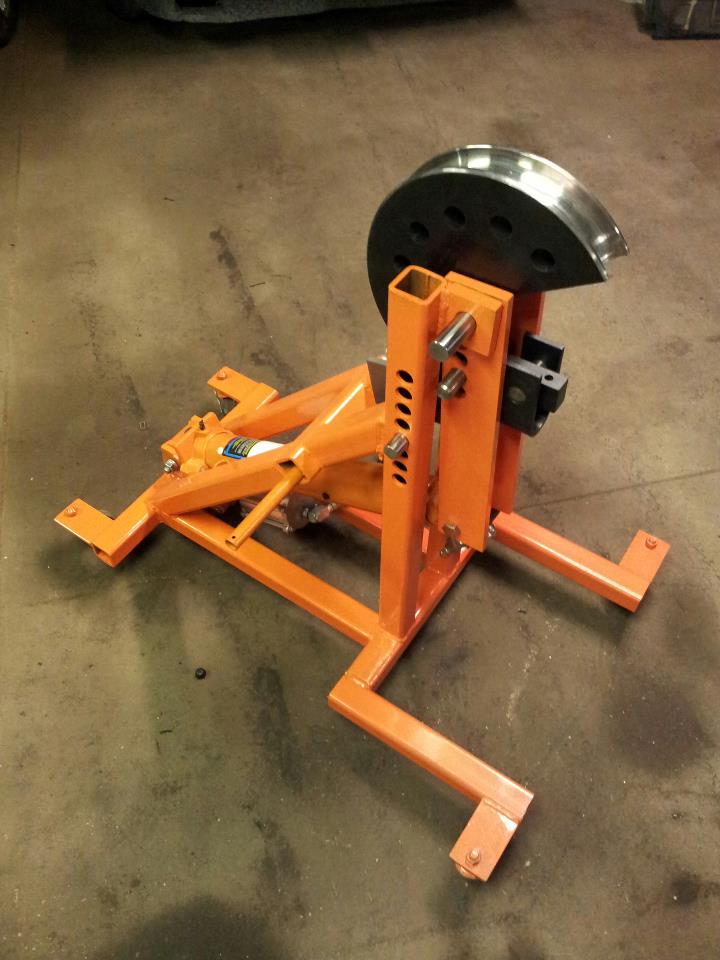
I had never built a roll cage before, but I knew I wanted to learn! Started with a handy-dandy Harbor Freight Tube Bender:
..and it’s little brother, the craptastic tube notcher.
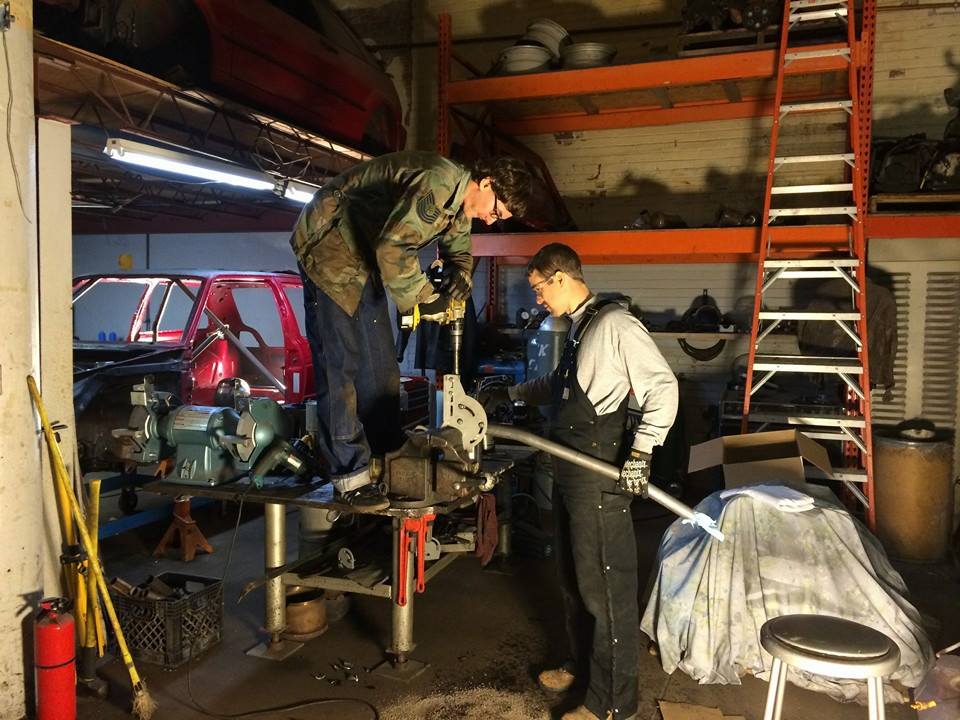
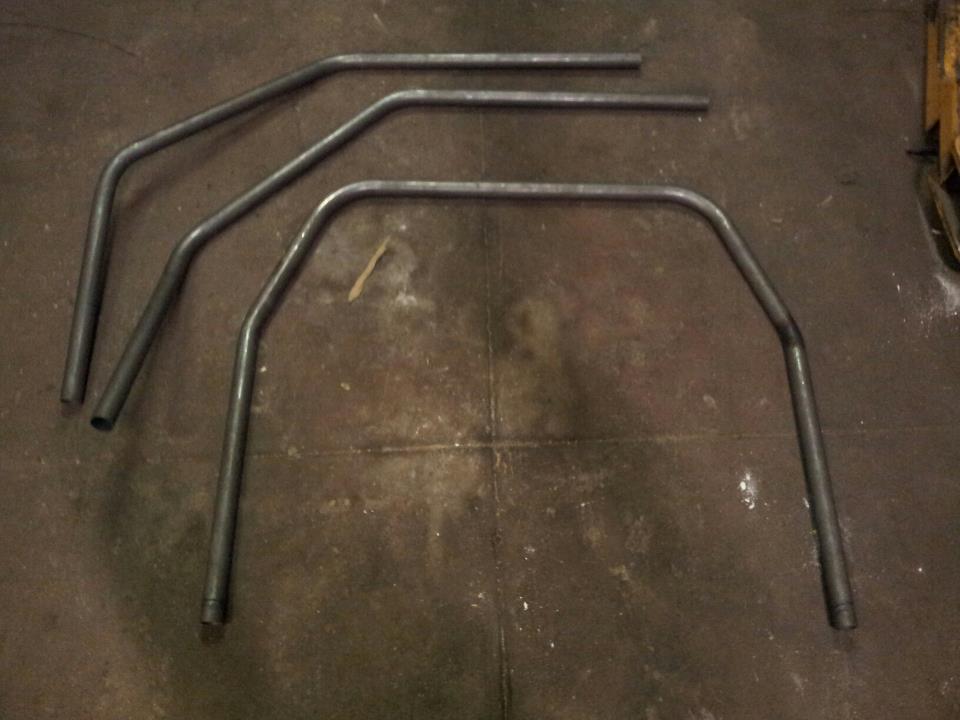
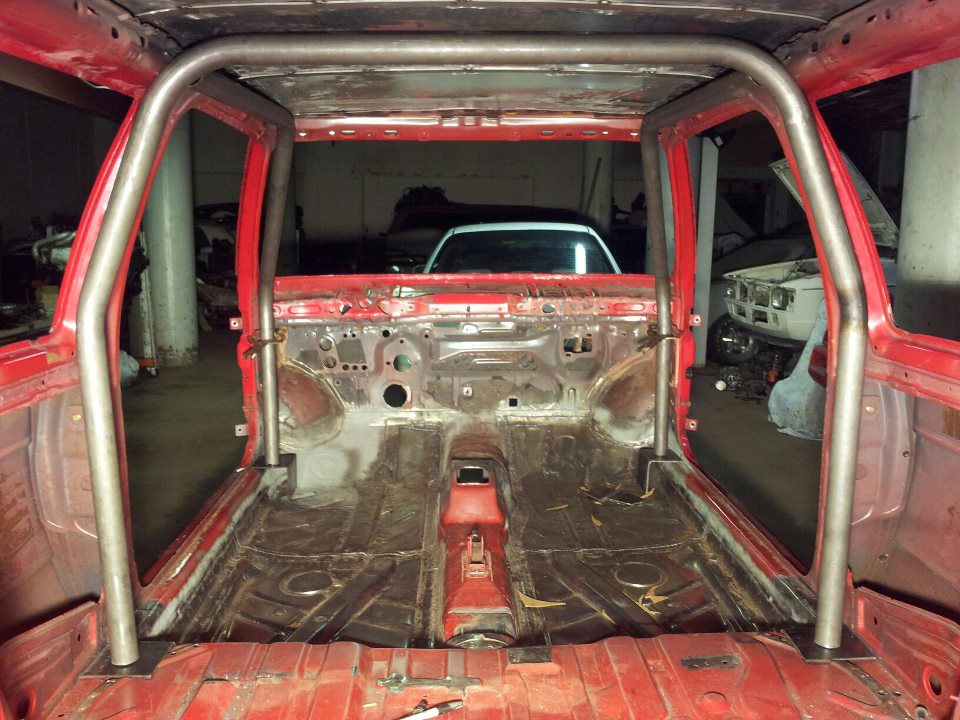
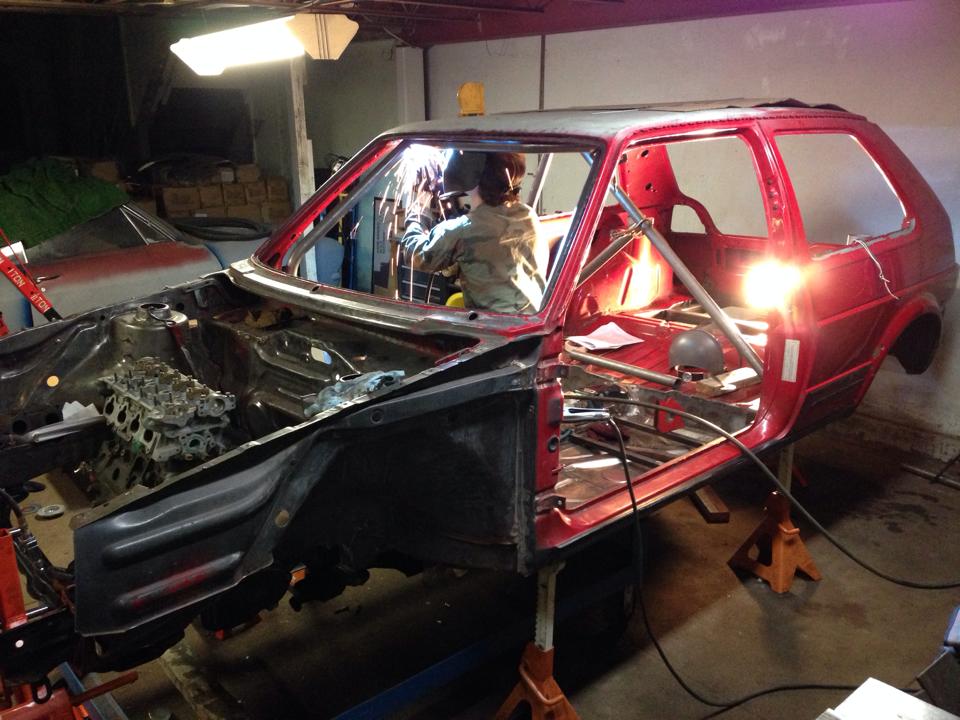
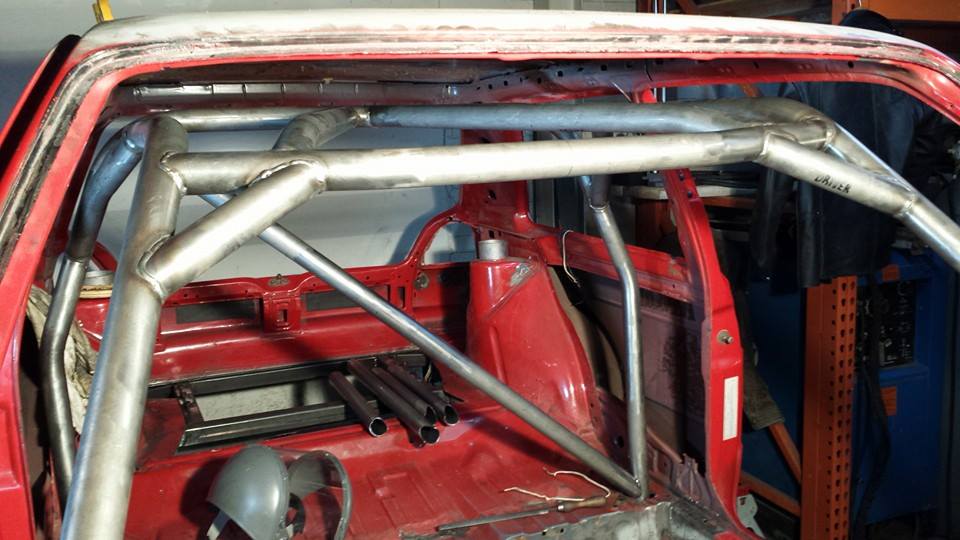
I enlisted my friends once again to help me with the complex stuff; Main Hoop and Half Laterals.
(NOTE: This was done before the Syncro swap, so things may look slightly out of order.)
Yes I know it’s supposed to go the other way, but I’m making an ‘X’ anyway so it doesn’t matter… Keep scrolling…
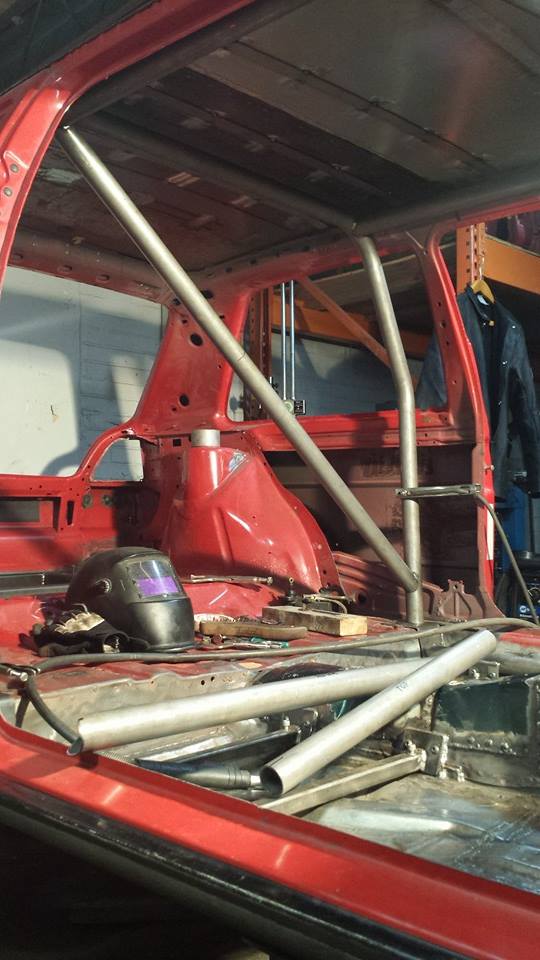
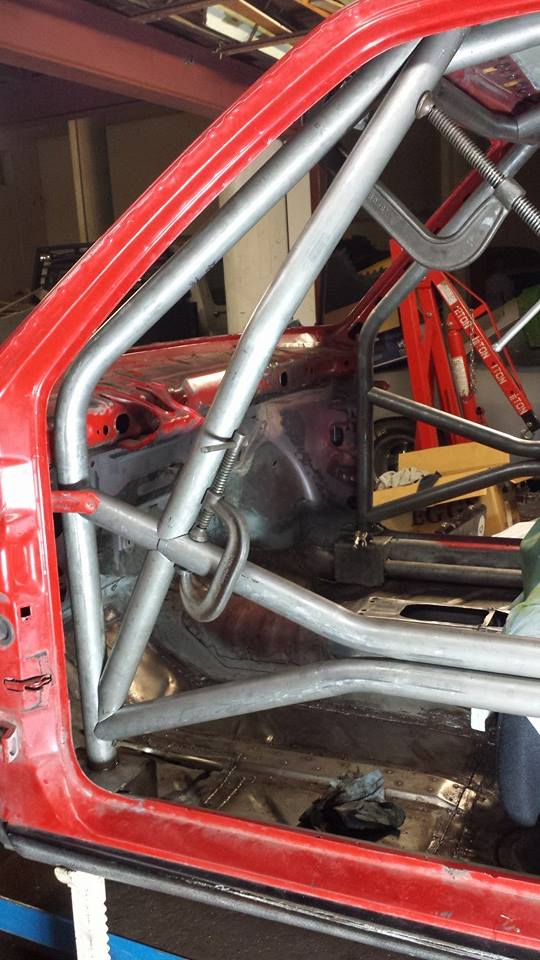
Window bar all fit up, this thing was a pain even though it doesn’t look like it.
Cleaning up surfaces to tack it in.
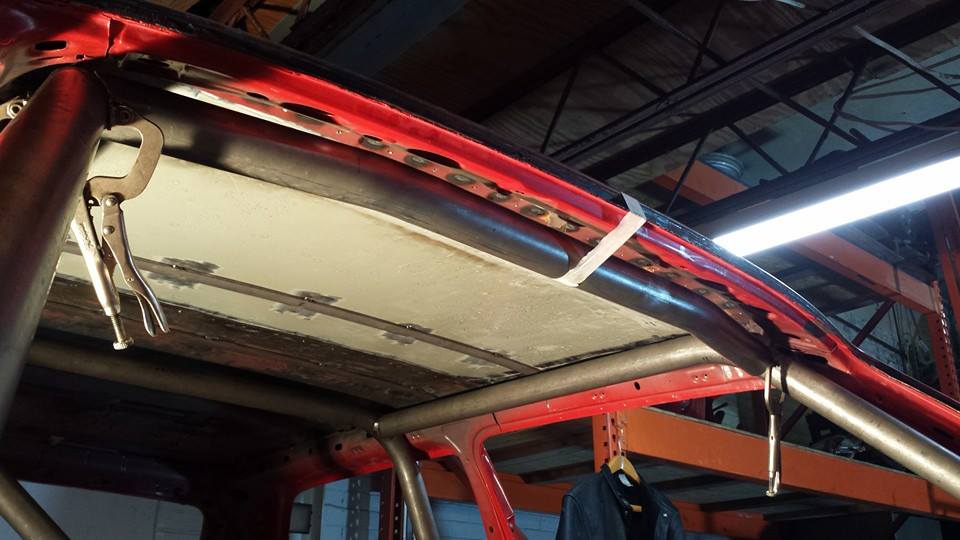
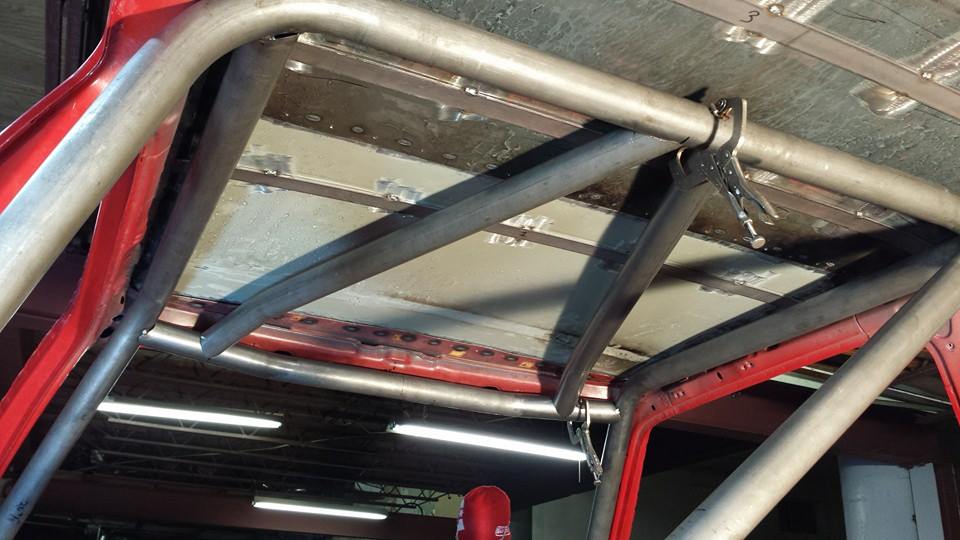
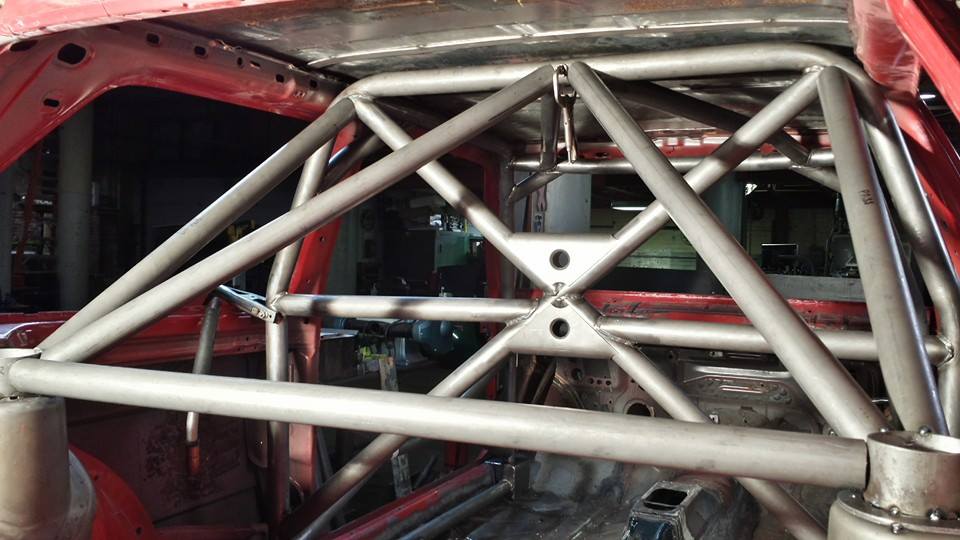
Roof ‘V’ fitted in. Unsupported nodes on the window bar will be met on the other side with smaller gusset bars. Again, keep scrolling and you’ll see.
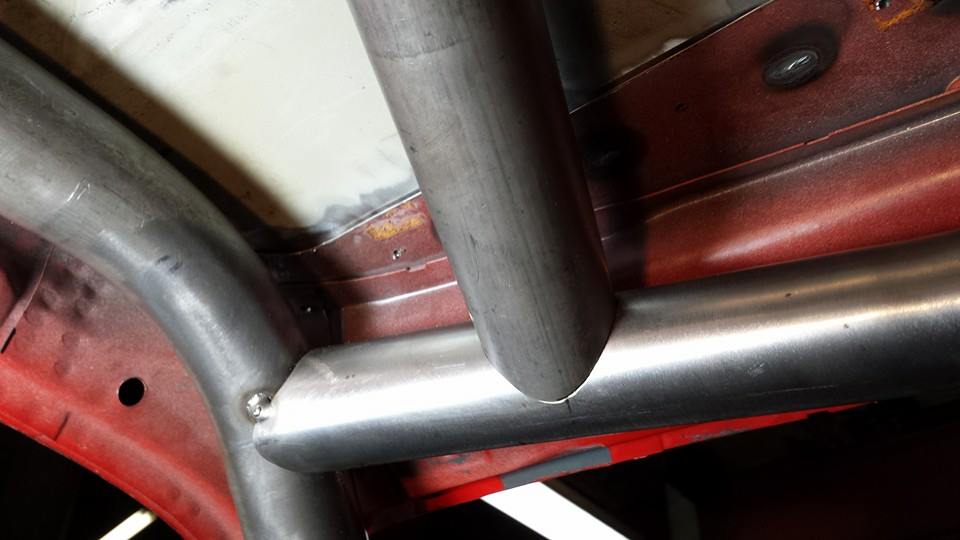
Really happy when notches fit this well!
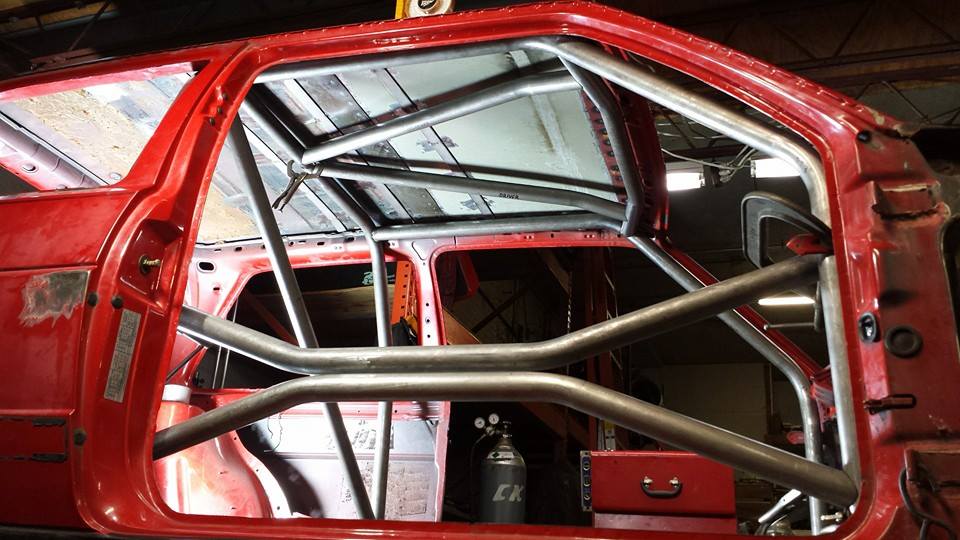
Starting on the door bars, had to get approval from Rally America to run this style. Makes getting in and out of the car much easier.
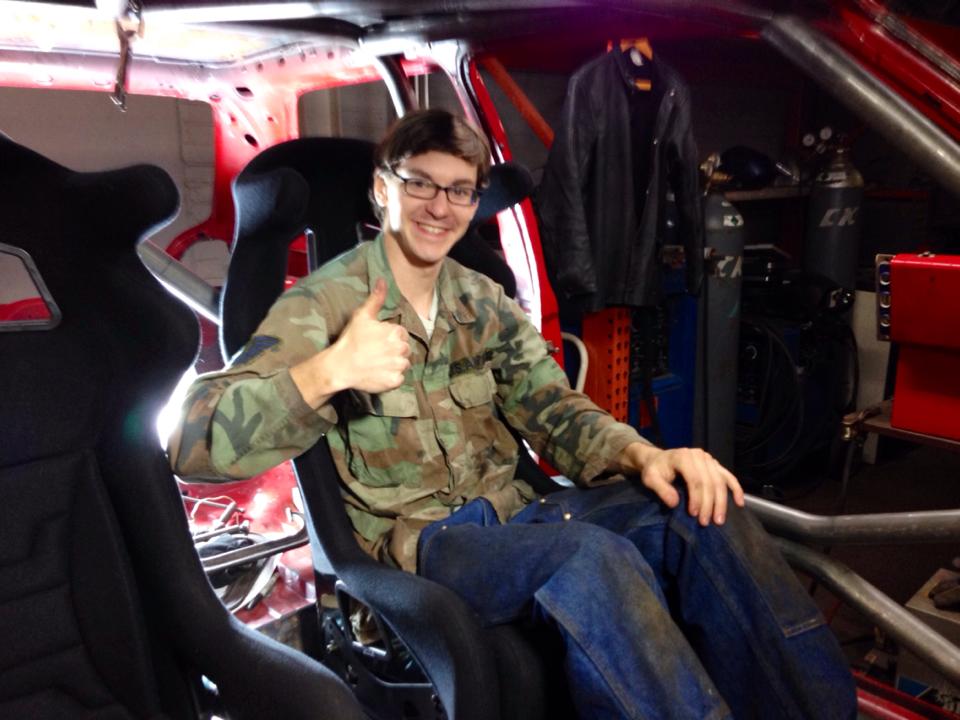
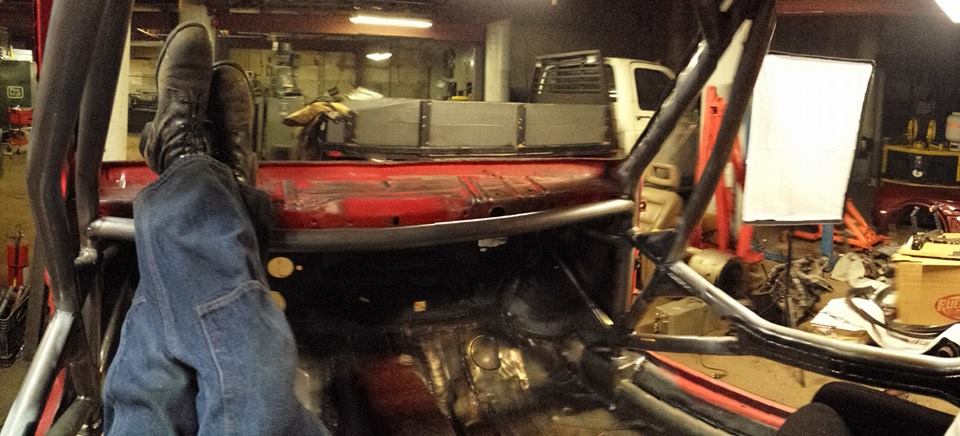
Mocking up with the seats in.
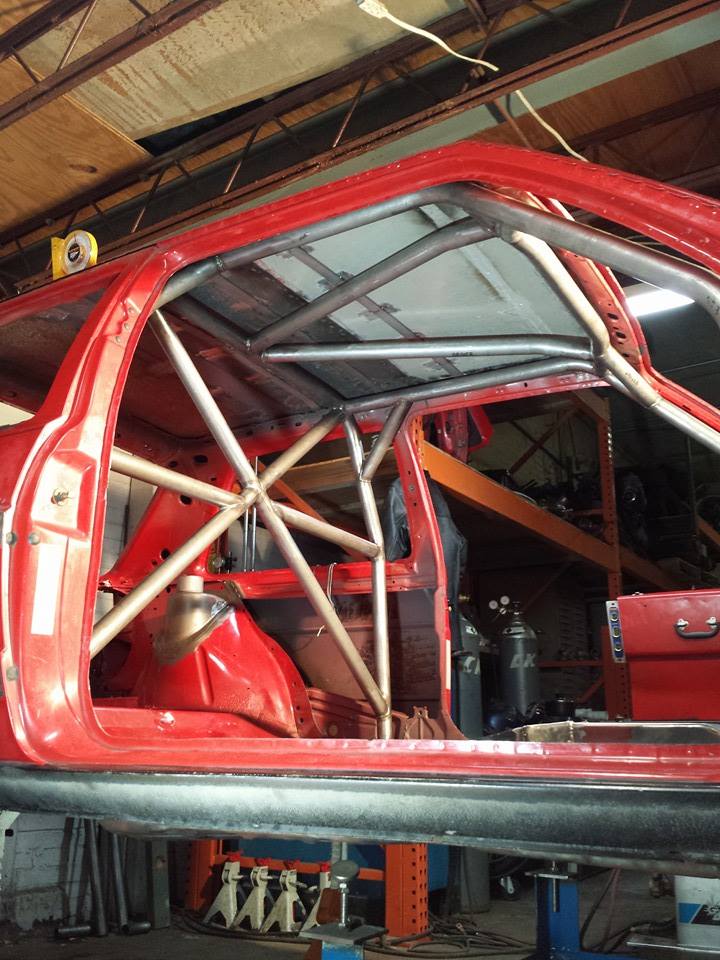
A-pillar supports next.
See, I told you to keep scrolling.
Working on B-pillar gussets next.
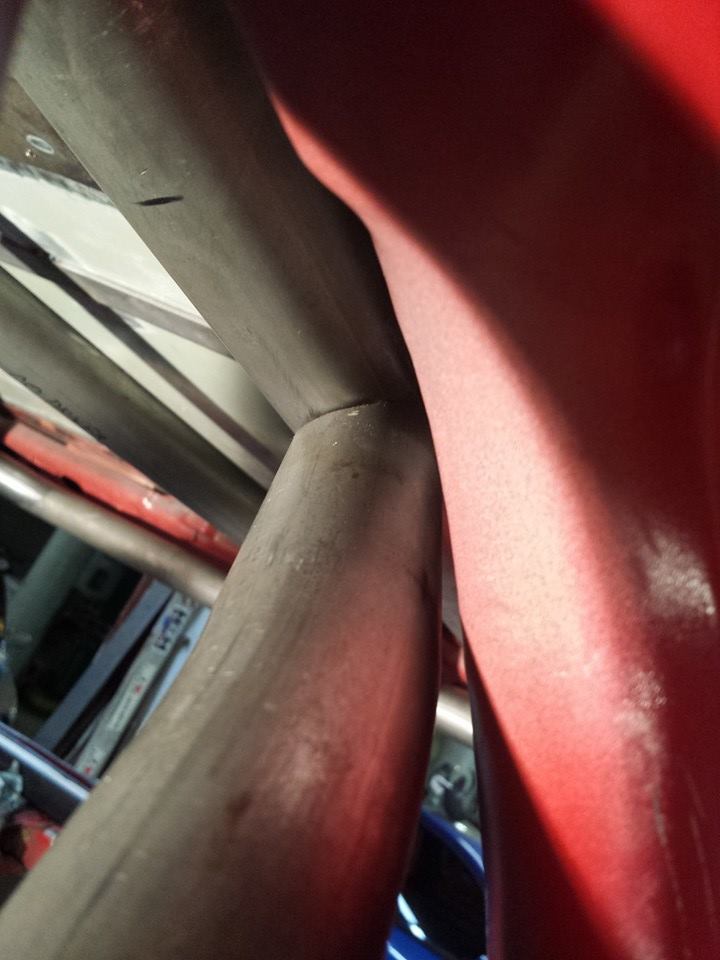
Fits up very close!
Starting to weld.
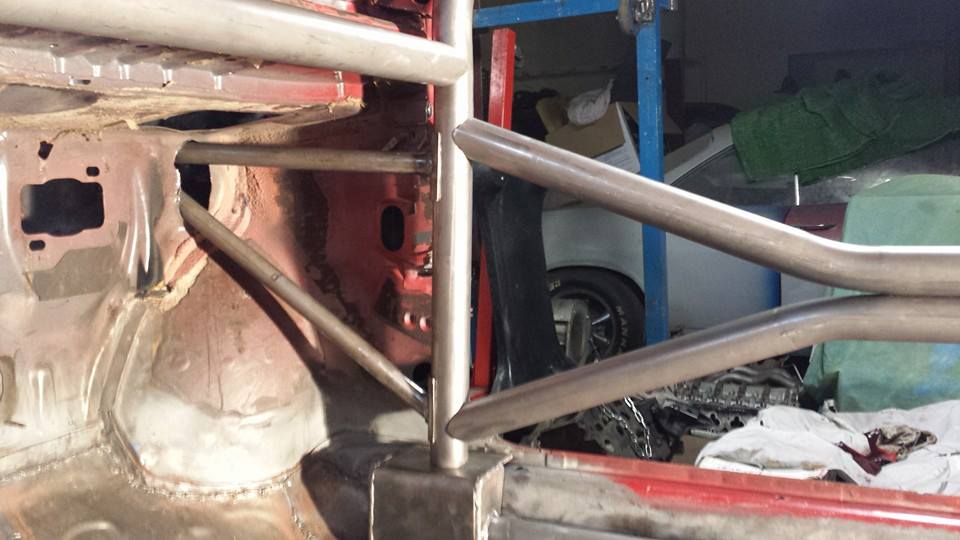
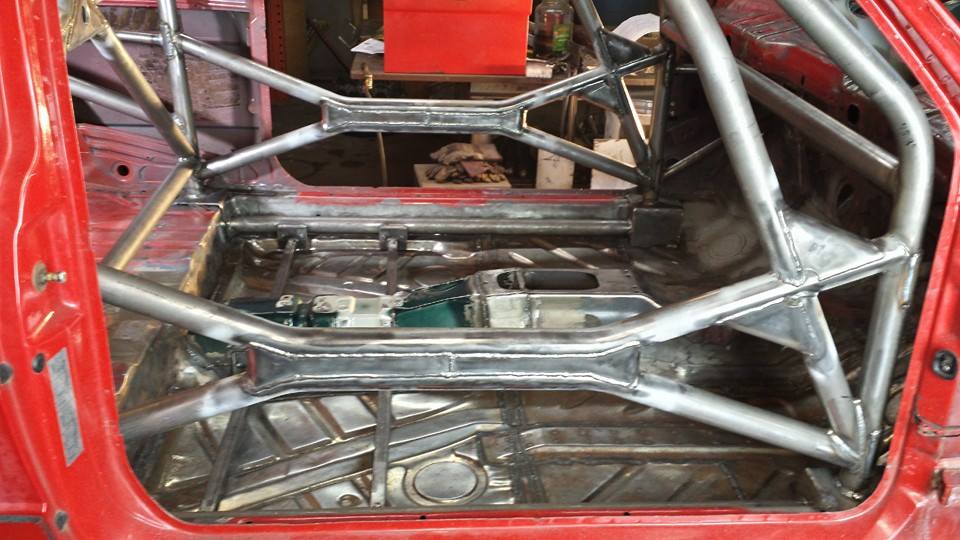
Dropped the cage down thanks to the elevated footplates/holes in floor to weld around all tubes. This is crucial!
To those of you wondering how I dropped the cage down and was able to fit my sill bars so tight to the body, this is how:
Started work on the main hoop cross and harness bars.
 Fun fact; I’m not a professional welder. I will never be a professional welder. I welded up test pieces and cut them open and have had professionals take a look at my work, they all agree it’s fine. Don’t expect me to post any more up close photos of welds for fear of getting hassled by armchair fabricators. I’m always learning/improving…
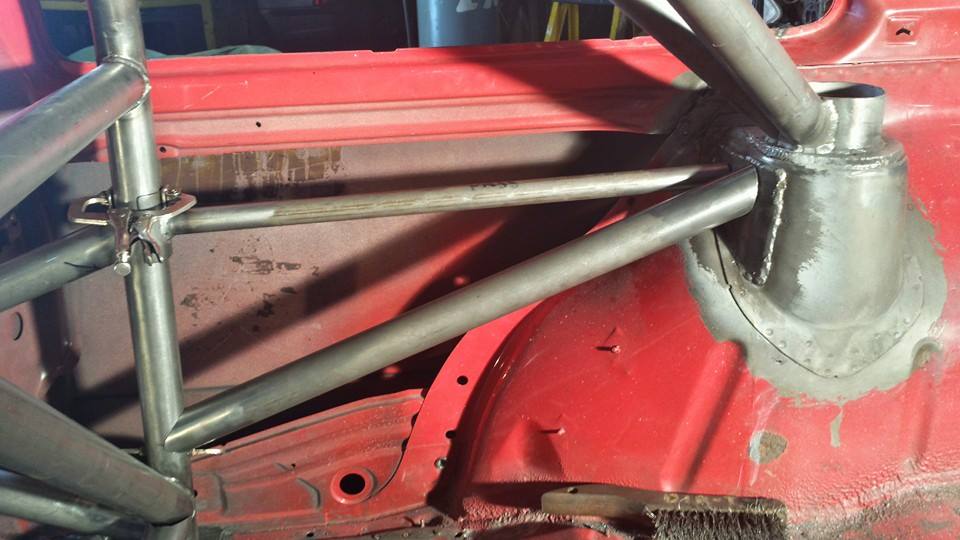
Started cleaning up the rear struts for reinforcement. Got approval from Rally America to run that little (thick) tube on top of the strut mount. Will make joining in multiple tubes easier. You’ll see what’s going on once I’m finished. Don’t worry, I have a plan.
Steering column mount removal to make room for the dash bar. New column will be completely custom, so this is no longer necessary.
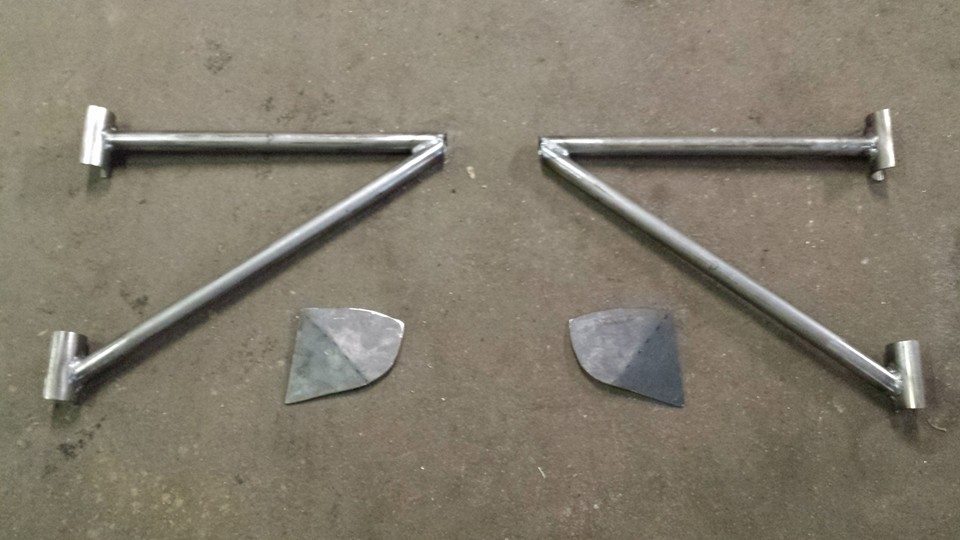
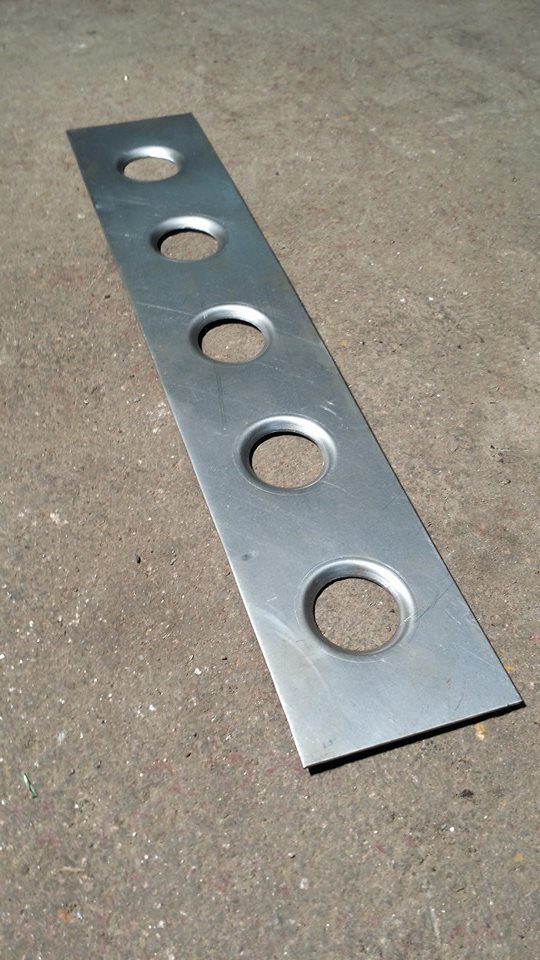
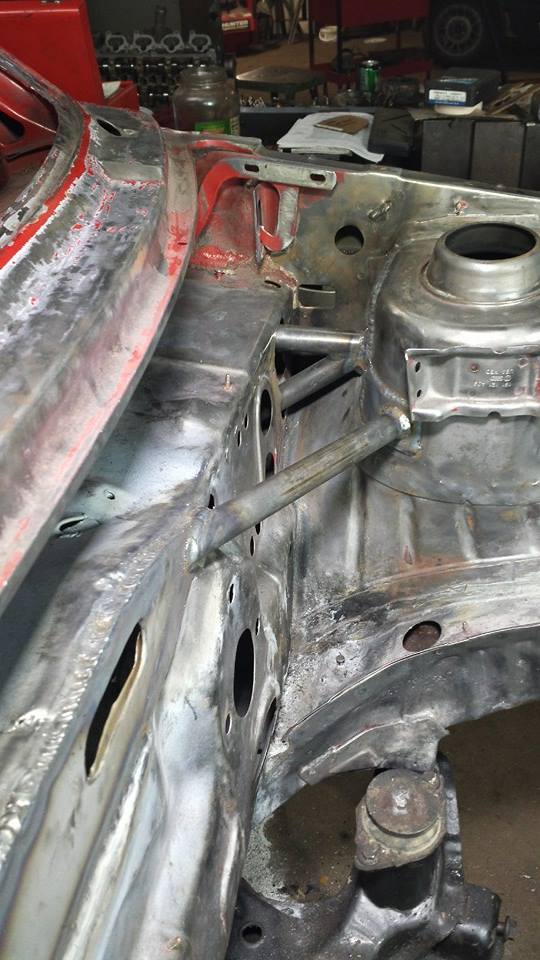
Fabbed up some front strut supports to keep them honest when the car goes airborne. They’ll also prevent intrusion (in tension) in the event of a side impact to the door bars by keeping the vertical section of the half-lateral from pulling in. Plates will be welded to the back of the strut towers. I spent some quality time with a dental pick and a blowtorch removing all of the seam sealer to make plating and stitch welding the strut mounts cleaner. Should be CNCing plates for the top to convert the fronts to a Subaru tophat very soon.
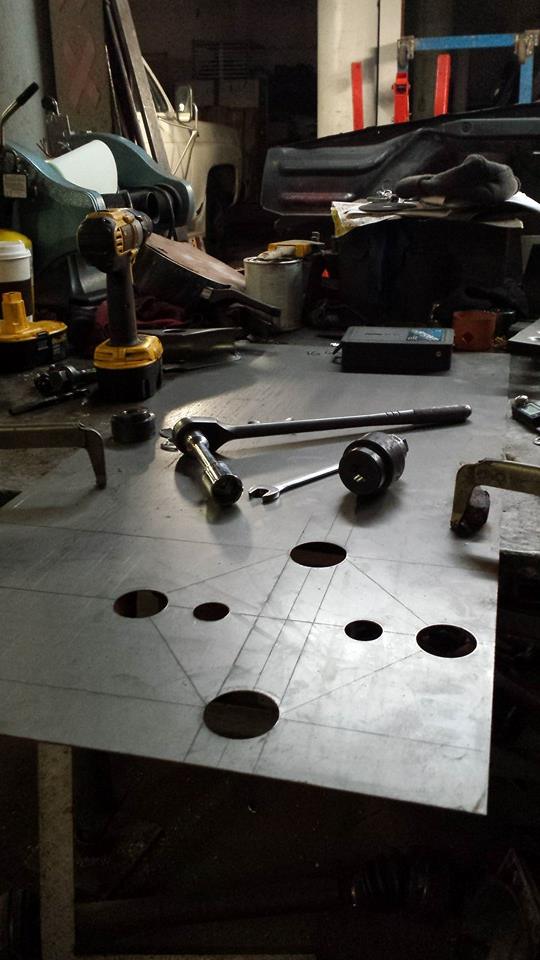
I decided I wanted to put my new dimple die to work on some A-pillar gussets. This is mostly practice working with 16GA sheet for when I start making fancier taco gussets for the main hoop X and A-pillar to door bar reinforcements. Luckily there’s a nice press and a sweet set of knockouts at the shop so this went fairly quickly. I was also able to enlist the help of my new favorite tool, the electric shears, to cut the sheet into 3×16″ sections for these gussets.
Couldn’t resist clamping them up in there temporarily. They look so cool!
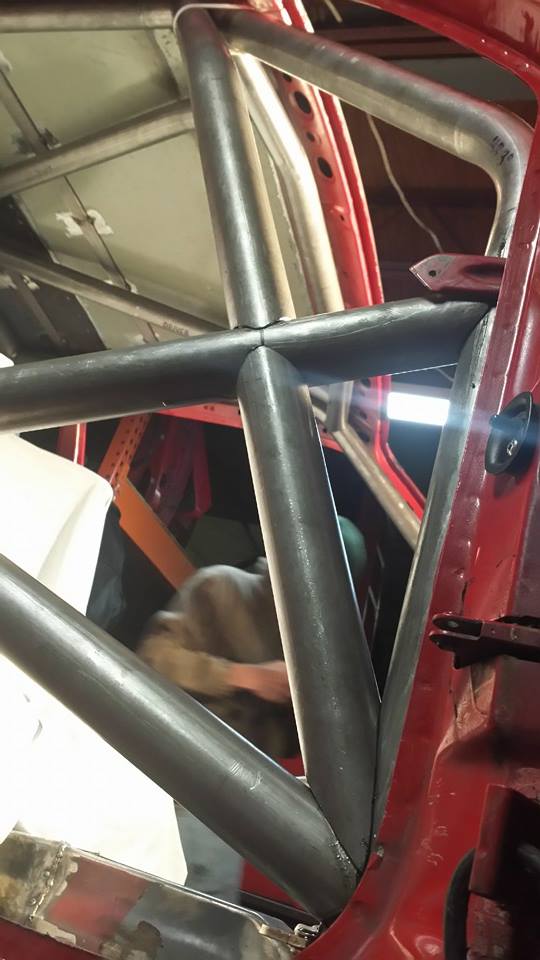
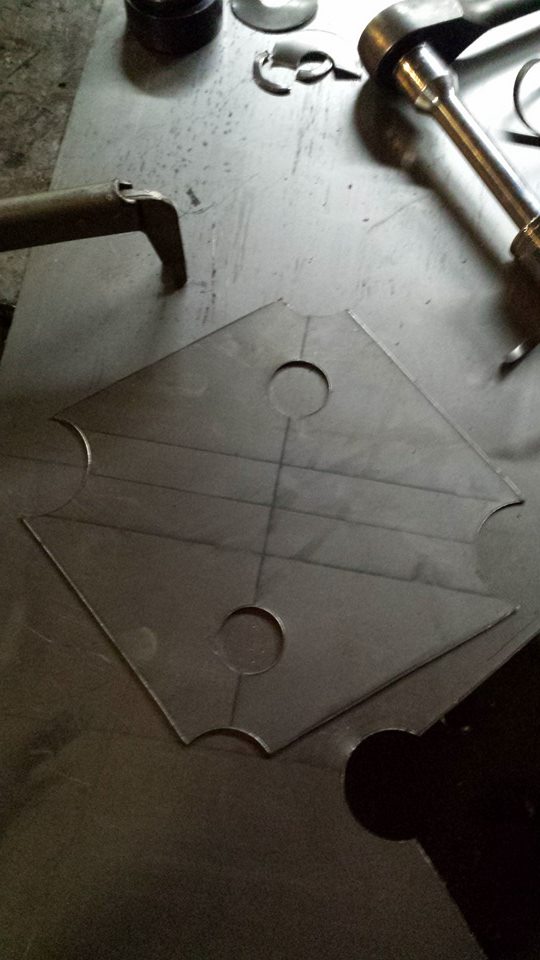
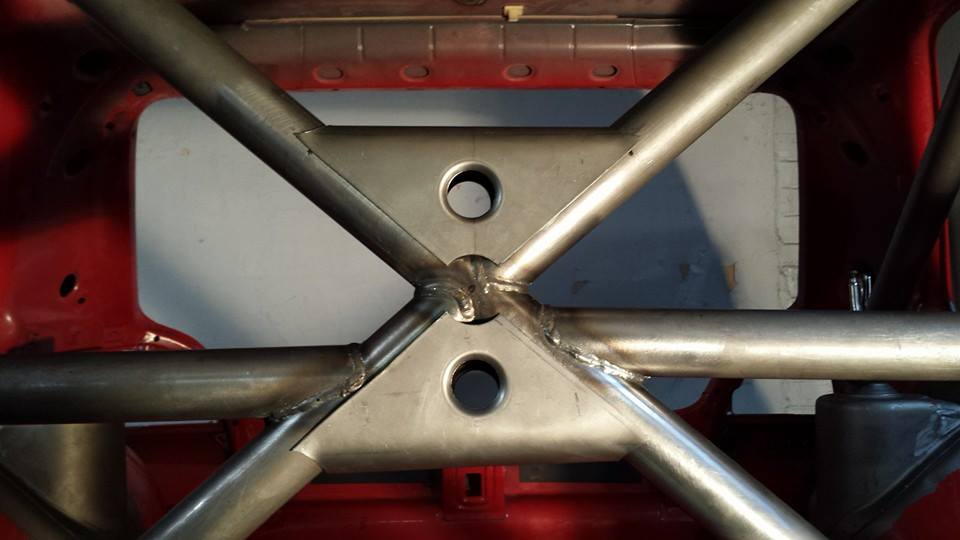
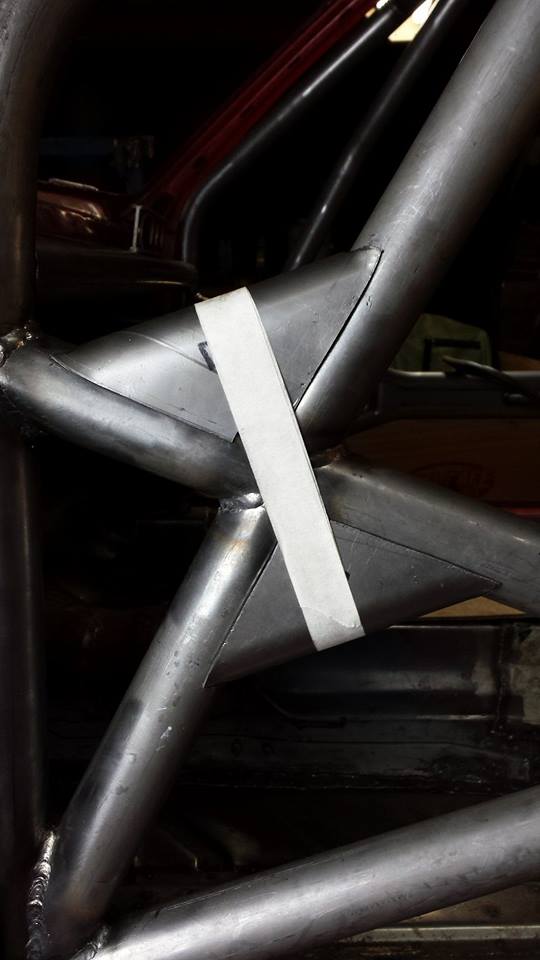
More new territory for me tonight; taco gussets!! My Grandpa was a sheet metal worker, so I have to make him proud. Fabbed to the FIA spec of course.
Layout work/hole punching.
Cut out with the electric shears.
Fit up on the main hoop cross.
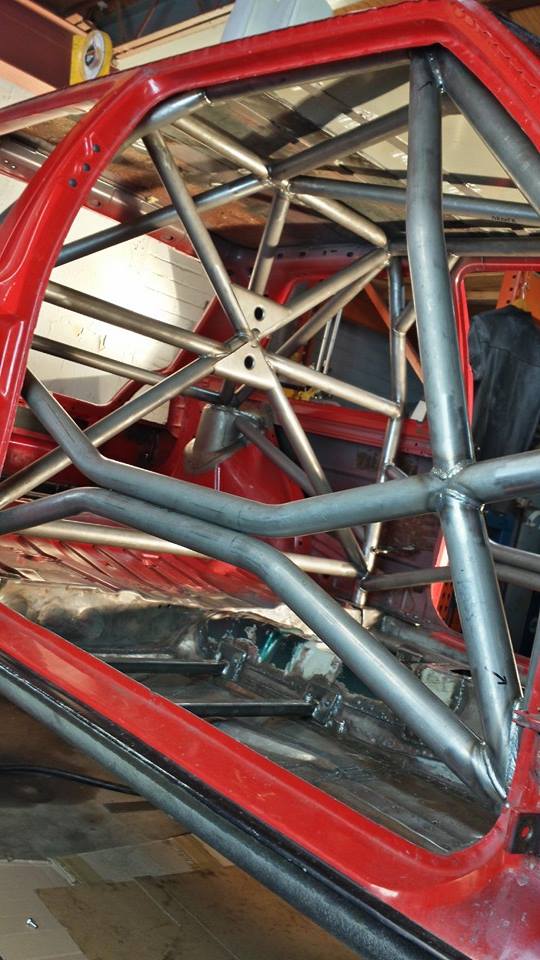
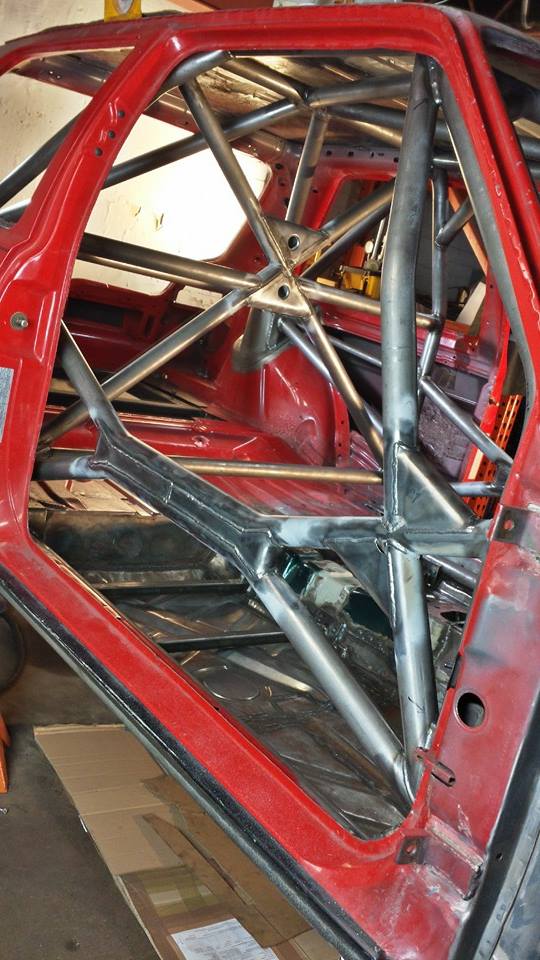
I was able to start working on the backstays.
Only two more bars to go; the lower backstays. Also considering some sort of brace across the bottom of the main hoop to protect the main hoop/pads in the event of a low side impact (stump.) It’s more common than you think. I have some gussets to finish up, then I’ll pick up the welder and finish everything up. Getting excited.
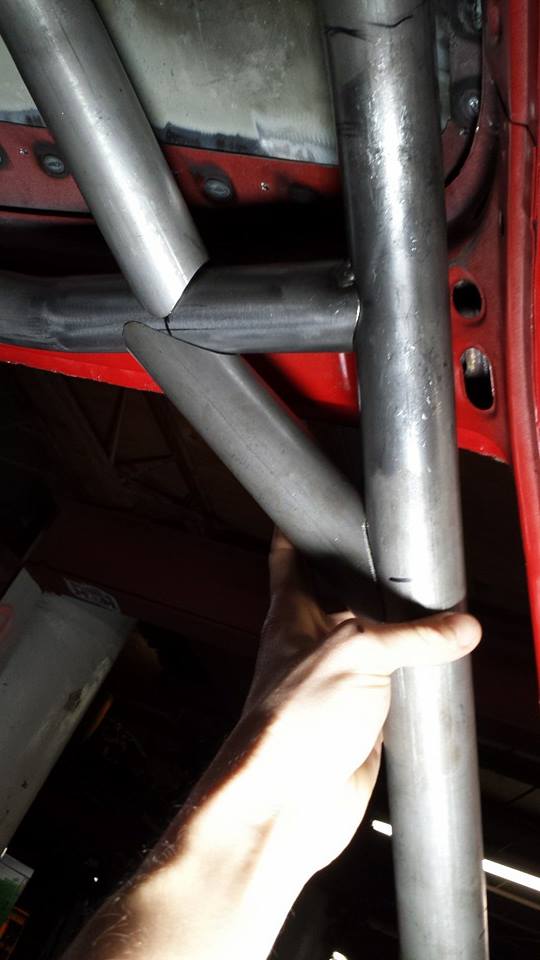
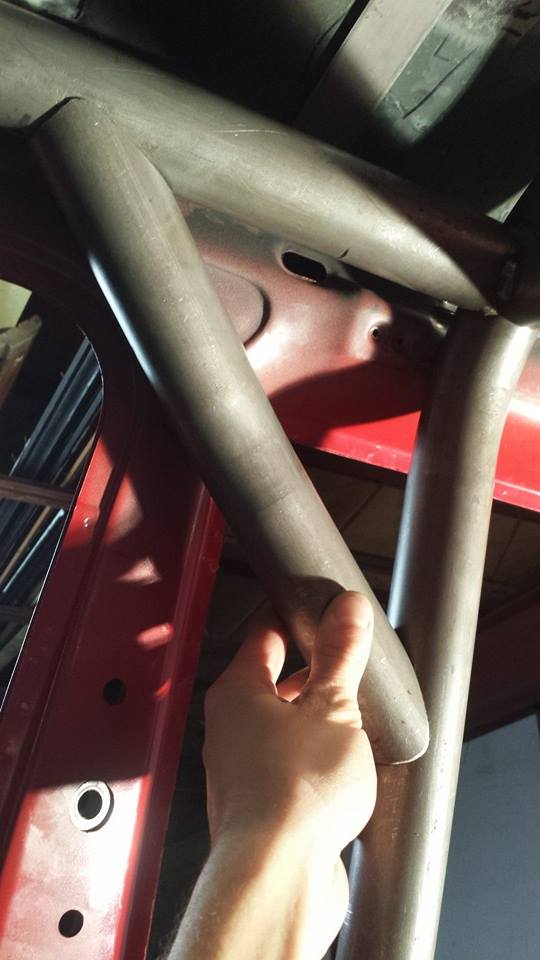
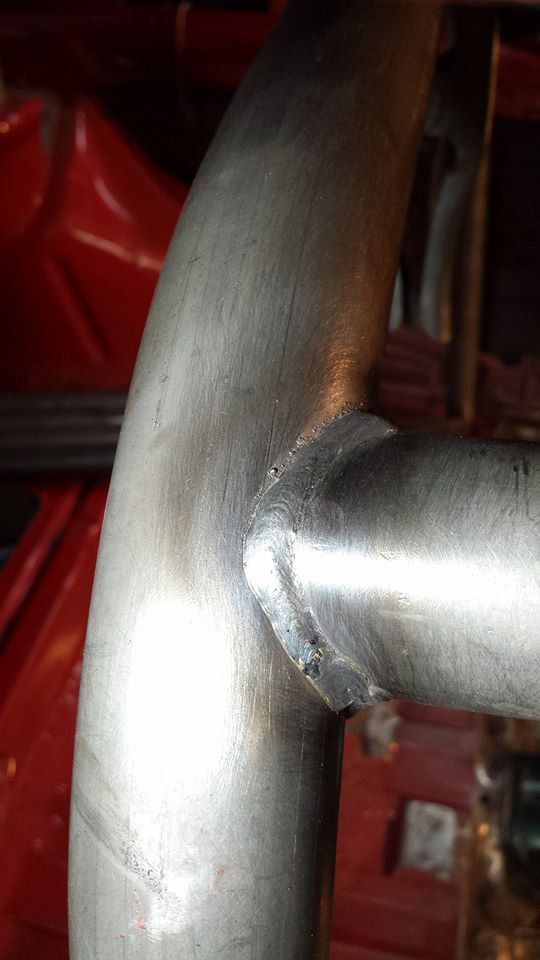
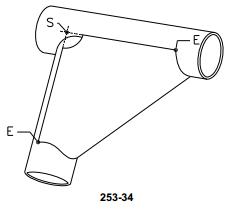
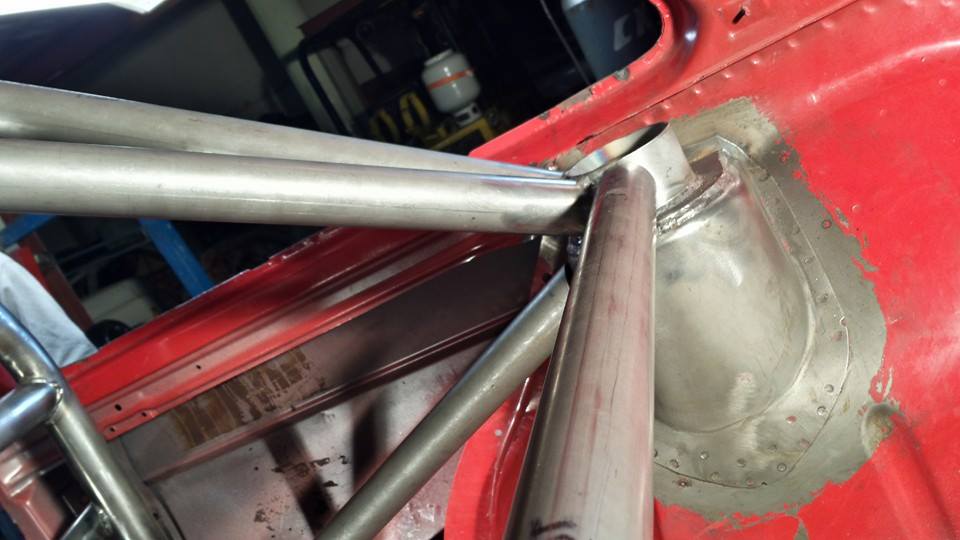
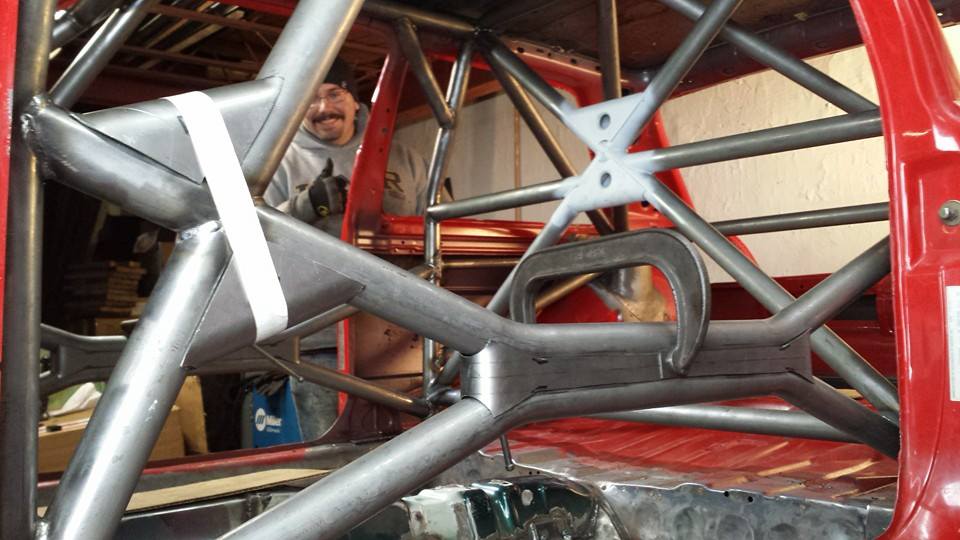
Here’s a little teaser of where my A-pillar reinforcement meets the half lateral and door bar. It’s a double-notch pipe. I had to weld it laying on my side with cables over the top of me and no room to work. Photo before I touched it with a brush. I hate posting close-up welding photos but I will make an exception!

Got the last three bars cut/notched/fit. I need to cut two more plates for the lower rear backstays, fab a couple more gussets, weld the aforementioned and the cage will be complete!
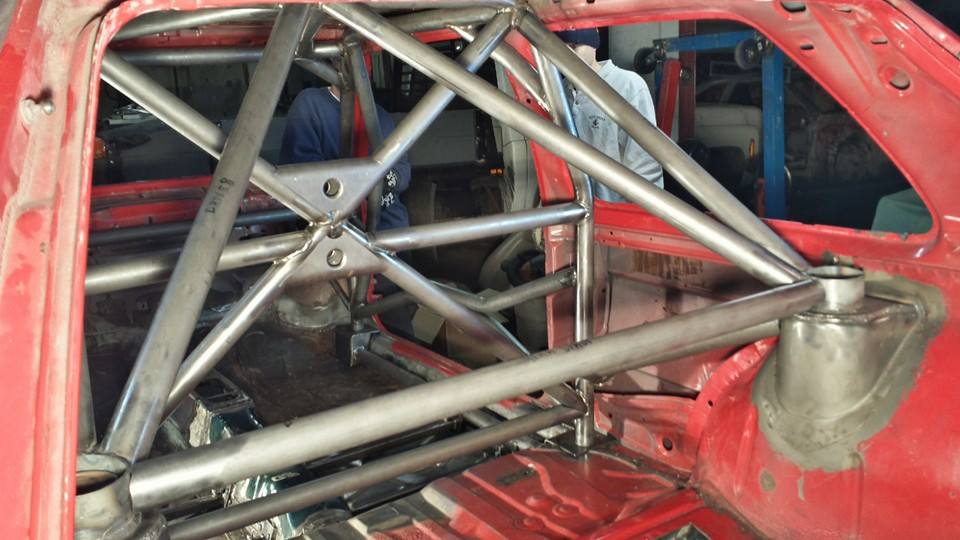
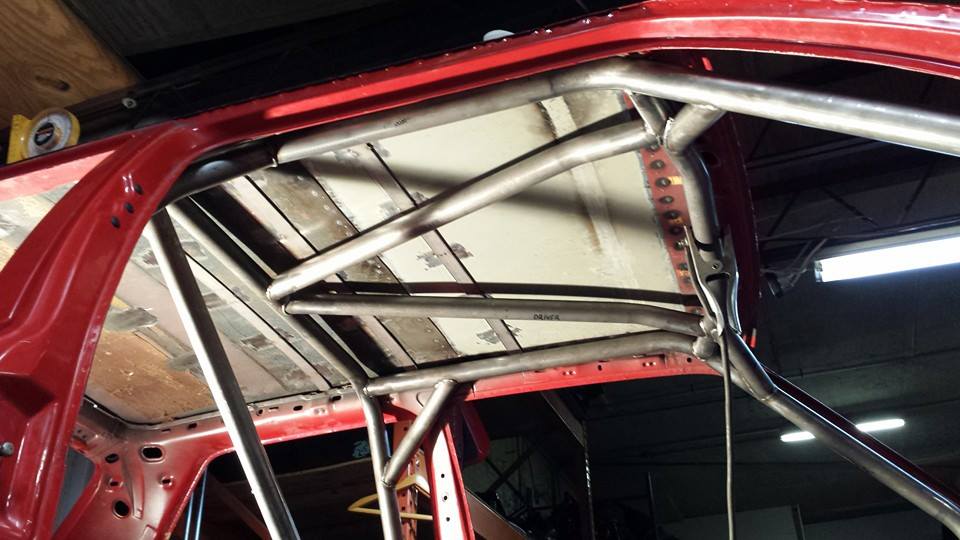
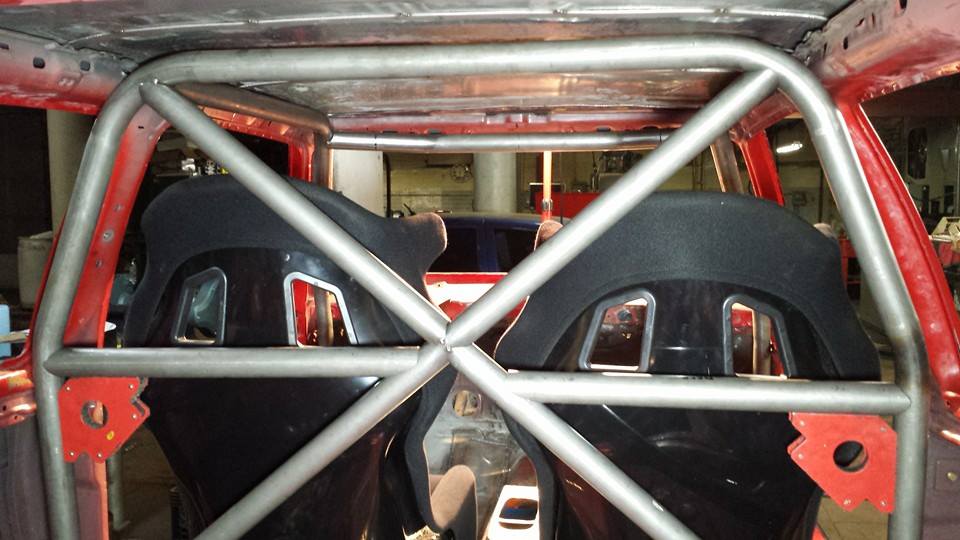
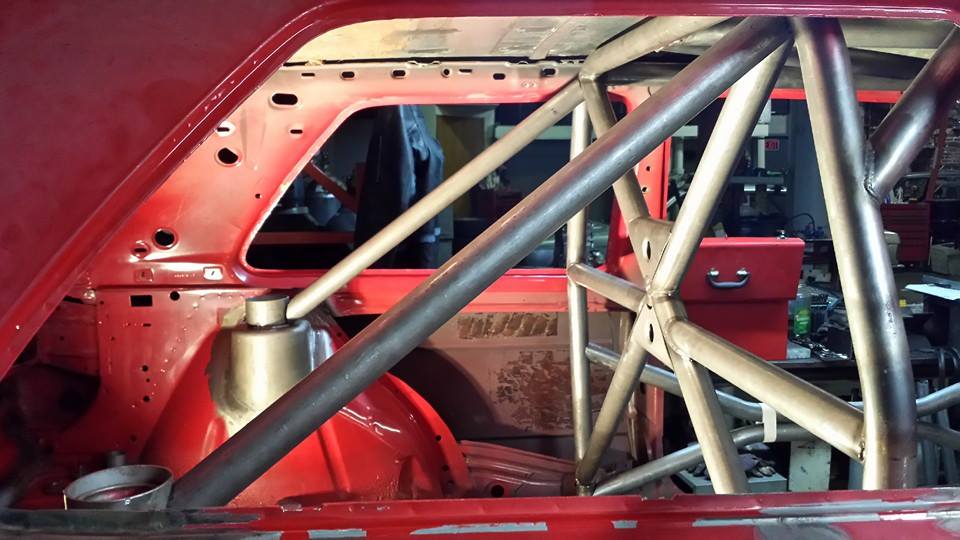
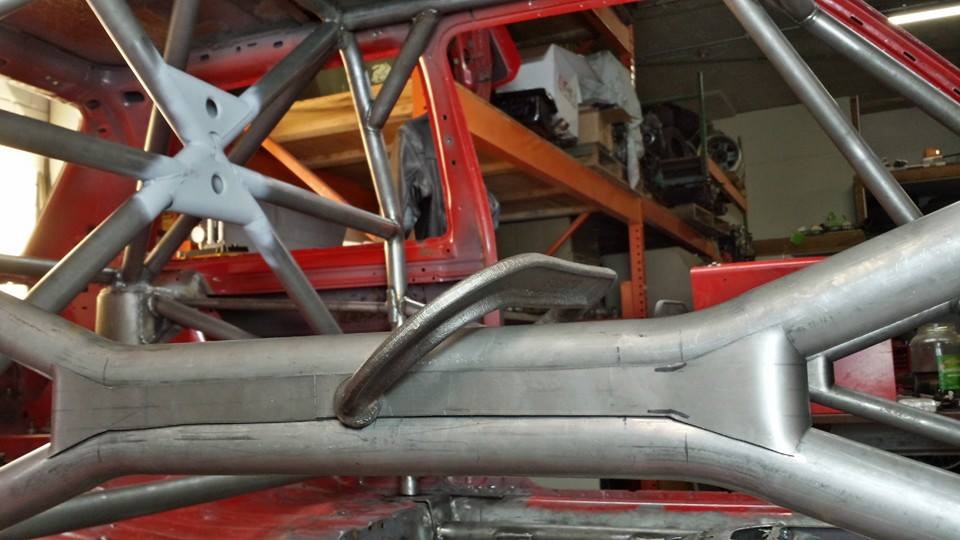
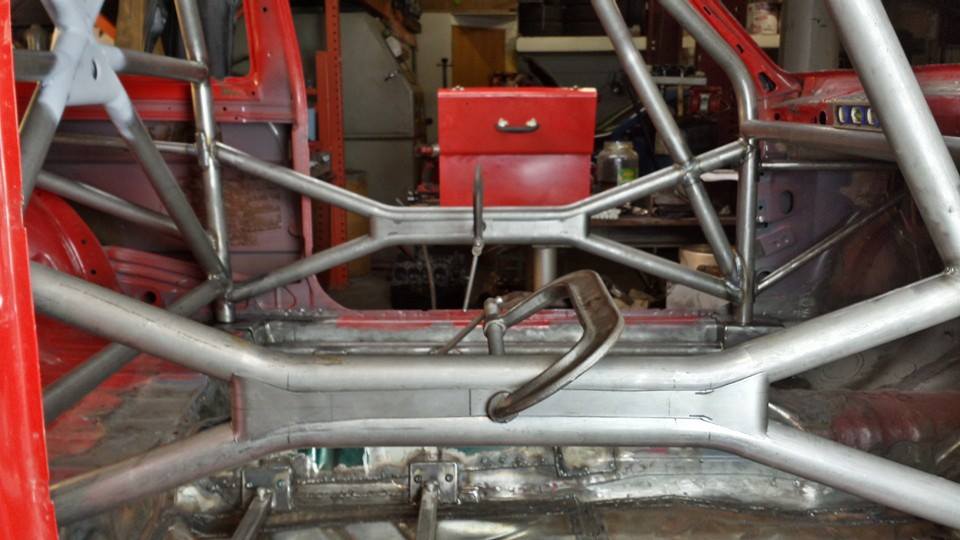
At the request of a fellow MKII rally friend, I decided to add an ancillary bar (1″ one in the middle) to support the top of the door X in tension in the event of a hard side impact. Basically, if I were to slide sideways into a tree without this bar, the door X would want to get pulled into the car, also pulling the main hoop with it since there was nothing to hold that top node. Yes I know it looks a bit out of place, but it only serves one purpose. It also somewhat mirrors the setup I used to brace the front strut towers to the half-laterals.
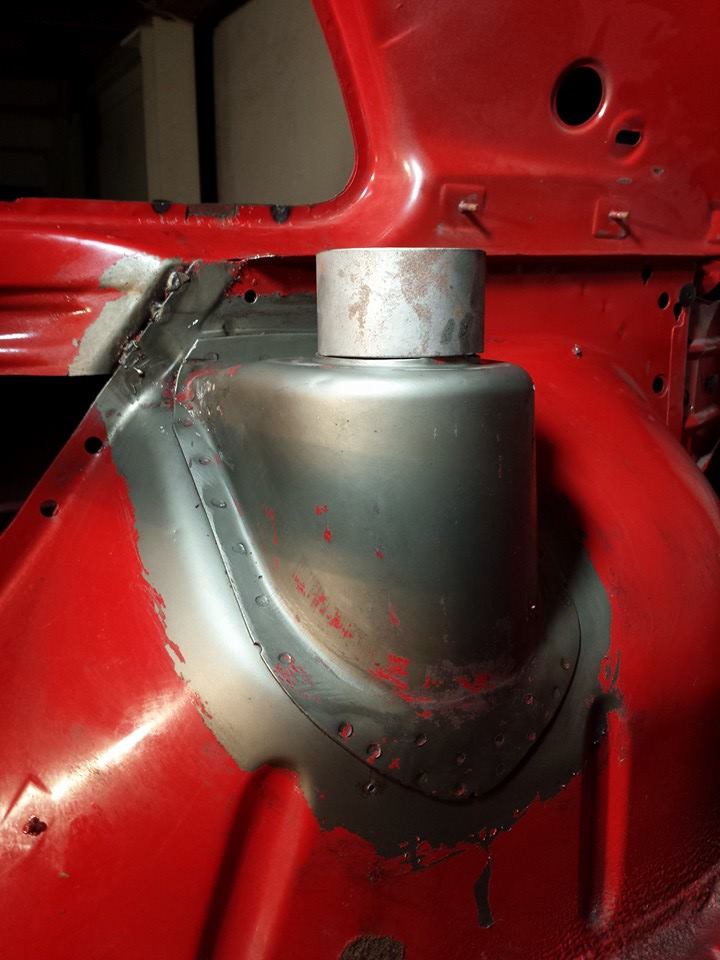
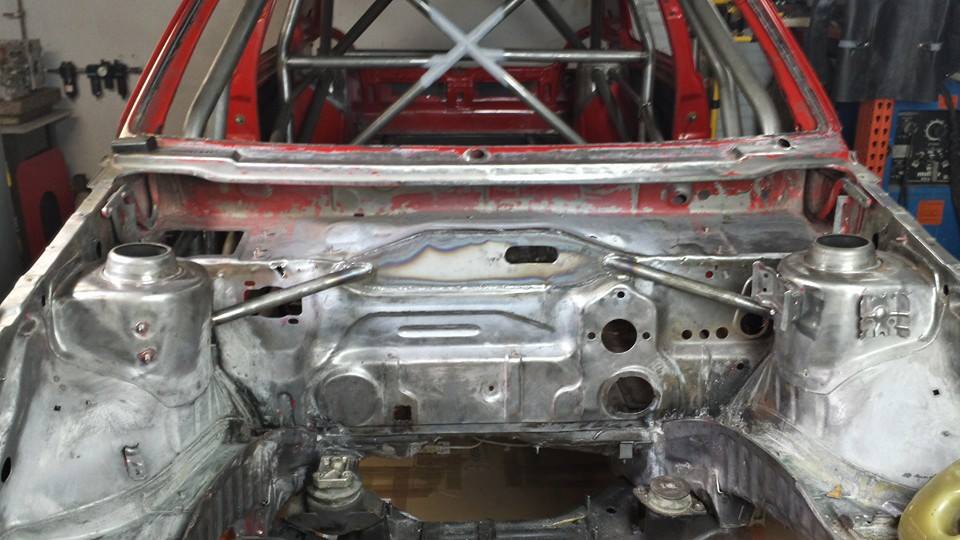
Finished the front strut tie-ins! I cut a 1/8″ plate and welded it to the firewall instead of making one of those cheesy ricer bars that just gets in your way. Mocked the bars up with the coolant reservoir in place and added plates on the strut towers. I have a set of plates to convert to Subaru tophats that will go on next.
Got the door X gussets cut/bent tonight, here they are all mocked up:
A-Pillar gussets made! These were actually tricky because the minimum leg distance was 3.5″ and the spaces were very tight. Lots of little grinding, which wasn’t the case on any of the other gussets.
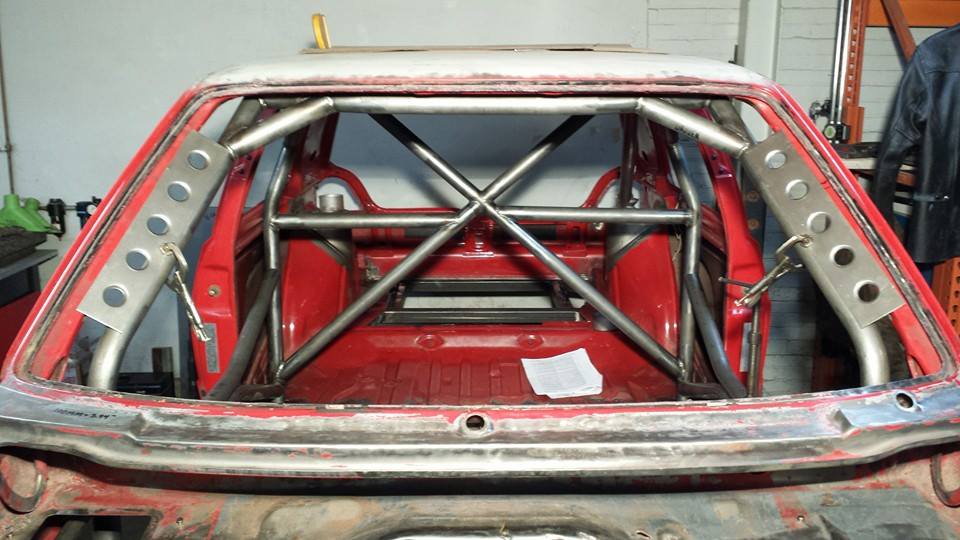
So the cage is 99% complete (save welding the footplates completely to the floor) and I couldn’t be more excited/sore. The white residue is weld-thru primer I used behind the gussets just in case any moisture ever got in there. Just an extra precaution.
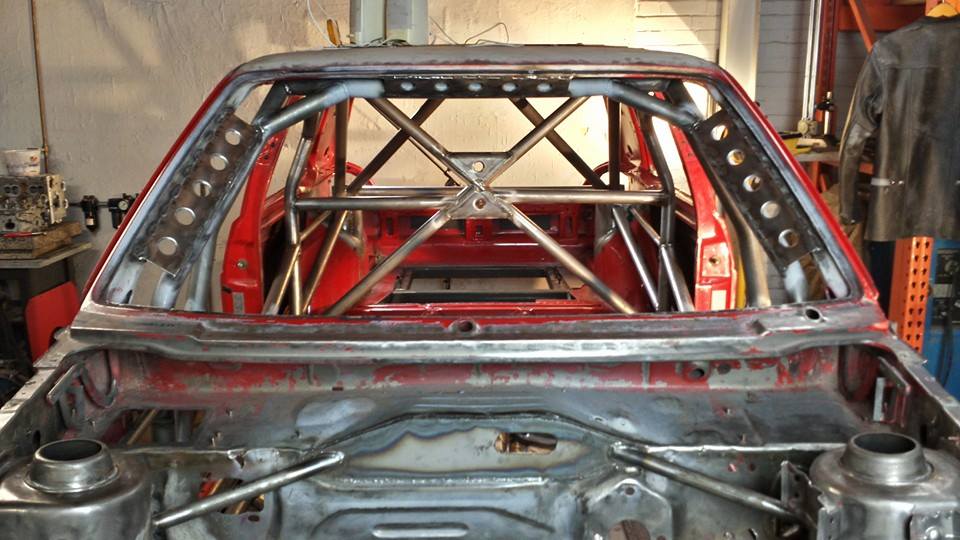

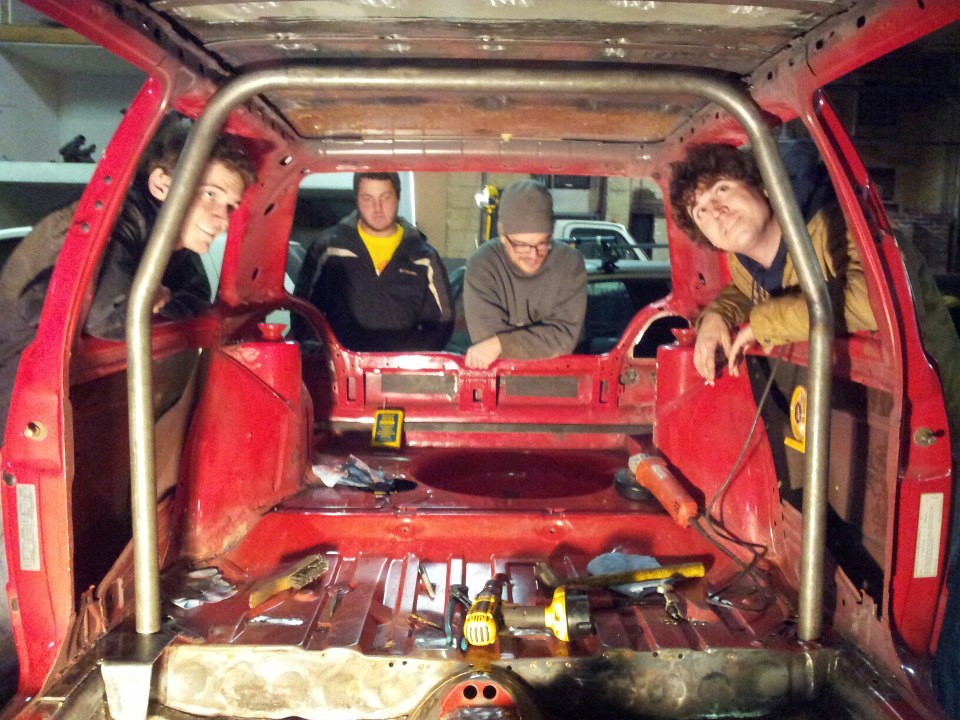
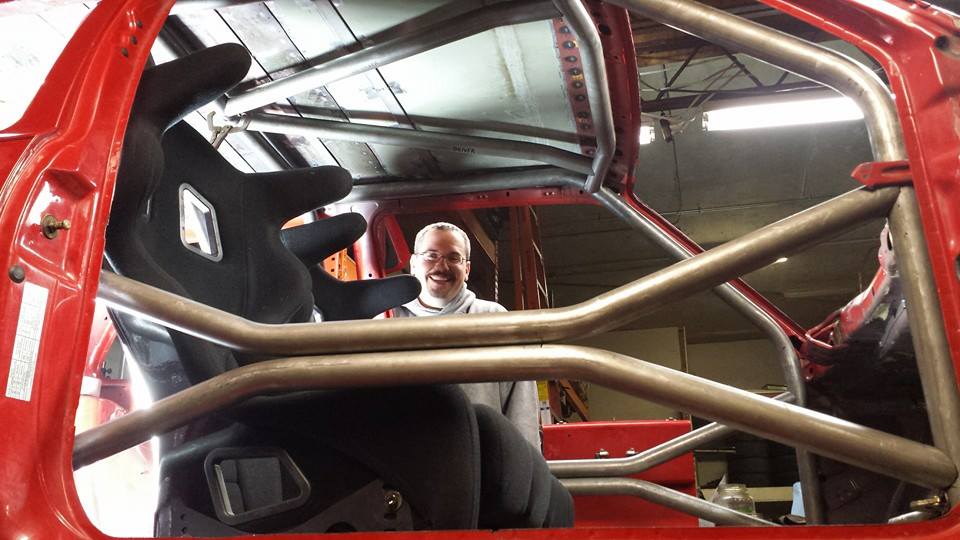
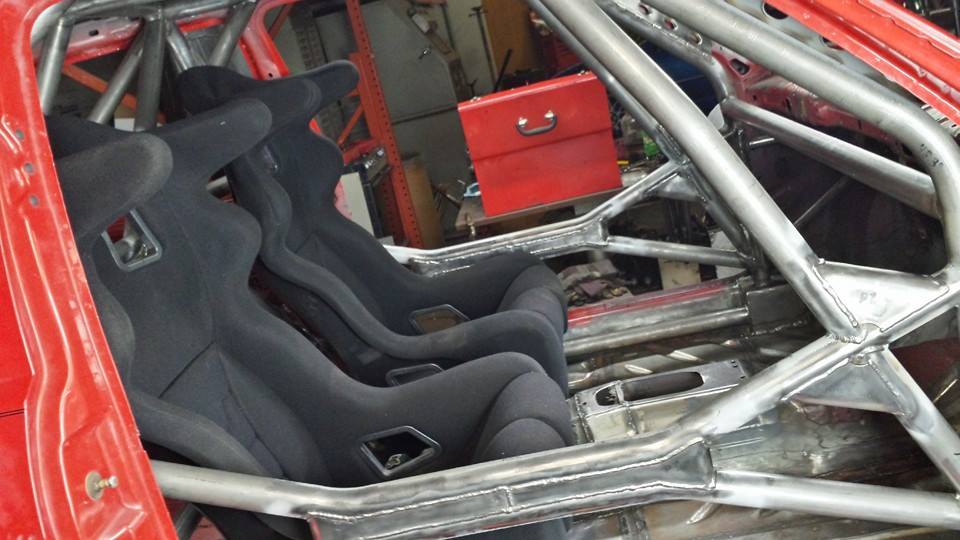
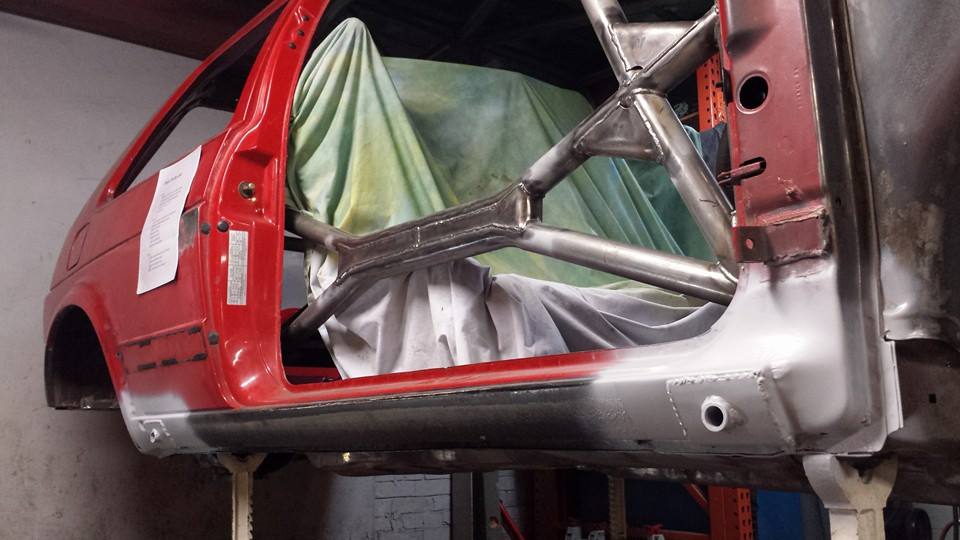
Cage is complete! Couldn’t resist putting the seats in and enjoying the view.
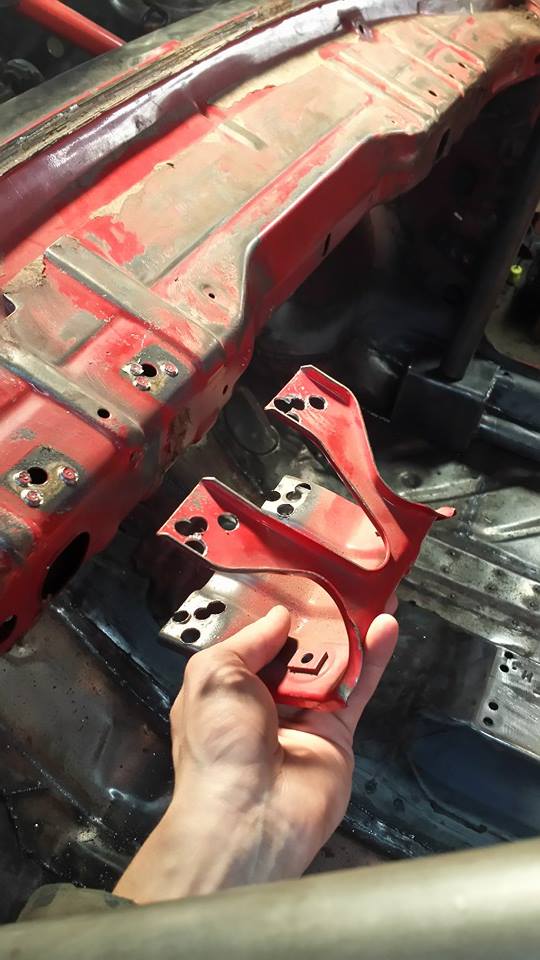
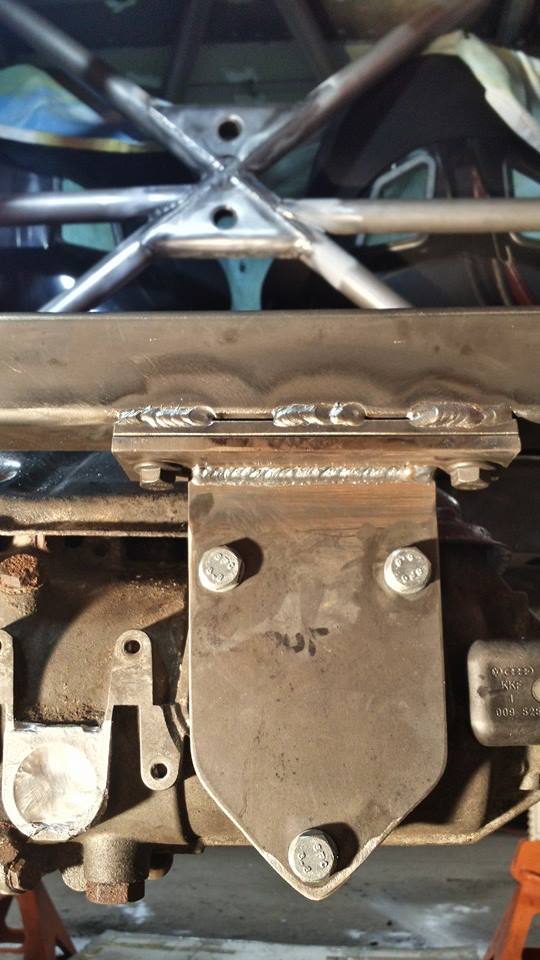
New rear diff carrier bracket attached to my fuel cell subframe. The stock one (that I made a new bushing for out of delrin) won’t clear the tank, so a solid mount is necessary.
Out with the old, crappy VW tophat, in with the Subaru GrpN tophat: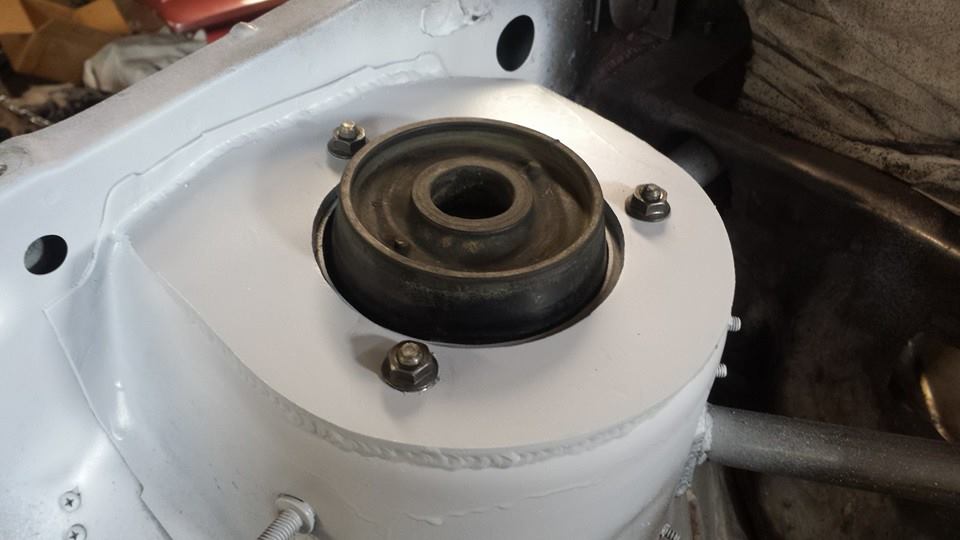
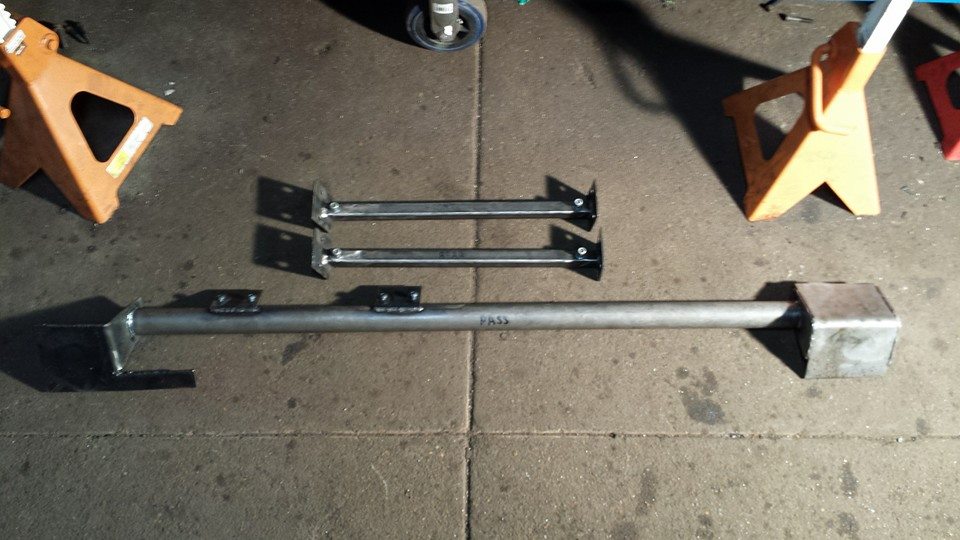
Got the pin stand receivers all installed, that ended up being a giant pain. The tubes all go back through the rockers to spread the load. The fronts are capped on the inside, as they terminate inside the front footplate cavity, but the rears pass all the way through to just above where the rear beam mounts are. I have plated/welded them in the rear. Welding the plates to the rockers was pretty tedious with the MIG on the lowest power, so my welds aren’t buttery smooth unfortunately.


