
Thanks for following along with me on my 2015 autocross (and more) season. This post is a completely optional step when getting into racing, but I thought it may be something people are interested in learning about. In this series I’m going to discuss working to get sponsorship for your season along with some rudimentary livery design, production, removal, and application. I think before I delve into the article we should define the term: sponsorship. For me, sponsorship means support in any way shape or form and not just monetary compensation or free parts. Granted, money and shiny exhaust pipes are awesome, but moreover support from friends, businesses, media partners, and local shops is far more important to me than money or shiny bits, but more on that later.
First, let’s start with livery removal; we want a clean slate to work with. There are a lot of ways to do it, but most of them are tedious exercises that result in busted fingers. I usually just use a heat gun and a cheap-o IR thermometer. “Paint” the vinyl with the heat gun till it gets about 110°F-120°F and the vinyl should be quite a bit more cooperative. There are a few companies that offer decal eraser wheels, but I’m not sure of the averse impact on your paint from using one. If you read Build Race Party, there is a good chance you watch /drive and if so, there is a chance you are familiar with Ammo NYC. He (Larry) is a master detailer and just happens to have a perfect video with a neat trick you can use if you own an orbital buffer. This is a particularly sweet video as it is livery removal of a beautiful ST2 Mustang; be sure to check out his YouTube channel for more awesome detailing DIYs.
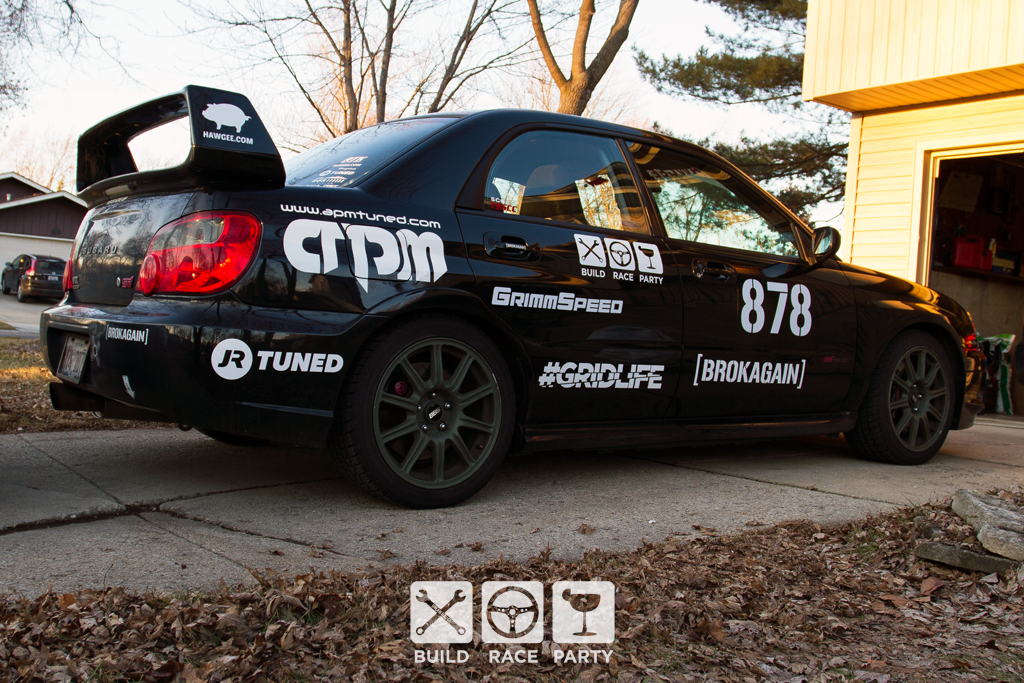
With the old livery removed, if applicable, now is the time to start designing your new car and also a campaign proposal. With some diligent Google searching you can find a vector file for your car to start doing a mock-up to sent to potential sponsors. There are also a lot of contingency sponsorship you may want to get info for as they may have decal requirements you should factor into your design. For instance, GrimmSpeed is a contingency sponsor for me if I win my class and they require two 22inch decals and one 24inch. The biggest part of getting sponsors is figuring out what you can offer them and the main thing they will be looking for is positive exposure. Reach out to online web blogs, and local publications to see if they would be willing to do a feature on you. Start your own blog, build a web page, twitter, facebook, instagram, etc. All of this is valuable exposure and that has value to people you want to help you. Write up a friendly proposal and send it to the people you think would be interested in helping; I recommend a local performance shop be on of the businesses on your list. Below is a mock-up of my car:

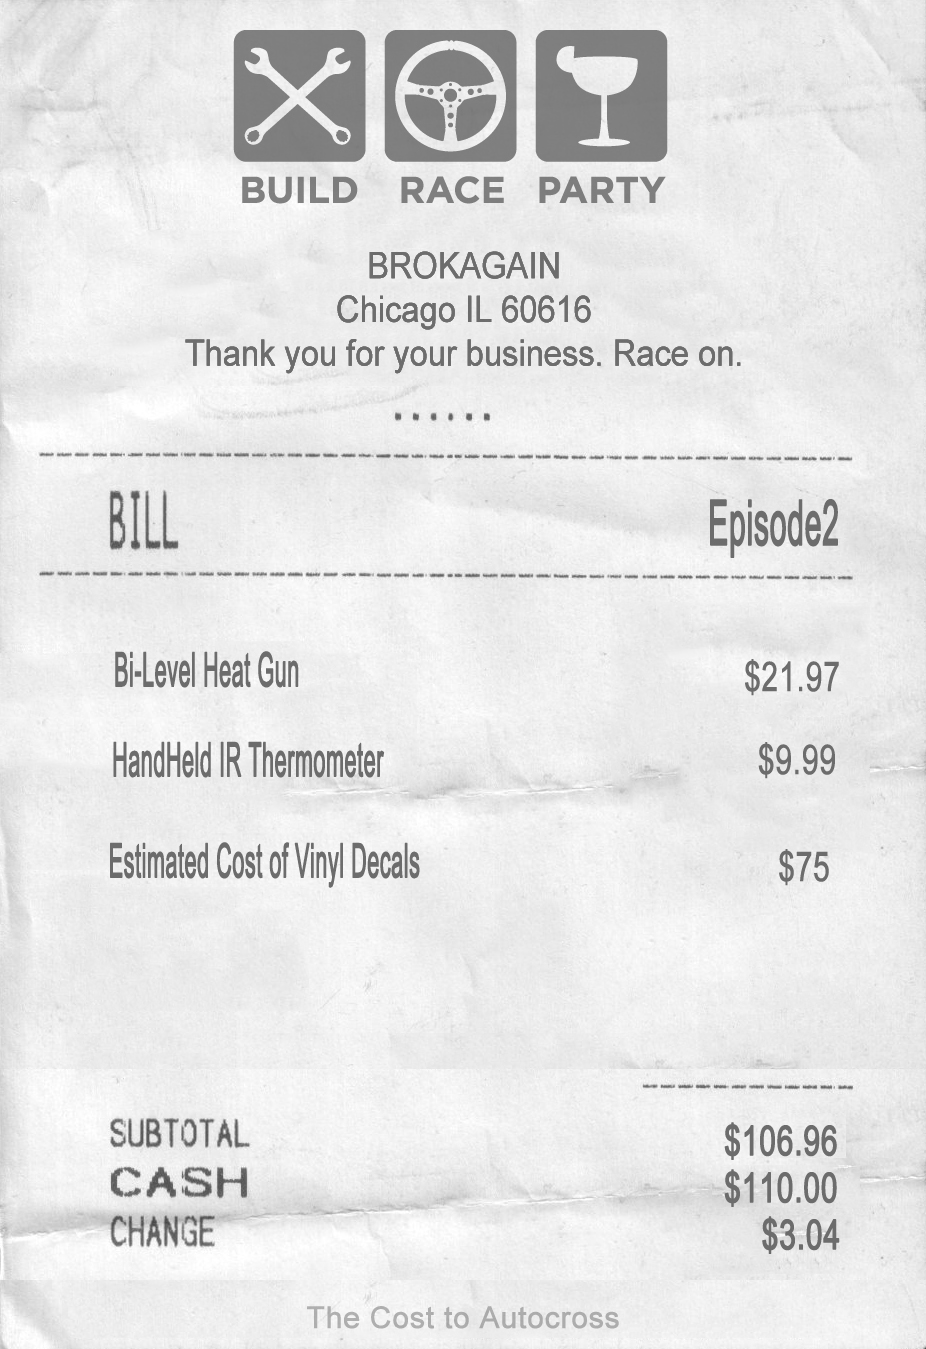
Not everyone you reach out to will be interested or even responsive for that matter, but once you have a good support group and a good plan go for it. I’m a big DIY guy so I bought a plotter and vinyl off the internet and made my own decals. I don’t expect everyone to do the same, but when I do my end-of-post receipt I’ll be sure to include an estimated cost of what a vinyl shop would charge. Once you have all your decals produced, you will want to use some masking tape, measuring tape, and your eye to try and match your mock-up. Use the measuring tape and your eye to place the decals and then put a strip of masking tape across the middle of the decal to hold it in place; you might also elect to put one at one of the ends as well.
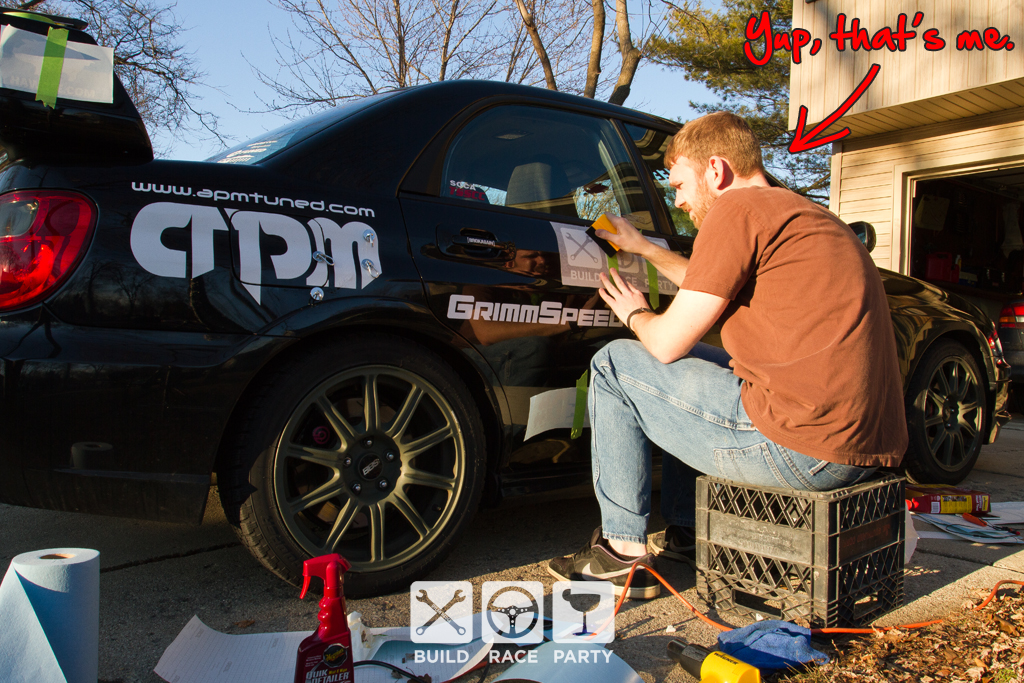
You may also notice that I have some magnets around the APM decal on my rear quarter panel. On the parts of your car that are magnetic they can be an excellent tool for mock ups. Once you have your decals placed take a step back and be sure that everything looks how you want it to otherwise you get the joy of re-doing it. With the masking tape in place peel part of the decal up to the masking tape off the backing paper and cut that backing paper off with scissors or a knife and apply the exposed portion of vinyl. Remove the masking tape and the decal will now be holding itself up by the application tape. Remove the remaining backing paper and apply the rest of the decal. Once applied, you will start peeling the application tape off at a 45° angle against itself. Once complete you should have a nice tangible version of the design on your computer.


