
Due to the low availability of my new helmet, I was not able to wait to get it wired professionally before heading out to California ahead of the Baja 1000. At the same time, I needed to install a helmet skirt to keep the elements out.
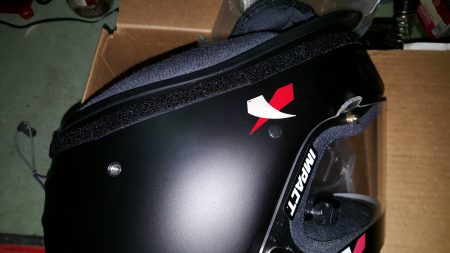
This article covers the installation of a PCI helmet intercom kit and Simpson helmet skirt into an Impact Racing Air Draft OS20, but it should work for all helmets.
What you will need:
- Helmet
- Helmet intercom kit, like this one from PCI
- Zip ties
- Non-marring tool, such as an interior trim removal tool
- Hot glue gun
- Box or pillow / cushion to sit your helmet on
Step 1: Lay-out the wiring
I purchased the kit from PCI that has the option for both earbuds and headphones that mount in the helmet. I figured this would give me more options depending on whether I am racing or instructing. PCI and others sell adapters to use PCI (“off road”) or IMSA style connectors with the more common instructor-type communicators.
Start by laying out the wiring with the headphone that will be furthest from the connectors. I wanted my connectors to come out of the left side of my helmet, so I ran the headphone wiring to the right side. Pull off the inner cheek pad using care not to allow the inner liner to separate from the helmet shell. The headphones include self-adhesive tape to make installation easy.
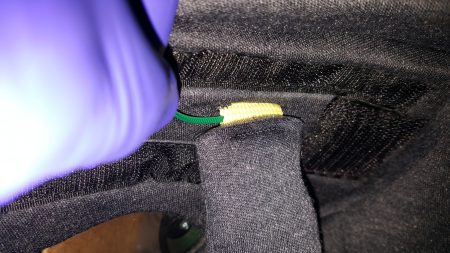
Step 2: Run the wires
Most helmets have some kind of fabric lip that goes around the bottom edge at the back. I moved this aside and laid the wiring into the grove. Using a tool that is used for removing interior trim I gently pushed the wires between the padding and the helmet shell.
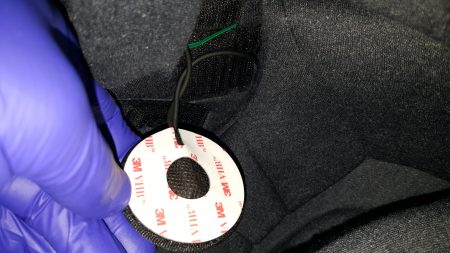
Step 3: Secure the main junction of wiring in the helmet
Your wiring harness with have a junction of wires for the microphone, the headphones / earbud jack, and the connector that goes to the car. It is important that this wiring bundle gets secured to the helmet as you will be stressing it each time you pull off the in car connector. There are a few ways of doing this, including drilling your helmet, but I prefer keeping it simple (and not putting holes in my expensive helmet!).
Your chin strap mounts to the shell with some form of d-ring. You can either zip tie directly to the d-ring or to the helmet strap. In my case, the d-ring is difficult to get to, but the helmet strap wraps around this ring and is sewn back to itself creating a tight loop. I ran a small zip tie through this loop and secured the junction of wires here.
Once this is done, I mounted the other side of the headphones using the self-adhesive tape.
Step 4: Mount the microphone
Most kits come with a boom style microphone. This allows you to adjust the mic to be as close to your mouth as possible. The boom must be securely mounted to the helmet using mechanical means. I didn’t want to drill as I said earlier, so I got out the hot glue gun.
Using the hot glue gun, I made a first pass to orient the microphone in the helmet. I then built up several layers of glue to the outside and around the boom, effectively “glue welding” it in place.The boom has enough play to bend back to my mouth, but remains tidy and out of the way.
Once this step is done, I put the cheekpads in and made sure the rest of the wiring was secure. Both the in-car connector and the earbud connector hang from the left side of the helmet.
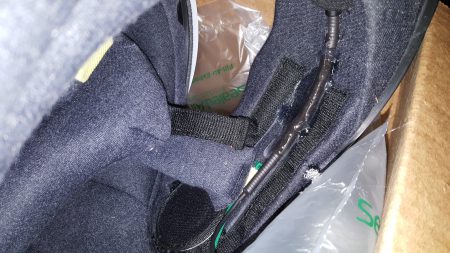
(Optional) Step 5: Install your helmet skirt
The helmet skirt is simple enough: put the hook-and-loop fastener tape along the bottom edge of the helmet. I pulled my helmet skirt on from the bottom of the helmet and marked the edge with a pencil once I had it where I wanted it. I then removed the skirt and added the tape, being careful to line it up. Using smaller sections makes this easier.
Since I had left over hook-and-loop material, I added another piece to secure the in-car intercom connector to the side of the helmet, keeping it up and out of the way when not in use.
There you go: now go race!

